

I know that moment well. It’s 8 PM, the kids are finally settled, and suddenly you need something truly decadent—but you absolutely do not have the time (or energy!) to drag out the candy thermometer and worry about crystallization. That’s why I developed this recipe for fudge. This is my ultimate secret weapon when I need a sweet treat instantly. Forget complicated stovetop methods; this is our go-to easy fudge recipe because it’s totally no-bake and uses just three ingredients!
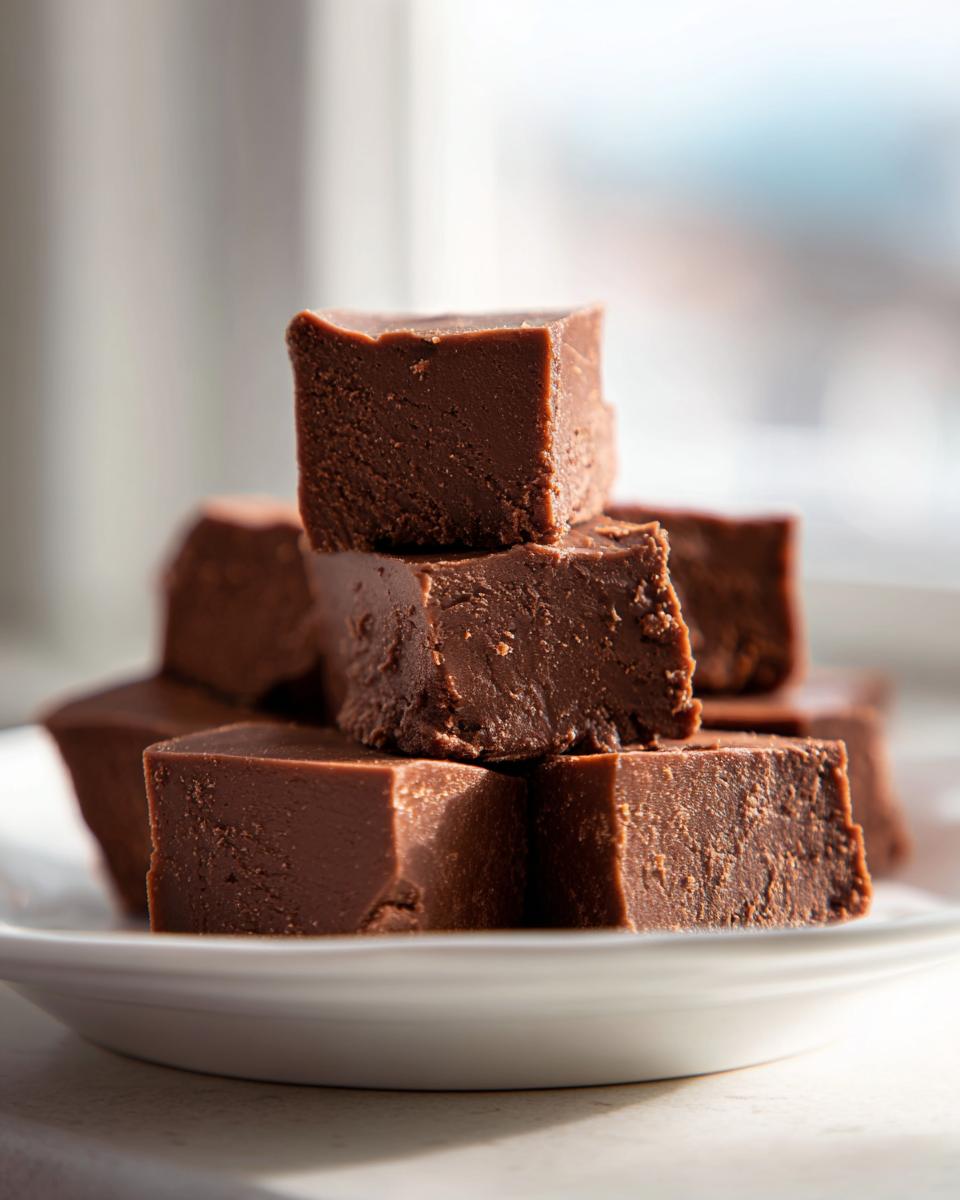
When I was fighting the marketing deadlines and trying to get real food on the table for my own family, I realized that desserts shouldn’t be a source of stress. This marshmallow fluff method is genius because it delivers that incredible, deep chocolate richness and the perfect melt-in-your-mouth texture every single time. If you’re looking for foolproof results without the fuss, you’ve found your perfect dessert solution right here. It’s quick, it’s unbelievably creamy, and honestly, it’s a little bit magical.
- Why This Is the Best Fudge Recipe: Quick, Creamy, and Foolproof
- Ingredients for Your 3-Ingredient Marshmallow Fluff Fudge
- How to Make This Easy Fudge Recipe Step-by-Step
- Tips for Success When Making Foolproof Fudge
- Variations on the Classic Chocolate Fudge
- Storage & Reheating Instructions for Your Fudge Treats
- Frequently Asked Questions About Making Quick Fudge
- Nutritional Estimates for This Divine Fudge Treat
- Share Your Creamy Fudge Squares
Why This Is the Best Fudge Recipe: Quick, Creamy, and Foolproof
When you’re seeking out those decadent sweets, you usually run into the same problem: graininess. That’s the frustration of trying to make that classic stovetop candy without being exactly perfect on the temperature front. My method skips all that stress! It relies on sweetened condensed milk and marshmallow fluff—which you probably have on hand if you keep a well-stocked pantry—to give you amazing results.
- It’s a speedy ticket to getting a quick dessert fix!
- You get truly creamy fudge that doesn’t fight you when you try to bite into it.
- It is completely no bake fudge, meaning zero risk of scorching the chocolate on the stove.
- It’s a completely reliable method for making homemade fudge cubes.
Achieving That Perfect Melt-In-Your-Mouth Dessert Texture
The secret sauce here isn’t cooking; it’s the stabilizers already present in our base ingredients. The high sugar content from the condensed milk, combined with the gelatin structure in the fluff, settles into a beautifully dense, never-gritty block. Honestly, this is often far better than the fudge my aunt used to make using an actual candy thermometer! That old fashioned fudge approach relies on hitting 234°F exactly, but with this cheat—you’re guaranteed smoothness every time, making it a go-to recipe for everyone.
Ingredients for Your 3-Ingredient Marshmallow Fluff Fudge
It’s almost embarrassing how few things you need for this divine fudge treat! Seriously, just three things stand between you and decadent perfection. Having these key items ready means you can whip up a batch of this fudge in under ten minutes of active time!
- 1 (14 ounce) can sweetened condensed milk
- 1 (12 ounce) package semi-sweet chocolate chips
- 1 teaspoon vanilla extract
Ingredient Notes and Simple Candy Making Swaps
While the magic number is three, you have room to customize if you want to venture into other types of treats. For instance, if you want to lean into that wonderful peanut butter fudge flavor, just swap those semi-sweet chips for a bag of peanut butter chips. Works beautifully!
The same goes for using white chocolate chunks instead of milk or semi-sweet. These substitutions keep the texture smooth because we aren’t messing with that crucial condensed milk base. It’s the easiest form of personalized simple candy making you’ll ever try, I promise!
How to Make This Easy Fudge Recipe Step-by-Step
Okay, let’s get into the action! Since this whole process takes about five minutes of active prep and two minutes of actual cook time using the microwave, you can be making this delicious fudge before dinner is even over. The key here, as with most quick heating, is gentle heat and constant stirring. Never just blast it!
Preparing the Pan and Melting the Fudge Base
First thing: get your 8×8 pan ready. I always line mine with parchment paper, making sure to leave a little overhang on the sides—that’s your safety handle later for lifting the whole slab out. In your microwave-safe bowl, mix the condensed milk and the chips. Microwave on 50% power for just 30 seconds, stir it until your arm gets tired, then repeat in 30-second bursts! Stop heating the second it looks smooth.
Mixing, Setting, and Cutting Your Homemade Fudge
Once you pull that smooth, glossy melted chocolate mixture out—and trust me, don’t walk away while it’s melting!—stir in that teaspoon of vanilla extract instantly. This is what adds that extra layer of depth to our homemade fudge. Pour it immediately into your prepared pan and smooth the top gently. Then, the hardest part: put it in the fridge for at least two hours. Once it’s firm, use those parchment tabs to lift it out and slice it into perfect little fudge squares!

Tips for Success When Making Foolproof Fudge
Even though this recipe is designed to be nearly impossible to mess up, I still have a few tricks that guarantee that beautiful, buttery finish. The biggest thing beginners worry about is graininess, right? That usually happens if you overheat the condensed milk or if you decide to be a hero and stir too slowly in the microwave.
I learned this the hard way once when I was rushing before a soccer game pickup. I heated it for a full minute straight, pulled it out, and it looked slightly seized up—like gritty mud. Yikes! I thought I ruined the batch of fudge. But I remembered my mom always said to keep working it if the ingredients were hot enough. I took the bowl off the counter, kept stirring with real purpose, added the vanilla, and slowly, it came back together into that glossy perfection!
So, my number one tip is this: Stir like you mean it between every heating interval! And don’t be afraid to add a tiny splash more vanilla extract if you think things look a little dull; it perks up the chocolate flavor perfectly. You’re going to love how easy these cookie bars alternatives turn out!
Variations on the Classic Chocolate Fudge
The base recipe for this quick fudge is so reliable that once you master it, the flavor possibilities are endless! Honestly, you can use this method to create almost any flavor of decadent sweets you can dream up. This is where that simple pantry structure shines because you’re just swapping out the star chips.
If you’re craving salty-sweet, go for that peanut butter fudge I mentioned earlier—use a bag of peanut butter chips instead of the semi-sweet chocolate. Mix it until it’s smooth, and you’re done! For something richer or lighter, microwave white chocolate chips instead. That creates a beautiful, soft canvas, perfect for swirling in raspberry jam later, or maybe even adding some crushed peppermint for a holiday treat.
We also love sneaking in other things during the final stir, just like in my recipe for fudgy Oreo brownies. Try adding toasted pecans, mini marshmallows, or even some crushed pretzels right before you chill it. It makes your simple candy feel fancy, but it takes zero extra time!

Storage & Reheating Instructions for Your Fudge Treats
Now that you’ve made this amazing fudge, you need to know how to keep it perfect! The good news is that since this is stabilized with condensed milk, storage is super easy. You don’t have to worry about these decadent sweets going bad quickly.
For room temperature storage, pop your finished fudge squares into an airtight container—they stay fresh and ready to eat for about one week. If you aren’t going to eat them that quickly, or if your kitchen is super warm, the fridge is your friend! They are completely safe in there, though they might firm up just a touch more. Honestly, I never store this holiday candy longer than a week because it disappears so fast around here!
Since this is a no-bake recipe, you never need to reheat it at all. Just bring it out of the fridge about 15 minutes before you want to serve them. Think of it like storing good quality chocolate; you just want it to soften slightly so it melts beautifully in your mouth. You can see my tips for treating other holiday candy in my guide!
Frequently Asked Questions About Making Quick Fudge
I always get questions when people see how simple this recipe is, and I love hearing from you all! People often wonder how this quick no bake fudge compares to the recipes they grew up with.
Can I make this a traditional old fashioned fudge recipe instead?
That’s a great question! This recipe is designed to skip the stove entirely so it’s totally foolproof. A true old fashioned fudge requires you to boil sugar and milk to a candy stage, which is where things get tricky and grainy. This recipe uses the stabilized base of condensed milk to get that perfect texture without any high-heat cooking guesswork.
How long does this 5 minute fudge actually take?
When I say “5 minute fudge,” I’m talking about the active work time—melting those ingredients and stirring them together takes about five minutes, max! But you absolutely must account for chilling time. You need at least two hours in the fridge for your easy fudge recipe to set up nicely enough for cutting into beautiful squares.
If you have questions about adjusting the sweetness levels or what to do if your fudge is looking a little too soft, check out my guide on no-bake mini cheesecakes—the principles of setting up dairy-based desserts are similar!
Nutritional Estimates for This Divine Fudge Treat
I always get asked about the numbers when people dive into making homemade candy, especially something this rich. Keep in mind that these figures are just estimates based on dividing the recipe into 36 small fudge squares. Since we’re using simple, pantry-stable ingredients, you get a lot of flavor payoff for what’s listed here!
For one square, you’re looking at roughly:
- Calories: 105
- Fat: 5g
- Carbohydrates: 15g
- Sugar: 15g
- Protein: 2g
It’s a treat, no doubt, but wow, what a high-impact one for such minimal effort!
Share Your Creamy Fudge Squares
I genuinely want to know what you think once you’ve had a bite of this incredible, melt-in-your-mouth fudge! Please leave a rating out of five stars right below this section. Did you try adding nuts? Did you go for the peanut butter variation? Tell me all about the sweet treats you created!
And please, snap a photo of your finished fudge squares and share them on social media. Seeing your creations always makes my day and reminds me that we’re solving that quick dessert dilemma together!
PrintFoolproof 3-Ingredient Chocolate Fudge: Quick and Creamy

Make rich, creamy chocolate fudge fast with only three simple ingredients. This no-bake recipe delivers a decadent, melt-in-your-mouth texture without needing a candy thermometer. It is a perfect quick dessert for gifting or satisfying a sweet craving.
- Prep Time: 5 min
- Cook Time: 2 min
- Total Time: 2 hours 7 min
- Yield: 36 squares 1x
- Category: Dessert
- Method: No Bake
- Cuisine: American
- Diet: Vegetarian
Ingredients
- 1 (14 ounce) can sweetened condensed milk
- 1 (12 ounce) package semi-sweet chocolate chips
- 1 teaspoon vanilla extract
Instructions
- Line an 8×8 inch baking pan with parchment paper, leaving an overhang on the sides for easy removal. Lightly grease the paper.
- In a medium, microwave-safe bowl, combine the sweetened condensed milk and chocolate chips.
- Microwave on 50% power for 30 seconds. Stir well. Continue microwaving in 30-second intervals, stirring thoroughly after each, until the mixture is completely smooth and melted. This usually takes 1 to 2 minutes total.
- Remove from the microwave and stir in the vanilla extract until fully combined.
- Pour the fudge mixture into the prepared baking pan and spread evenly.
- Refrigerate for at least 2 hours, or until firm enough to cut.
- Use the parchment paper overhang to lift the fudge from the pan. Cut into 36 small fudge squares.
Notes
- For a different flavor, substitute the chocolate chips with peanut butter chips or white chocolate chips.
- If you prefer a slightly firmer fudge, reduce the microwave time slightly or add 1/4 cup of chopped nuts during the final stir.
- Store your homemade fudge in an airtight container at room temperature for up to one week, or refrigerated for longer storage.
Nutrition
- Serving Size: 1 square
- Calories: 105
- Sugar: 15
- Sodium: 20
- Fat: 5
- Saturated Fat: 3
- Unsaturated Fat: 2
- Trans Fat: 0
- Carbohydrates: 15
- Fiber: 0
- Protein: 2
- Cholesterol: 5