
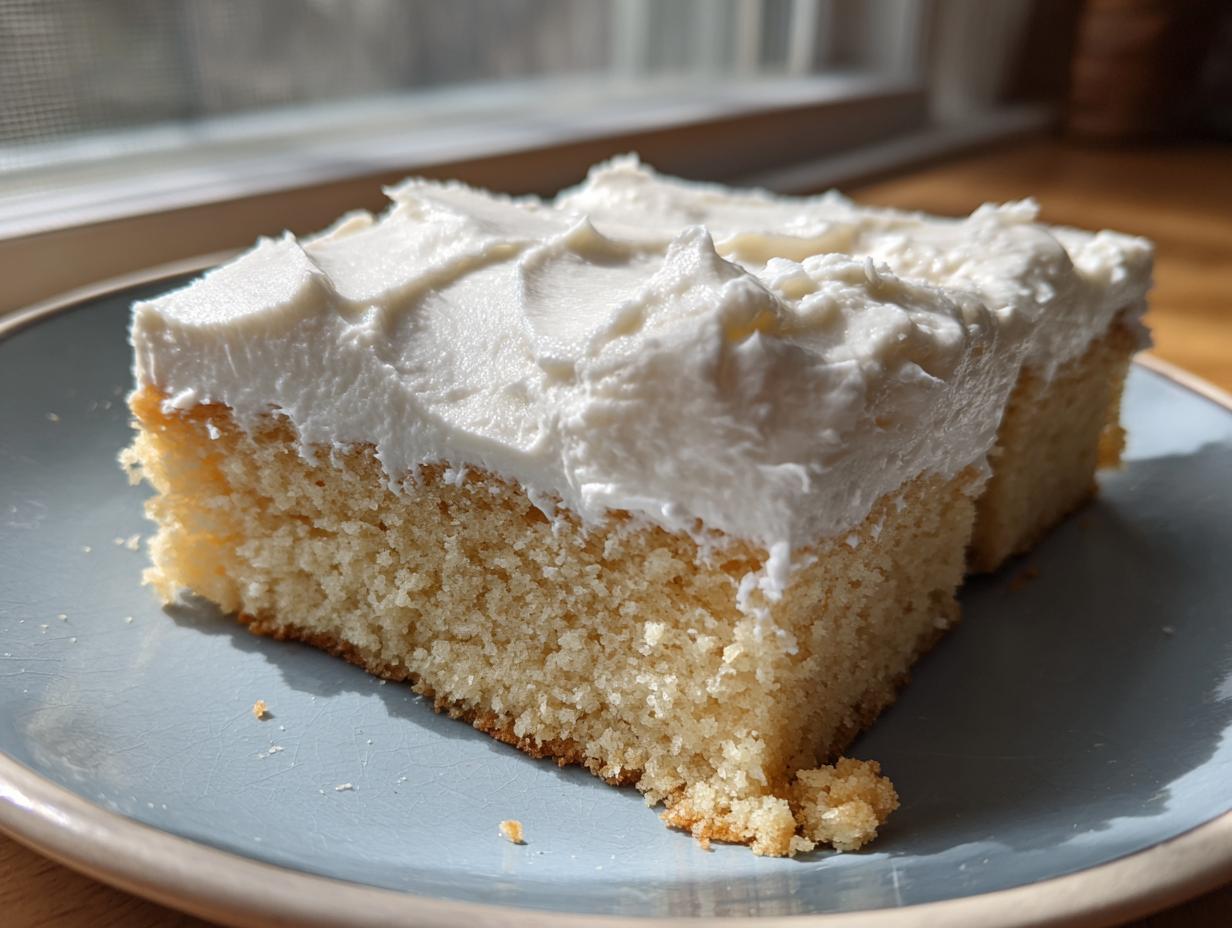
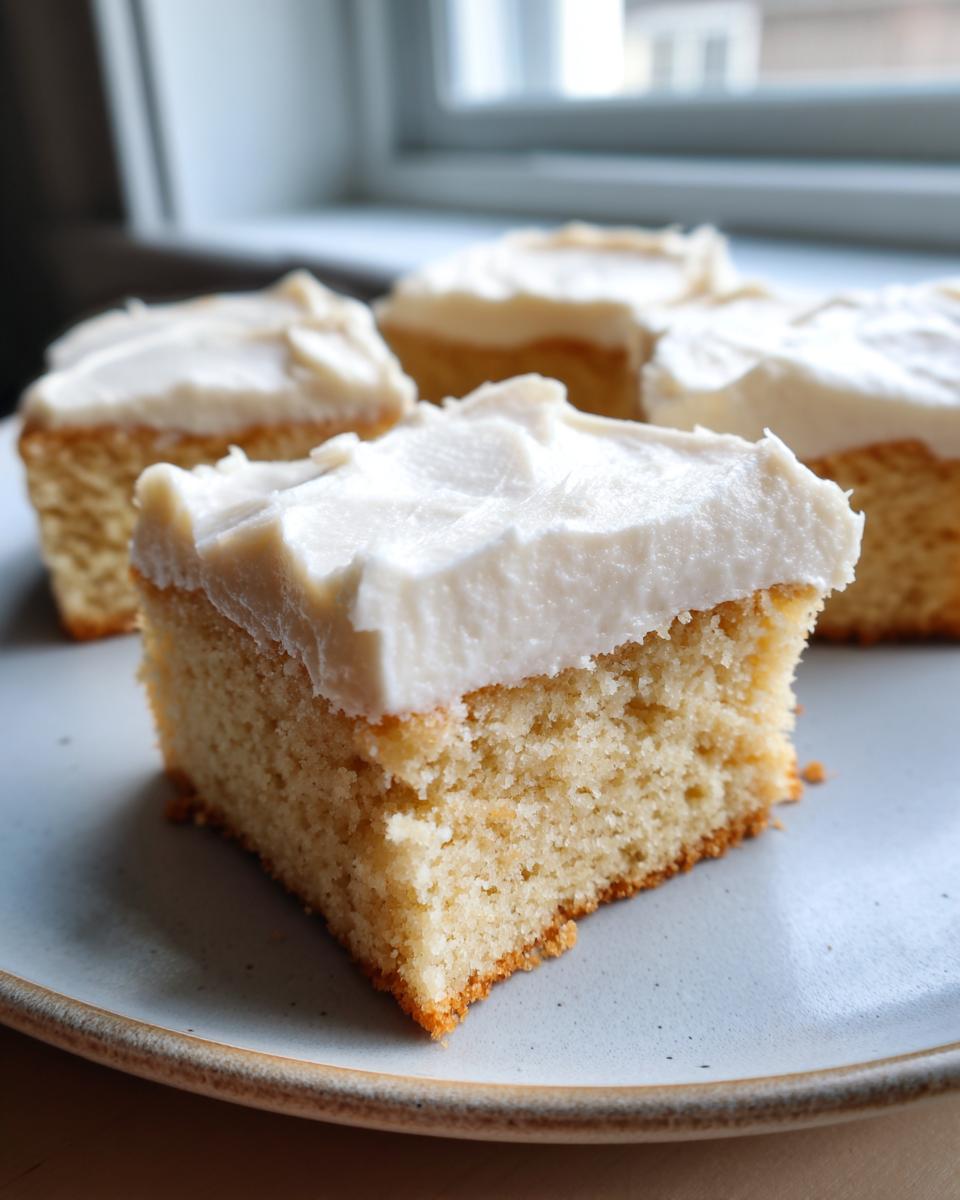
We all love the taste of a perfectly frosted, classic sugar cookie, right? But let’s be real: rolling out dough, finding the perfect cookie cutter, and dealing with messy edges just isn’t an option when life gets hectic. That’s where Cheffinity comes in! Ava Sinclair built this whole system around saving you time without sacrificing that comforting, homemade flavor. That’s why this recipe for the ultimate soft and chewy sugar cookie bars is my absolute favorite hack. You get every bit of the buttery, sweet flavor you expect, baked flat in one pan. Seriously, this is the simplest way to get a bakery-style treat ready for the kids, a bake sale, or just because you deserve something sweet tonight.
- Why You Need This Ultimate Sugar Cookie Bars Recipe
- Ingredients for Soft Baked Cookie Bars and Fluffy Frosting
- How to Make the Best Sugar Cookie Bars (Step-by-Step)
- Expert Tips for Perfect Sugar Cookie Bars Every Time
- Customizing Your Holiday Cookie Bar Recipe
- Storage and Reheating Instructions for Buttery Cookie Bars
- Frequently Asked Questions About Easy Sugar Cookie Bars Recipe
- Estimated Nutritional Snapshot for Your Sugar Cookie Bars
- Share Your Quick Cookie Recipes Triumphs
- Estimated Nutritional Snapshot for Your Sugar Cookie Bars
- Share Your Quick Cookie Recipes Triumphs
Why You Need This Ultimate Sugar Cookie Bars Recipe
If you’re anything like me, you want that classic holiday taste but you need it fast. This recipe cuts out all the fussy parts of baking! Trust me, these sugar cookie bars are the real deal:
- Zero Rolling and Cutting: We skip the flour-dusted counters and frustrated sighs. You press the dough right into the pan. It’s the ultimate no roll sugar cookies method!
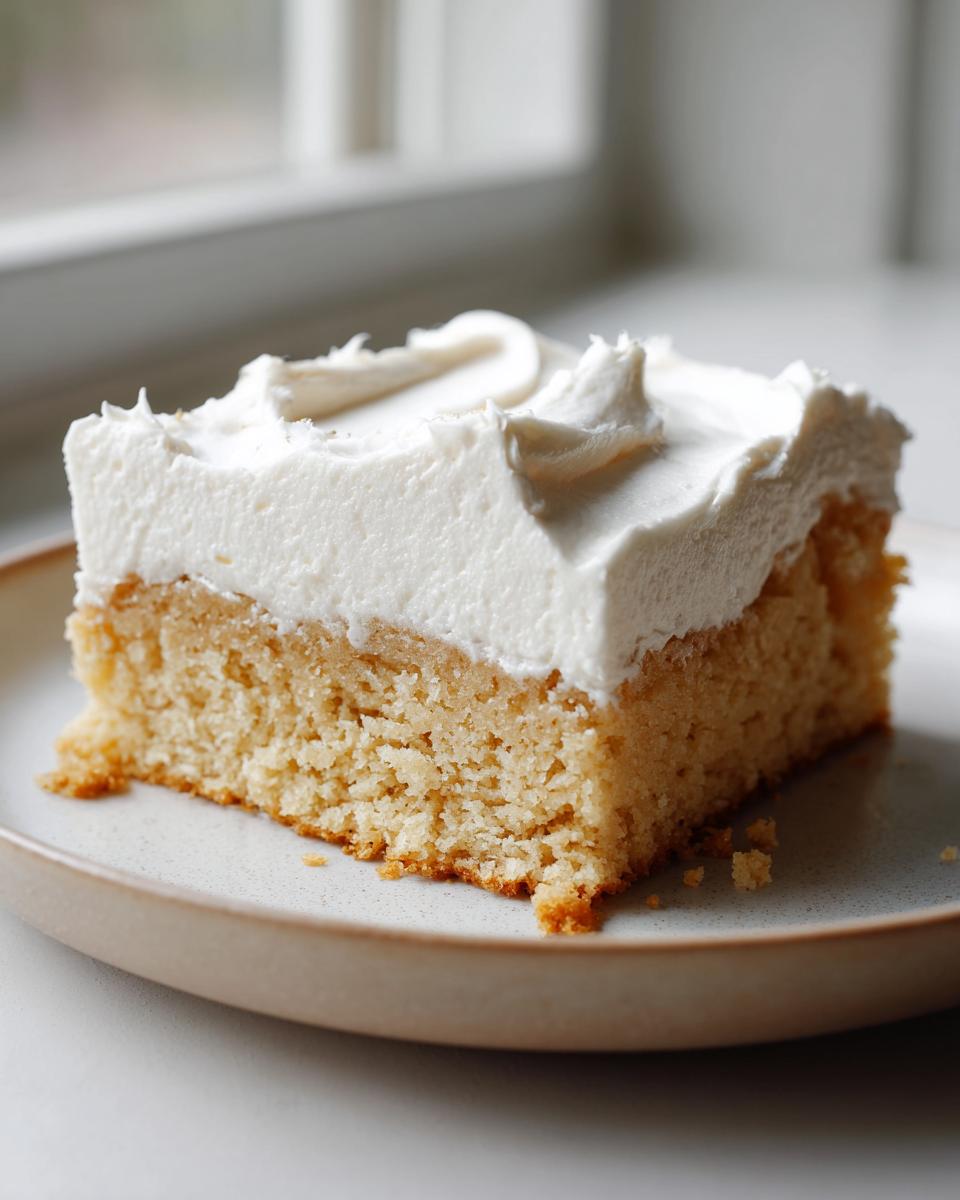
- Texture Perfection: These aren’t cakey; they are perfectly soft and unbelievably chewy. I promise they deliver that satisfying, melt-in-your-mouth experience.
- Beginner Friendly: If you’re just starting out in the kitchen, this is your moment! It’s one of the most reliable and fantastic beginner baking recipes out there.
You can bake a huge batch of these buttery cookie bars at once, making them perfect for freezing or taking to a party. Ready to see how truly easy this becomes? Check out my other favorite delicious dessert recipes too!
Ingredients for Soft Baked Cookie Bars and Fluffy Frosting
Okay, let’s talk logistics. This recipe relies on standard pantry staples, but precision is key to getting those unbelievably **soft baked cookie bars** we are aiming for. Remember what I always say—ingredients matter! And since we are making a big batch, you will need one 9×13 pan worth of goods here. If you’re looking to level up your simple frosting game, make sure you check out my tips for the best cream cheese frosting recipe, though this vanilla version is perfect for these bars.
For the Buttery Sugar Cookie Bars Base
Make sure your butter is actually softened—not melted! That’s the difference between fluffy batter and dense brick territory.
- 1 cup (2 sticks) unsalted butter, softened
- 1 1/2 cups granulated sugar
- 2 large eggs (Make sure these are room temperature, too!)
- 1 tablespoon vanilla extract
- 4 cups all-purpose flour (Measure this gently, don’t pack it!)
- 2 teaspoons baking powder
- 1/2 teaspoon salt
- 1/2 cup milk
For the Fluffy Vanilla Frosting for Cookie Bars
This frosting comes together fast, but you absolutely must add the milk slowly. We want fluffy height, not soup!
- 4 cups powdered sugar (Sifted, if you have time!)
- 1/2 cup (1 stick) unsalted butter, softened
- 1 teaspoon vanilla extract
- 3-4 tablespoons milk (Start with 3, see how you like the spreadability)
- Pinch of salt (This keeps it from tasting flat!)
- Sprinkles, for decoration (optional, but honestly, why skip them?)
How to Make the Best Sugar Cookie Bars (Step-by-Step)
This is where the magic happens! Getting the right texture for these **chewy sugar cookie squares**—that perfect blend of soft and dense—comes down to not rushing these mixing steps. Don’t freak out if the batter seems thick; that’s exactly what we want for a truly buttery cookie bar. To get that ideal chewiness, just remember that everything needs to be mixed gently once the flour goes in. If you overwork the dough, you’ll end up with a tougher texture that nobody wants. For tips on nailing that perfect chew in other similar recipes, definitely take a peek at my guide for the perfectly chewy chocolate chip cookie cake!
Preparing the Pan and Mixing the Dough
First things first, let’s get the oven hot—350°F (175°C) is what we need. Now, grab that trusty 9×13 pan. I’m serious about this: line it with parchment paper, making sure you leave an overhang sticking up on the sides. It’s basically a built-in handle for your finished bars, saving you so much trouble later! In your large bowl, you’re going to cream that softened butter and the granulated sugar until they look genuinely light and fluffy. This takes a few minutes, but don’t stop early! After that, beat in your eggs one at a time, followed by that wonderful splash of vanilla extract. We are building the base for your **easy sugar cookie bars recipe** right here.
Combining Dry Ingredients and Final Dough Assembly
In a separate bowl, take a moment to whisk your flour, baking powder, and salt together. You want it all evenly distributed so you don’t end up with a pocket of baking powder somewhere! Now, back to the wet stuff. This is the critical part for texture: you need to add the dry ingredients and that final splash of milk alternately. Start and end with the dry mix. Mix on low speed, or just fold it in by hand, until you see *just* everything combined. I mean it: stop mixing the second you see the last streak of flour disappear. Seriously, no more stirring!
Baking and Cooling Your Chewy Sugar Cookie Squares
Spatula time! Gently press that thick, gorgeous dough evenly across your prepared pan. It’s going to take a little elbow grease because the dough is stiff, but that’s good! Pop it into the oven for about 20 to 25 minutes. Watch those edges; they should just be turning barely golden. When you test it, you want a toothpick to come out with moist crumbs attached, not wet batter, but not totally dry either. The important finish line? You *must* let these cool completely, I mean rock solid cool, right in the pan on a wire rack before you even *think* about frosting them. If you rush this cooling step, your beautiful frosting will just melt right off!
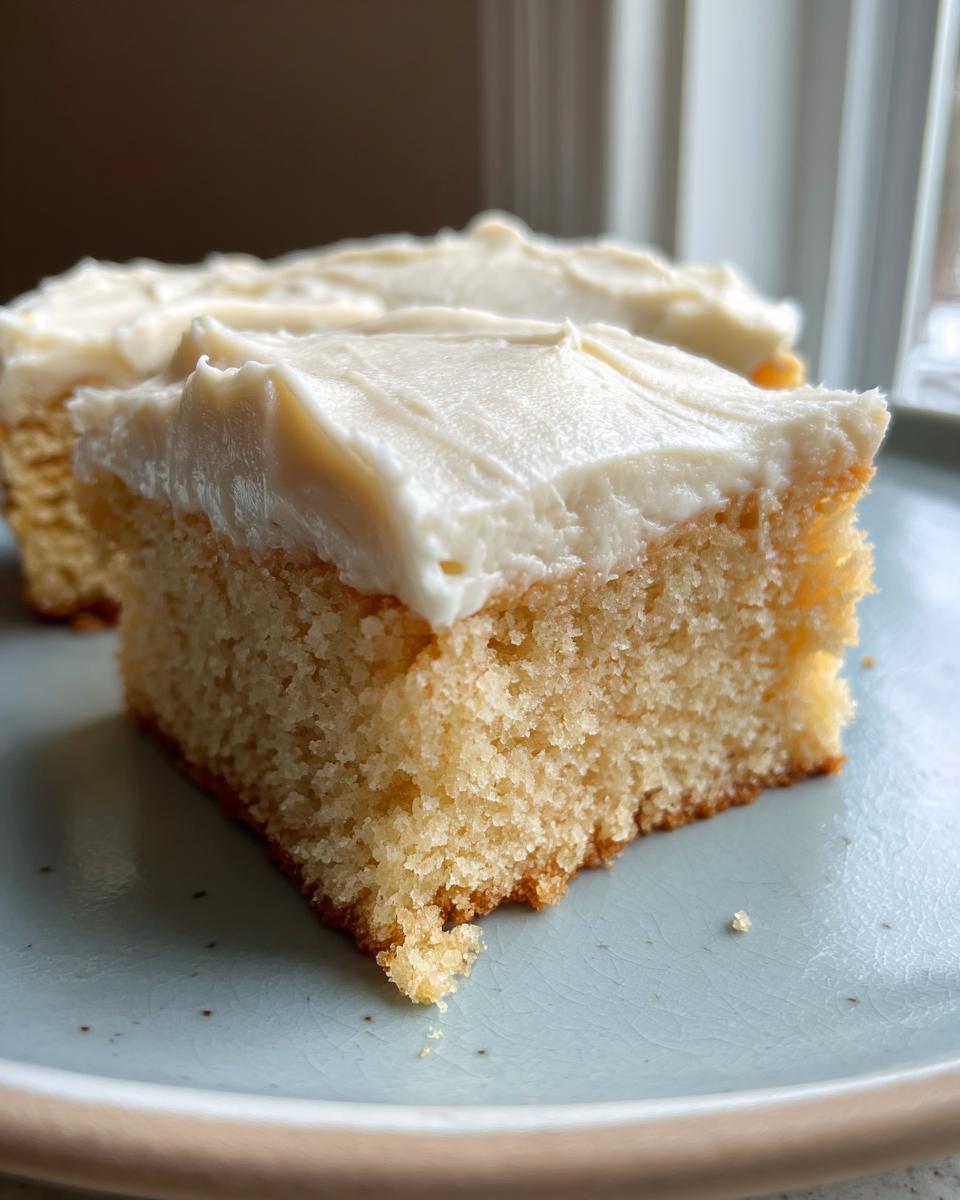
Whipping Up and Applying the Frosted Cookie Bar Dessert Topping
Once they are stone-cold, let’s whip up that fluffy topping! Beat that softened butter in your mixer until it’s ultra-smooth. Now, add the powdered sugar in slow batches, alternating with the vanilla and that tiny pinch of salt. Keep the mixer running low. Grab your milk—start with three tablespoons only. You are looking for a thick, creamy, spreadable consistency. If it seems too stiff to spread, add that fourth tablespoon. Spread the frosting evenly over the cooled **frosted cookie bar dessert**. If you’re using sprinkles, now is the time to shower them on! Let the frosting set up for about 15 minutes, then use those parchment overhangs to lift the entire slab out, and cut them into perfect squares.
Expert Tips for Perfect Sugar Cookie Bars Every Time
Look, my goal here at Cheffinity isn’t just to give you a recipe that *works*; I want to give you the recipe that wins every time you bring them somewhere! Since these are designed to be super simple dessert bars, it’s easy to think you can skip the small details, but those details are how you get that superior texture. When I was first learning from my mom, she constantly reminded me that good baking is 80% temperature management. I’ve learned that these few extra steps take just five minutes but elevate these from good to truly amazing.
Achieving the Melt in Your Mouth Cookie Bars Texture
If you want that true, rich, melt in your mouth cookie bars sensation, you absolutely must manage your temperatures. Pull that butter and those eggs out of the fridge about an hour before you start. I’m Ava, and trust me on this: cold eggs don’t incorporate smoothly into the creamed sugar mixture. They chill the butter back down, leading to clumps and uneven pockets in your final baked square. When the ingredients are at room temperature, you get a beautifully smooth, pale mixture when creaming, which sets the stage for that wonderfully soft texture that makes these sugar cookie bars famous.
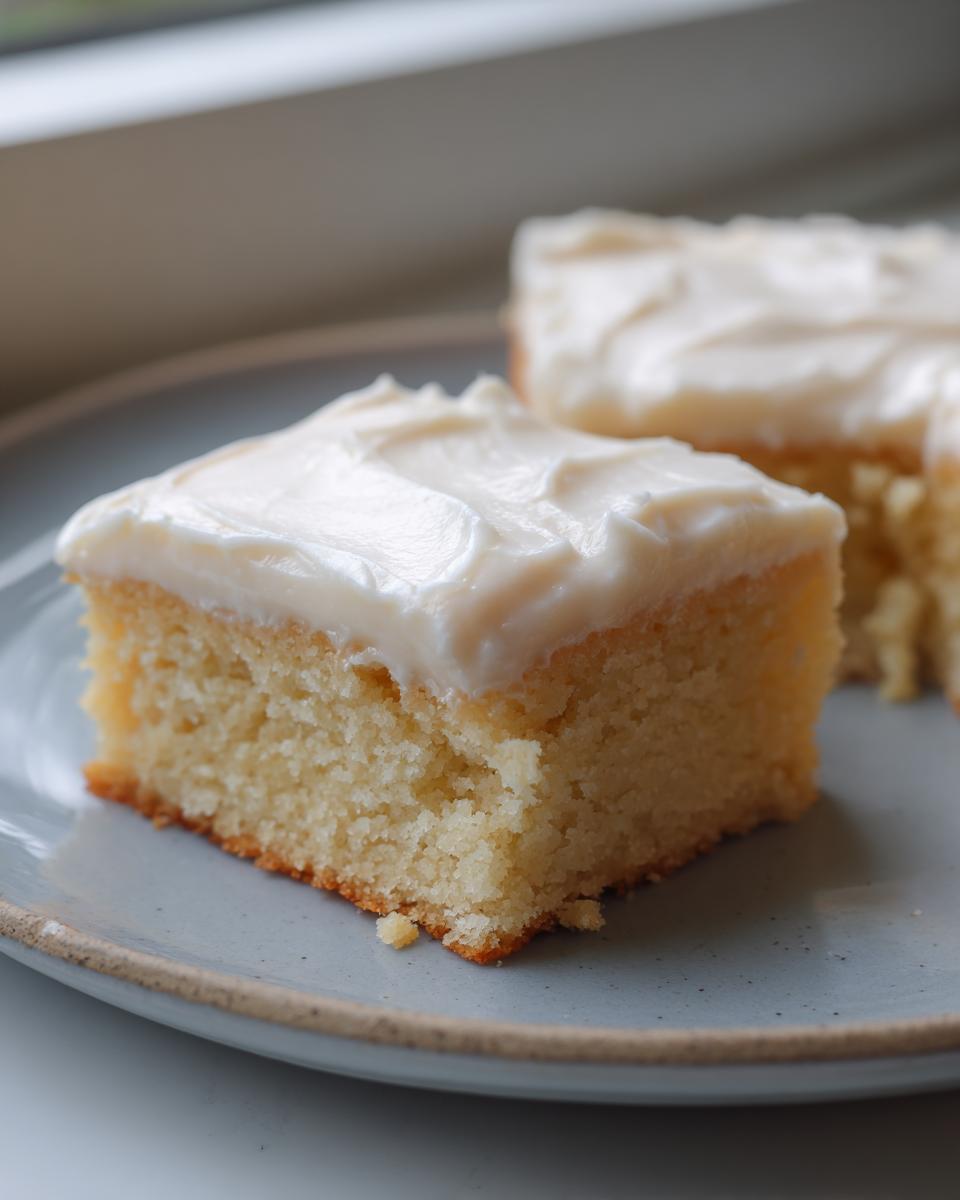
Getting Bakery Style Cookie Bars Appearance
Sometimes, you want a really thick bar, like what you see in the display case at a fantastic bakery. This recipe already yields a great bar, but if you want to step it up—especially if you are preparing these for a special function or event—try this trick! Before pressing the dough into your prepared pan, wrap the whole bowl of dough and pop it into the fridge for about 30 minutes. Chilling the dough just slightly solidifies those fat molecules. This prevents the dough from spreading too much in the oven, giving you those thicker, denser, those beautiful bakery style cookie bars everyone talks about. You can see how other chewy recipes, like my easy apple crisp recipe, rely on that slight chill to manage texture, and it works wonders here too!
Also, remember that fantastic tip from the notes? These bars freeze like a dream! If you’re baking ahead for the holidays, chill them completely, frost them, cut them, and stack them between wax paper in an airtight container. They stay perfect for ages, ensuring you have easy treats ready when you need them, just like what you read about for sugar cookie bars that melt in your mouth.
Customizing Your Holiday Cookie Bar Recipe
One of the greatest things about these sugar cookie bars is how blank the canvas is! They have that foundational buttery flavor that makes them absolutely perfect for adapting to any celebration. Whether it’s a family birthday, a summer barbecue, or, let’s face it, the glorious chaotic splendor of Christmas baking, these bars take decoration so well. You get all the festive appeal of cut-out cookies without spending half a day wrestling with pastry bags!
Because the base is so sturdy and the vanilla flavor is so clean, you can play around with extracts and mix-ins without destroying the integrity of the simple dessert bars. I think that’s what made them such a go-to for my mother when we needed something quick for school events. Before diving into crazy decorating techniques, think about just tweaking the flavor profile first.
Flavor Variations for Simple Dessert Bars
You’ve got your plain vanilla, which is heavenly, but why stop there? A tiny adjustment can make these feel brand new. If you want a slightly more sophisticated profile, try swapping out a bit of that vanilla extract for almond extract. Almond and sugar cookies? Pure perfection! You only need about half a teaspoon to make a huge difference.
For a brighter, slightly zesty option, mix in the zest of one full lemon right when you are creaming the butter and sugar. It adds such a wonderful lift to the whole flavor that works great in warmer months. It makes them feel like a bright, sophisticated square!
And of course, if you are making these for the holidays, this is where you can go wild with mix-ins. Remember those sprinkles we used in the frosting? You can fold about a half-cup of festive, nonpareil sprinkles right into the dough before pressing it into the pan. It creates those gorgeous, colorful specks throughout the bar itself—a true Christmas sugar cookie bars look! You could also fold in white chocolate chips or chopped pecans for extra texture, though keep in mind that heavy mix-ins might change the baking time slightly, so just keep an eye on those edges.
If you are looking for a totally different direction but still want that ease, you might want to flip through my guide on the moist carrot cake recipe; those flavors are also amazing in bar form when you want something richer!
For endless holiday inspiration on decorating these very bars, I always bookmark posts like this one on easy Christmas sugar cookie bars to get my creative juices flowing.
Storage and Reheating Instructions for Buttery Cookie Bars
One of the BEST things about making these buttery cookie bars is that they are practically designed for make-ahead success. If you are baking for a party, a bake sale, or just want a sweet treat ready for a Tuesday night, these hold up beautifully. Nobody wants dry, stale cookie bars, so we have a few tricks to keep them tasting fresh from the oven.
For short-term storage—say, if you plan to eat them within 3 to 4 days—just keep them covered tightly at room temperature. You can use plastic wrap, or if you’re worried about your frosting getting sticky, place them in an airtight container. Just make sure you let them cool completely before you seal them up!
If you are planning way ahead, freezing is your friend. Here’s where I deviate slightly from the standard instruction: if you know you won’t eat them all right away, try to freeze them unfrosted if you can. The moisture content is so high, but sometimes very rich frostings can get a little weird texture-wise after thawing, especially if they have a lot of butter.
To freeze the un-iced base: Cut the cooled sheet into squares, place them in a single layer on a baking sheet, and pop that sheet into the freezer until the bars are stiff. Then, stack them with wax paper between each layer, wrap the whole stack tightly in plastic wrap and then foil, and tuck it into the freezer. They will keep fantastic for up to three months! When you are ready to serve, just let them thaw on the counter for a few hours, then whip up a quick batch of frosting and decorate them right there. That makes them seem even fresher!
If they are already frosted, yes, you can freeze them! Just separate the layers with wax paper before stacking them in an airtight container. When thawing, make sure they thaw slowly in the fridge overnight. If you’re looking for other make-ahead desserts that travel well, check out my thoughts on easy no-bake mini cheesecake recipes—those are fail-proof for gatherings too!
Frequently Asked Questions About Easy Sugar Cookie Bars Recipe
I know you’re going to love this easy sugar cookie bars recipe, but sometimes even the simplest desserts lead to questions when they come out of the oven! That’s totally normal. After years of testing these in my own kitchen, running them through the Cheffinity trials, I’ve compiled the roadblocks people usually hit. Addressing these little issues ensures you get the perfect result every single time you whip up these squares.
Can I use shortening instead of butter in these sugar cookie bars?
Oh, gosh, please don’t! I really want you to avoid that substitution here. While shortening seems like it might make them softer, it won’t give you that essential flavor profile we are chasing. Butter is non-negotiable for these bars because it’s responsible for that rich, wonderfully buttery cookie bars flavor, and more importantly, it’s key to getting that phenomenal melt in your mouth cookie bars texture. Shortening just doesn’t cream the same way, and you end up losing so much richness. Stick to the butter for the best payoff!
Why are my soft baked cookie bars dry?
If your results come out dry instead of those amazing soft baked cookie bars we planned for, there are usually three culprits. First, and most common: you overbaked them by about two minutes because you were waiting for the toothpick to come out totally clean. Remember, we want moist crumbs! Second, check your mixing process—if you overworked the flour after adding the dry ingredients, you developed too much gluten, making them tough. Finally, check your frosting recipe, too! Sometimes a dry frosting sucks residual moisture from the base as it sits, so ensure your frosting has enough milk to stay yielding and soft.
What is the best way to get clean cuts on the frosted cookie bar dessert?
Cutting a beautiful, frosted pan of squares without dragging the frosting everywhere is one of the small victories of making this frosted cookie bar dessert! The trick here is heat and a steady hand. Once the frosting has set up for maybe 15 minutes, grab your sharpest, largest knife—a chef’s knife works great. Dip the knife blade completely into a tall glass of hot water, then wipe the blade completely dry with a clean towel. Make one clean downward cut. Dip, wipe, cut again. You’ll be stunned at how glossy and smooth your slice edges look. It keeps the frosting sharp and clean on all sides!
If you’re looking for more general baking troubleshooting, I keep a running list of fixes for common problems in my guide on easy no-knead artisan bread recipe—a lot of fundamental baking science applies no matter what you are making!
Estimated Nutritional Snapshot for Your Sugar Cookie Bars
We focus on taste and ease here at Cheffinity, not calorie counting, but I know some of you like to keep track! Here is a general estimate for one 1/24th slice of our sugar cookie bars, including the vanilla frosting. Remember, this is just a rough guideline!
- Serving Size: 1 bar
- Calories: 280
- Sugar: 35g
- Sodium: 150mg
- Fat: 14g
- Protein: 3g
- Carbohydrates: 37g
Share Your Quick Cookie Recipes Triumphs
I absolutely love it when you all try these recipes and email me pictures! Making these **quick cookie recipes** should be fun, efficient, and delicious, and I want to hear how these bars worked out for your family gathering, birthday, or just Tuesday night. Did you go heavy on the sprinkles? Did you try the almond variation? Don’t be shy!
Leave a rating right below and tell me in the comments exactly how you liked the texture. I read every single note, and those comments really help other bakers decide to jump in and try this simple dessert bars recipe, too. Need to get in touch about something else? Feel free to reach out anytime via my contact page. Happy baking, everyone!
Estimated Nutritional Snapshot for Your Sugar Cookie Bars
We focus on taste and ease here at Cheffinity, not calorie counting, but I know some of you like to keep track! Here is a general estimate for one 1/24th slice of our sugar cookie bars, including the vanilla frosting. Remember, this is just a rough guideline!
- Serving Size: 1 bar
- Calories: 280
- Sugar: 35g
- Sodium: 150mg
- Fat: 14g
- Protein: 3g
- Carbohydrates: 37g
Share Your Quick Cookie Recipes Triumphs
I absolutely love it when you all try these recipes and email me pictures! Making these quick cookie recipes should be fun, efficient, and delicious, and I want to hear how these bars worked out for your family gathering, birthday, or just Tuesday night. Did you go heavy on the sprinkles? Did you try the almond variation? Don’t be shy!
Leave a rating right below and tell me in the comments exactly how you liked the texture. I read every single note, and those comments really help other bakers decide to jump in and try this simple dessert bars recipe, too. Need to get in touch about something else? Feel free to reach out anytime via my contact page. Happy baking, everyone!
PrintUltimate Soft and Chewy Sugar Cookie Bars with Fluffy Vanilla Frosting
Make these easy sugar cookie bars for a simple, buttery dessert that tastes like classic cut-out cookies without the rolling or cutting. They bake up soft and chewy, perfect for holidays or any day treat.
- Prep Time: 20 min
- Cook Time: 25 min
- Total Time: 45 min
- Yield: 24 servings 1x
- Category: Dessert
- Method: Baking
- Cuisine: American
- Diet: Vegetarian
Ingredients
- 1 cup (2 sticks) unsalted butter, softened
- 1 1/2 cups granulated sugar
- 2 large eggs
- 1 tablespoon vanilla extract
- 4 cups all-purpose flour
- 2 teaspoons baking powder
- 1/2 teaspoon salt
- 1/2 cup milk
- For the Frosting: 4 cups powdered sugar
- 1/2 cup (1 stick) unsalted butter, softened
- 1 teaspoon vanilla extract
- 3–4 tablespoons milk
- Pinch of salt
- Sprinkles, for decoration (optional)
Instructions
- Preheat your oven to 350°F (175°C). Line a 9×13 inch baking pan with parchment paper, leaving an overhang on the sides for easy removal.
- In a large bowl, cream together the softened butter and granulated sugar until light and fluffy.
- Beat in the eggs one at a time, mixing well after each addition. Stir in the vanilla extract.
- In a separate bowl, whisk together the flour, baking powder, and salt.
- Gradually add the dry ingredients to the wet ingredients, alternating with the milk, mixing on low speed until just combined. Do not overmix.
- Press the dough evenly into the prepared baking pan.
- Bake for 20 to 25 minutes, or until the edges are lightly golden and a toothpick inserted near the center comes out with moist crumbs attached.
- Let the cookie bars cool completely in the pan on a wire rack.
- To make the frosting, beat the softened butter until smooth. Gradually add the powdered sugar, vanilla extract, and salt. Add milk one tablespoon at a time until you reach a smooth, spreadable consistency.
- Spread the fluffy vanilla frosting evenly over the cooled cookie bars.
- Decorate immediately with sprinkles, if using. Once the frosting sets slightly, use the parchment overhang to lift the bars out and cut them into squares.
Notes
- For the best melt in your mouth cookie bars texture, ensure your butter and eggs are at room temperature before starting.
- If you want bakery style cookie bars, chill the dough for 30 minutes before pressing it into the pan.
- These simple dessert bars freeze well; frost them completely, then cut and place in an airtight container between layers of wax paper.
Nutrition
- Serving Size: 1 bar
- Calories: 280
- Sugar: 35g
- Sodium: 150mg
- Fat: 14g
- Saturated Fat: 8g
- Unsaturated Fat: 6g
- Trans Fat: 0g
- Carbohydrates: 37g
- Fiber: 1g
- Protein: 3g
- Cholesterol: 45mg