
We’ve all been there, right? You spend time baking something amazing—maybe a fall-spiced cake or warm cinnamon rolls—and then you stand over the mixer, praying the topping turns out right. Too often, frosting is either gritty, so sweet it makes your teeth ache, or just a floppy mess that slides right off the top. That’s chaos, and we don’t do chaos in the Cheffinity kitchen!
That’s why I developed what I honestly believe is the best classic cream cheese frosting recipe out there. This isn’t some fussy, complicated spread. It’s reliable, balances that perfect slight tang we crave, and I can whip up a batch that’s wonderfully smooth in under 10 minutes. No more lumps, no more guessing games. This is your dependable answer for everything from a quick dessert topping to making those cinnamon rolls look like they came from a professional bakery!
- Why This Is the Best Classic Cream Cheese Frosting Recipe
- Ingredients for Perfect Cream Cheese Frosting
- How to Make Quick Homemade Frosting: Step-by-Step Instructions
- Tips for Success When Making Cream Cheese Frosting
- Versatile Applications for Your Cream Cheese Frosting for Cinnamon Rolls and More
- Storage and Reheating Instructions for Homemade Cake Icing
- Frequently Asked Questions About Cream Cheese Frosting
- Estimated Nutritional Data for Cream Cheese Frosting
- Share Your Perfect Frosting Creations
Why This Is the Best Classic Cream Cheese Frosting Recipe
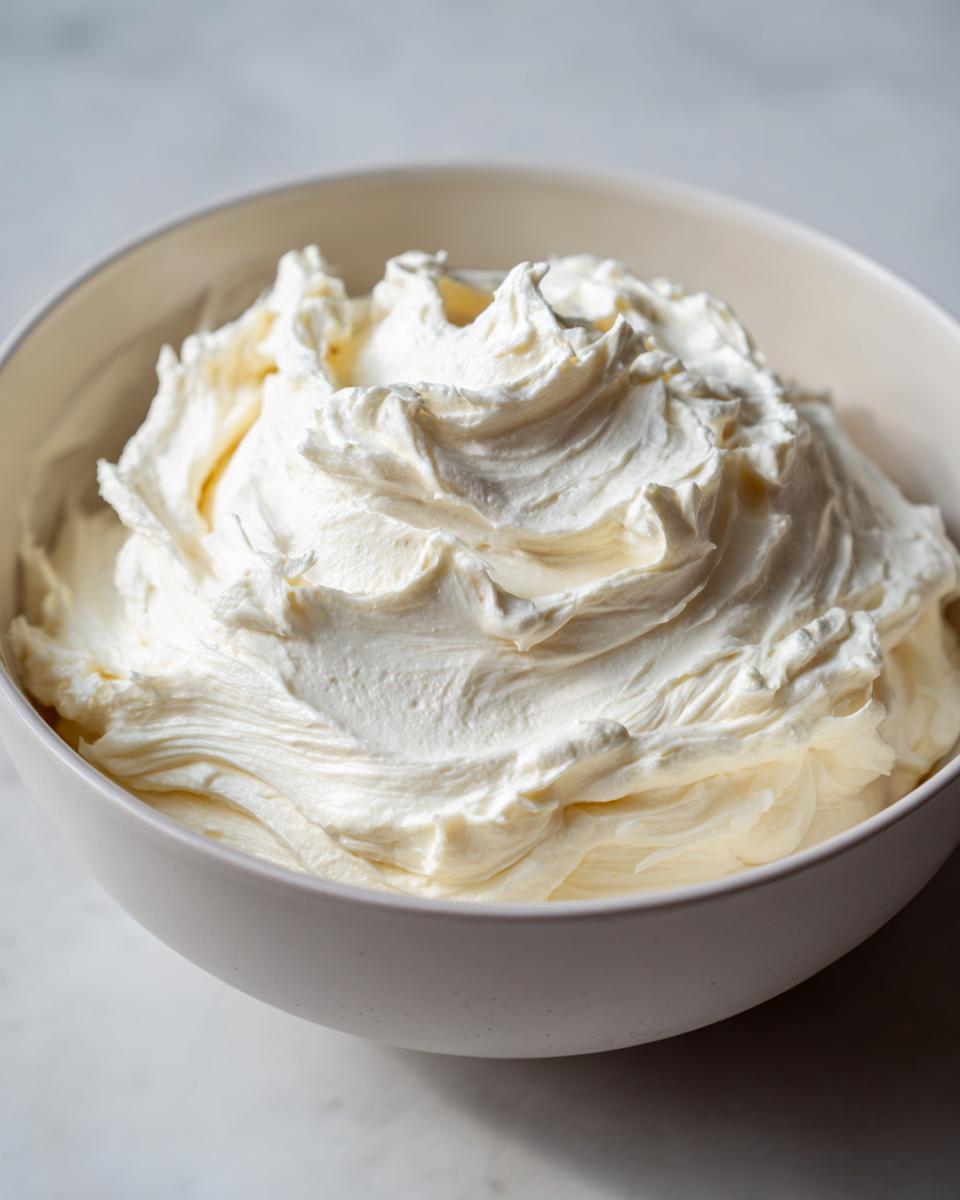
Listen, when you need a topping that truly performs, this is the one. This isn’t just another bowl of sugar and dairy; this is my go-to, tested-on-emergency-cupcake-missions recipe. It hits all the marks: it’s wonderfully fluffy cream cheese frosting, it has that essential, slight tang, and it holds its shape almost like a traditional buttercream, which makes it a brilliant smooth buttercream alternative.
We focus on technique here because that’s what gets you across the finish line with zero frustration. If you’re looking for the best topping for your upcoming red velvet cake or just need something fast, this recipe delivers texture and flavor that simply cannot be beaten for reliability.
Achieving a No Lump Frosting Every Time
This is the most important lesson, and I learned it the hard way!
- Don’t even try this if your cream cheese or butter is still chilled. I mean it! If those ingredients are cold, they won’t blend properly with the sugar, and you end up with those annoying little white chunks—the enemy of a truly good spread.
- The butter and cream cheese need to be soft enough to leave an easy indent when you press them gently with your finger. If you forget to take them out ahead of time? Pop them in the microwave for just 5-second bursts. Trust me, the right starting temperature guarantees a no lump frosting result immediately.
The Secret to Tangy Cream Cheese Icing
Everyone wants that rich flavor, but nobody wants frosting that tastes like a candy bar. The secret to my tangy profile lies right in the ratios we use. We use a full package of cream cheese but keep the butter lower than you might see in other recipes. That higher cheese ratio cuts through the sweetness of the powdered sugar.
Also, don’t skip that dash of salt! It seems tiny, but it plays a huge role in balancing everything out. That microscopic amount of salt brightens the flavor and makes the tangy notes pop, turning it into that superior tangy cream cheese icing you can’t stop eating with a spoon.
Ingredients for Perfect Cream Cheese Frosting
Okay, the prep work is done, and we know our dairy is soft—perfect! When it comes to the best cream cheese frosting, you cannot skimp on ingredient quality here. Because this is such a simple recipe—really just five components—every single one needs to be exactly what I call for. We aren’t making a complicated buttercream with a dozen extracts; we are letting these core players shine. This clarity in ingredients is exactly how you guarantee that perfect texture and flavor for your next project. You’ll need five things, and I need you to measure them precisely!
- 8 ounces full-fat cream cheese (It absolutely must be full-fat, no light stuff allowed!), softened beautifully
- 1/2 cup (that’s one standard stick) unsalted butter, also softened to the right stage
- 3 to 4 cups powdered sugar, and this is super important: it has to be sifted first!
- 1 teaspoon pure vanilla extract (Use the good stuff, please!)
- 1/4 teaspoon salt (Don’t skip this little flavor booster!)
How to Make Quick Homemade Frosting: Step-by-Step Instructions
This is where the magic happens, and trust me, it happens fast! We’re going from cold blocks of dairy to gorgeous, decadent topping in essentially the time it takes to brew a strong cup of coffee. If you follow these mixing techniques exactly, you’ll end up with the most incredible, fluffy cream cheese frosting you’ve ever made. We need to build that structure right from the start so we can use this on everything from my famous spice cakes to those sticky buns we all love so much.
Remember, we are relying on a good old electric mixer here—hand-whisking this much fat is just asking for an arm workout! Let’s break this down into two speedy phases.
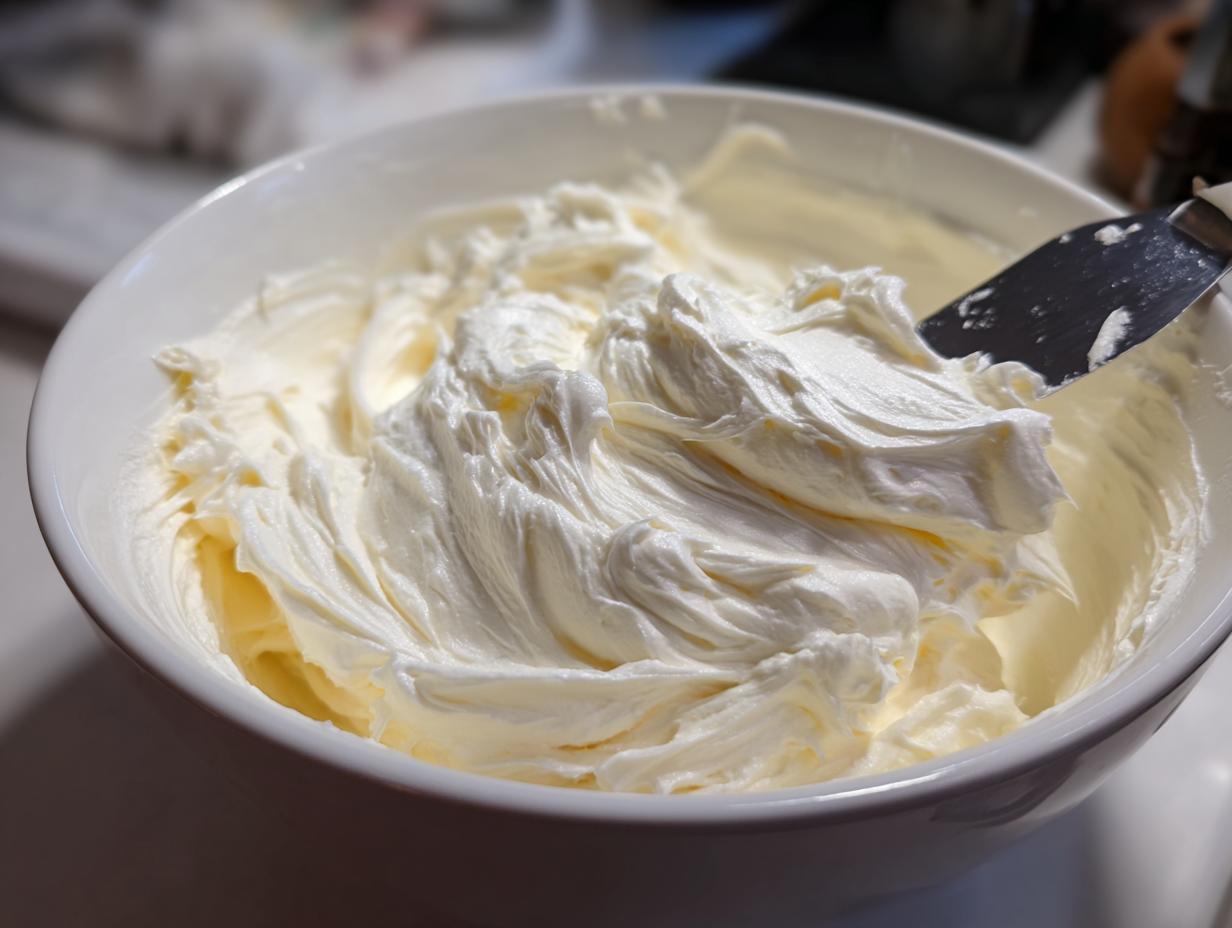
Step 1: Creaming the Base for Smooth Cream Cheese Frosting
Get your softened butter and cream cheese into a large bowl. Turn the mixer on medium, and let it go for a full two minutes. You are looking for absolutely zero streaks or lumps remaining. It should look uniform and creamy. Don’t rush this! After about a minute, stop the mixer and grab your rubber spatula to scrape down the sides and the bottom of the bowl. This is crucial so everything incorporates evenly and you don’t end up with unincorporated chunks of cold dairy hiding out. If it blends well here, the rest is easy street.
Step 2: Incorporating Sugar for Pipeable Cream Cheese Frosting
Now we add the sugar, but we do it carefully! Start your mixer on the very lowest speed—we don’t need a blizzard of powdered sugar dust across my clean countertop, thank you very much! Add the sifted sugar one cup at a time. Let the first cup mix in completely before adding the next. Once all the sugar is in, bump the speed up to medium. Then we add our vanilla and salt, give it a quick stir, and then beat it on medium-high for about three full minutes. That final whipping time is what makes it light and airy instead of dense. If you want that really stiff, pipeable cream cheese frosting for decorating those edges, beat it for an extra minute on high speed to really whip in the air. You can grab a quick tip on speeding up your prep work for easier baking over at my easy breakfast ideas guide!
Tips for Success When Making Cream Cheese Frosting
I’ve given you the recipe, but just like any good meal, baking sometimes needs real-time adjustments based on humidity or how your butter decided to behave that morning. Don’t panic if it looks a little off at first! My main goal here is to make sure you walk away with a perfect, spreadable base. The notes section in my recipe book is usually covered in scribbles, because knowing how to tweak the texture is what separates a good baker from a true one. We want that gorgeous, rich texture that holds its shape, but sometimes we need a little more spread or a little more stiffness depending on what we’re icing.
If you are struggling with getting that no lump frosting result, remember the cold ingredients are usually the culprit, but if you’re mid-batch and it just feels too stiff—maybe you got overzealous with the sugar—don’t throw it out! A tablespoon of milk or heavy cream stirred in slowly can loosen things up beautifully. If you need it thicker, say for really sharp piping details, just run your mixer on high for another minute or two; incorporating more air stabilizes it. You can always add sugar, but you can’t easily take it away!
Adjusting Consistency for Your Specific Cream Cheese Frosting Need
We aim for that perfect middle ground, but sometimes we need a specific outcome. Say you’re using this as a topping for easy dumplings (kidding! mostly!), and you want it thin, almost like a sweet drizzle? You need to introduce a bit more liquid. Slowly beat in a teaspoon of whole milk or heavy cream at a time until it’s looser. On the flip side, if you’re doing detailed piping work, you need maximum structure. Don’t reach for more powdered sugar right away if you’re worried about sweetness. Instead, put the entire bowl in the fridge for about 10 minutes—just enough time for the fat to firm up slightly, then give it one last aggressive whip!
For the very best results that mimic that famous texture from other top recipes, make sure you check the temperature before you start making any adjustments. Trust me, fixing something that isn’t broken wastes time!
Versatile Applications for Your Cream Cheese Frosting for Cinnamon Rolls and More
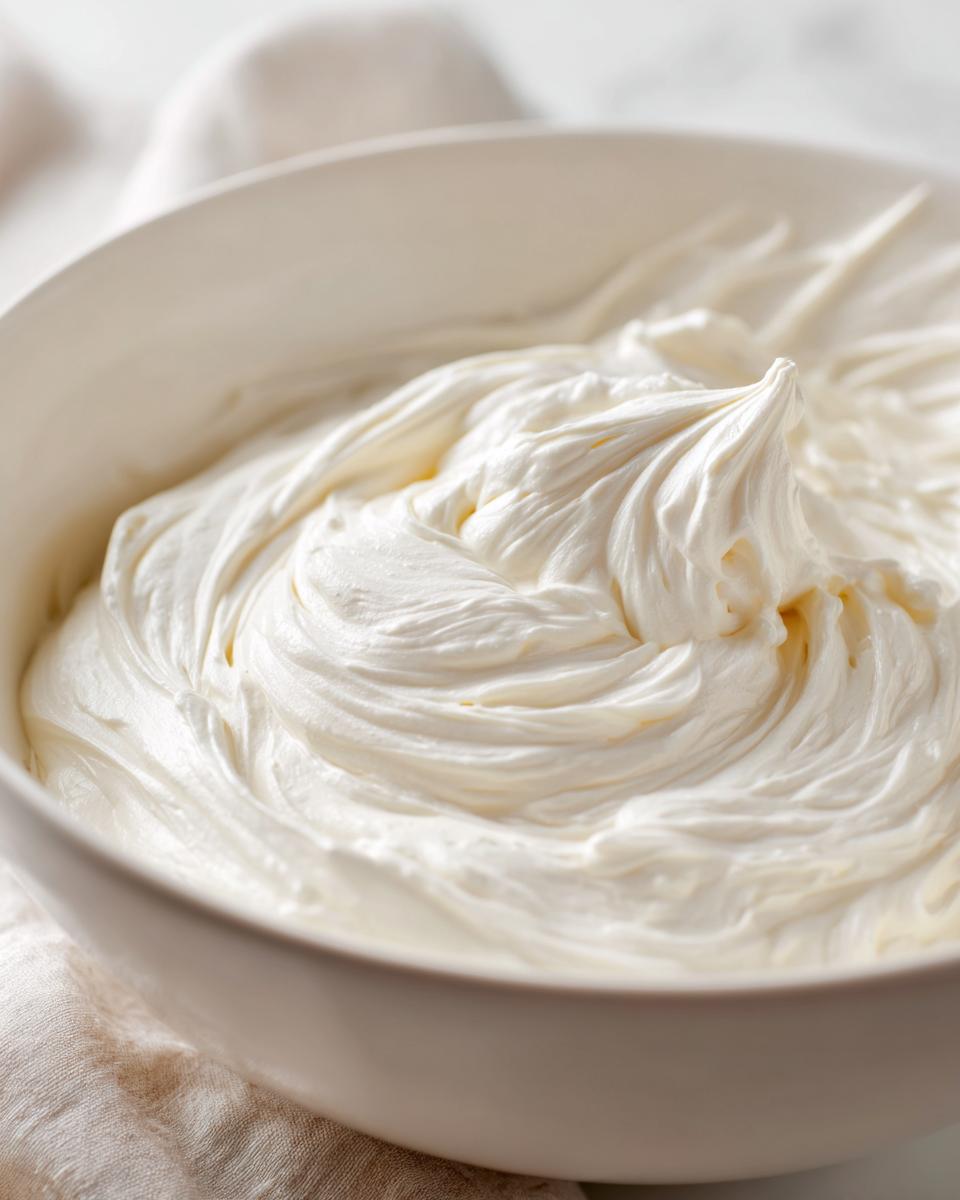
The beauty of this recipe is that it acts like a chameleon; it can be an ultra-rich cake topper or a perfect, slightly tangy drizzle. This isn’t the kind of frosting that melts into a sad puddle the second it touches anything warm, which is why it shines for those early morning treats.
You absolutely *have* to try this as the topping for homemade cinnamon rolls. That little bit of acidity cuts through the sweetness of the sticky roll perfectly. It’s also the classic choice, of course, for pairing with a rich red velvet cake, giving you that authentic, required flavor profile.
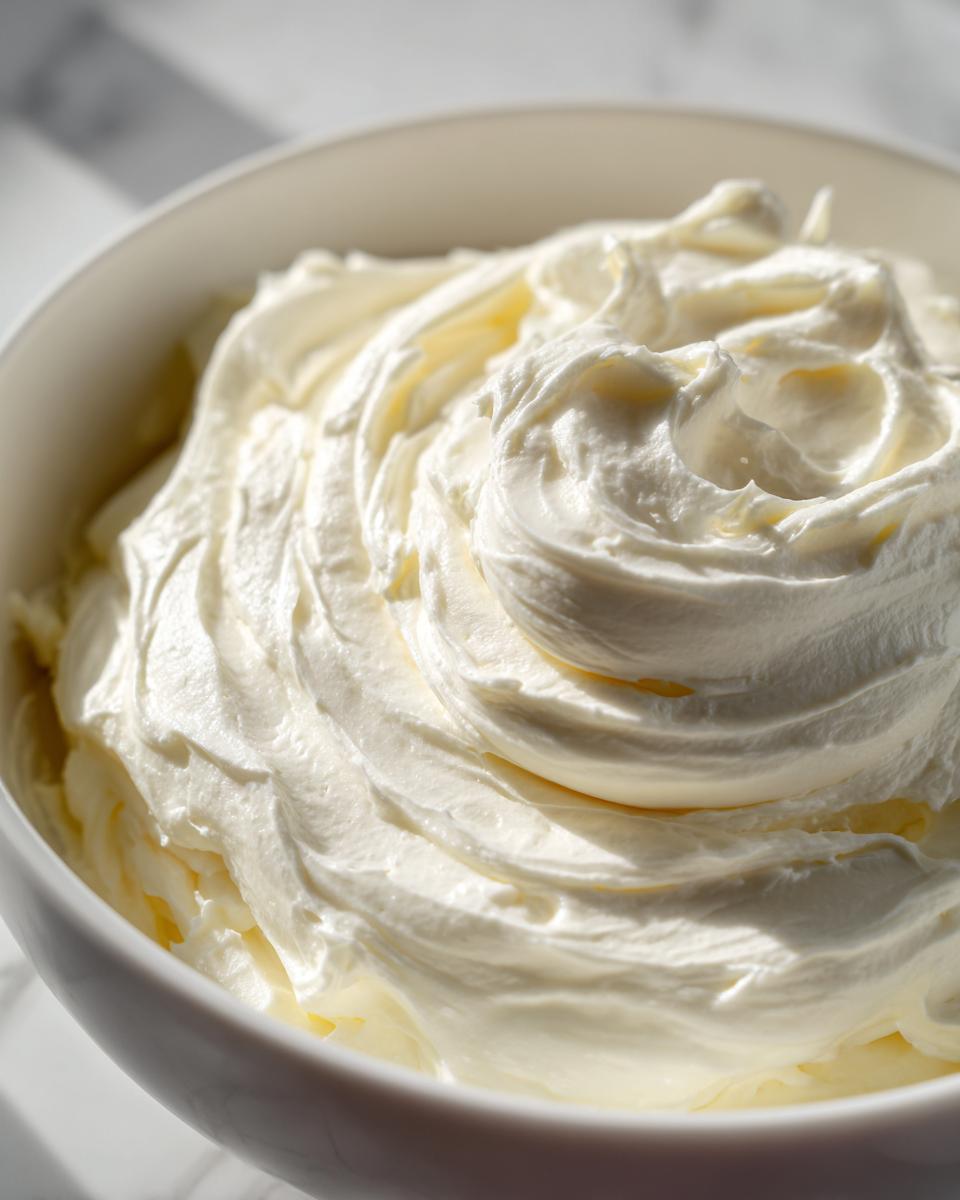
Because this specific batch of cream cheese frosting is balanced and thick—especially if you beat it that extra minute—it pipes beautifully for cupcakes, but it’s still soft enough for slathering generously on warm pastries. If you’ve already made my casserole version, you know exactly how well these flavors marry!
If you want to see how others have used this perfectly structured topping, check out some inspiration from other great bakers. But start here first; this base works every single time!
Storage and Reheating Instructions for Homemade Cake Icing
So you made a giant batch because that’s just smart baking, right? Or maybe you have leftovers because your family decided cake was too much for one sitting (unlikely, but possible). Great news: this cream cheese frosting stores like a dream! But like all dairy-based toppings, it needs a little respect when chilling and when bringing it back out.
When you put it away, you need to make sure air doesn’t get to it. I always press a layer of plastic wrap directly onto the surface of the frosting—that contact layer is your best defense against drying out and picking up any weird smells from the back of the fridge. Store it in an airtight container after that, and it’ll happily sit in there for up to a week. Whether you’re saving your leftovers from making classic chocolate chip cookies or a cake, this method works!
Now, the critical part: reheating it. When cold, this homemade cake icing will look super stiff and possibly a little crumbly—that’s normal, the fat has solidified. Resist the urge to microwave it all at once! Microwaving turns frosting into soup, and we don’t want liquid sugar glue! Instead, put the amount you need into a clean bowl and let it sit on the counter for maybe 30 to 45 minutes. Once it’s soft, give it a quick, lazy beat with your electric mixer on medium speed for about 30 seconds. It will instantly fluff right back up to that perfect, spreadable consistency. It’s amazing how fast it recovers when you treat it right!
If you want to see how other pros handle their storage, you can check out some great techniques over here, but honestly, the plastic wrap press is the step you cannot skip for the best long-term stability!
Frequently Asked Questions About Cream Cheese Frosting
I know you’ve got questions, you always do when you’re trying a new recipe, especially one as crucial as your topping! That’s why I’ve gathered the most common things I hear about this easy cream cheese frosting recipe right here. We want you to feel confident walking into the kitchen, knowing you have all the answers you need for that perfect, fluffy result!
Can I use salted butter in this easy cream cheese frosting recipe?
Technically, yes, you *can*, but I would strongly advise against it if you want the best cream cheese frosting. My recipe calls for unsalted butter for a very specific reason: control! Since we are adding the salt ourselves, we can measure exactly how much we blend in. If you use salted butter, you are guessing the salt level, and that can throw off the balance right when you are trying to achieve that perfect tangy flavor. If you’re in a bind, use salted butter, but cut the added salt in the recipe down to just a tiny pinch, like 1/8th of a teaspoon, and taste before adding more.
How do I make a cream cheese glaze instead of a thick frosting?
That’s a great question, especially if you’re topping something like a bundt cake or those warm cinnamon rolls where you want a drizzle rather than a full-on layer of icing. To turn this into a pourable cream cheese glaze, you need to think about loosening the fat structure. Keep the cream cheese and butter ratio the same, but dramatically cut the powdered sugar—maybe start with just 1 1/2 cups.
Then, you introduce liquid. Start with one teaspoon of milk or cream and mix it in slowly. You’ll keep adding tiny amounts until it’s the consistency you want. It won’t be as fluffy, obviously, but it will be wonderfully smooth, tangy, and perfect for that lovely ‘drip’ effect we all love on our easy dessert recipes!
What is the best way to store leftover tangy cream cheese icing?
If you have any tangy cream cheese icing left over, the fridge is your friend, but you have to seal it up tight! The biggest danger in the fridge is that cream cheese absorbs smells like a sponge. Put your frosting into a container, but before you put the lid on, take a piece of plastic wrap and gently press it right down onto the surface of the icing, making sure there are no air pockets between the wrap and the frosting. That contact seal keeps it fresh and flavor-neutral. It’s good for about a week, but remember what I said earlier—let it soften up and give it a quick whip before you use it again!
Estimated Nutritional Data for Cream Cheese Frosting
Okay, so we’ve talked taste, texture, and time, but I know some of you are curious about the numbers, too! When you’re whipping up this incredible cream cheese frosting, you need an idea of what you’re working with. Since we are using real butter and full-fat cream cheese—because let’s be honest, you deserve that rich feeling—it’s going to be decadent!
Here is the estimated breakdown based on the recipe provided, which usually yields about two cups of topping. Just remember that this is what I call ‘real food cooking’ data, meaning these figures are estimates. Your actual numbers might shift slightly depending on the brand of cream cheese you grab or exactly how much sugar you use to hit your perfect sweetness point. We’re aiming for deliciousness first, counting calories second!
- Serving Size: About 1/4 cup (which is a generous dollop on a cupcake!)
- Calories: Roughly 320 per serving
- Sugar: Around 35 grams
- Fat: About 20 grams total
- Sodium: Approximately 110 mg
- Cholesterol: Around 60 mg
See? That’s the reality of making something truly wonderful from scratch. It’s rich, it’s indulgent, and it is absolutely worth every single bit! This is why we make treats, after all!
Share Your Perfect Frosting Creations
Now that you have this incredibly reliable, smooth, and tangy cream cheese frosting recipe down—and I know you nailed it because you’re following my steps!—I want to see what you’ve topped! Did you use it for a classic red velvet cake? Did you slather it on warm muffins? Or did you finally tackle that epic batch of cinnamon rolls?
Baking is so much more fun when we share the results. Seriously, it makes my day when I see photos! Tag me on social media when you post your glorious, perfectly piped creations. Your feedback helps me know these time-saving, real-life recipes are working for you just as well as they work for me here.
If this recipe saved you from a lumpy disaster or became your new go-to, please leave a rating! Those stars really help other busy folks find this fantastic guide to never-fail frosting. If you have any extra tips or tricks you discovered—maybe how you managed to keep the kids from stealing spoonfuls—drop a comment below! You can always reach out directly through the contact page if you have specific questions, but let’s start the conversation below where everyone can benefit from your success!
I’m always looking for new inspiration, and seeing your results—and how they stack up against those great tips I found from others—is the best part of running this site. Go ahead, show off that amazing, **quick homemade frosting**!
PrintThe Best Classic Cream Cheese Frosting Recipe (Smooth and Pipeable)

Make the best, easy, and quick cream cheese frosting. This recipe yields a smooth, rich, and tangy topping perfect for red velvet cake, cupcakes, and cinnamon rolls.
- Prep Time: 10 min
- Cook Time: 0 min
- Total Time: 10 min
- Yield: About 2 cups 1x
- Category: Dessert Topping
- Method: Mixing
- Cuisine: American
- Diet: Vegetarian
Ingredients
- 1 (8 ounce) package full-fat cream cheese, softened
- 1/2 cup (1 stick) unsalted butter, softened
- 3 to 4 cups powdered sugar, sifted
- 1 teaspoon pure vanilla extract
- 1/4 teaspoon salt
Instructions
- Place the softened cream cheese and softened butter in a large mixing bowl. Beat them together with an electric mixer on medium speed until the mixture is completely smooth and creamy, about 2 minutes. Scrape down the sides of the bowl.
- Add the sifted powdered sugar one cup at a time, mixing on low speed until incorporated, then increase the speed to medium.
- Add the vanilla extract and salt. Beat on medium-high speed until the frosting is light and fluffy, about 3 minutes. If the frosting seems too thin, add the remaining powdered sugar, one tablespoon at a time, until you reach your desired thickness.
- If you need a pipeable cream cheese frosting, beat for an extra minute on medium-high speed to incorporate more air.
- Use immediately to frost cakes or cupcakes, or store covered in the refrigerator for up to one week.
Notes
- For a lump-free result, ensure your cream cheese and butter are truly at room temperature. Cold ingredients cause lumps.
- To achieve a tangier flavor, slightly reduce the powdered sugar or add 1/2 teaspoon of fresh lemon juice.
- If the frosting becomes too soft while working, chill the bowl and beaters for 10 minutes before continuing.
Nutrition
- Serving Size: 1/4 cup
- Calories: 320
- Sugar: 35
- Sodium: 110
- Fat: 20
- Saturated Fat: 12
- Unsaturated Fat: 8
- Trans Fat: 0.5
- Carbohydrates: 36
- Fiber: 0
- Protein: 2
- Cholesterol: 60