
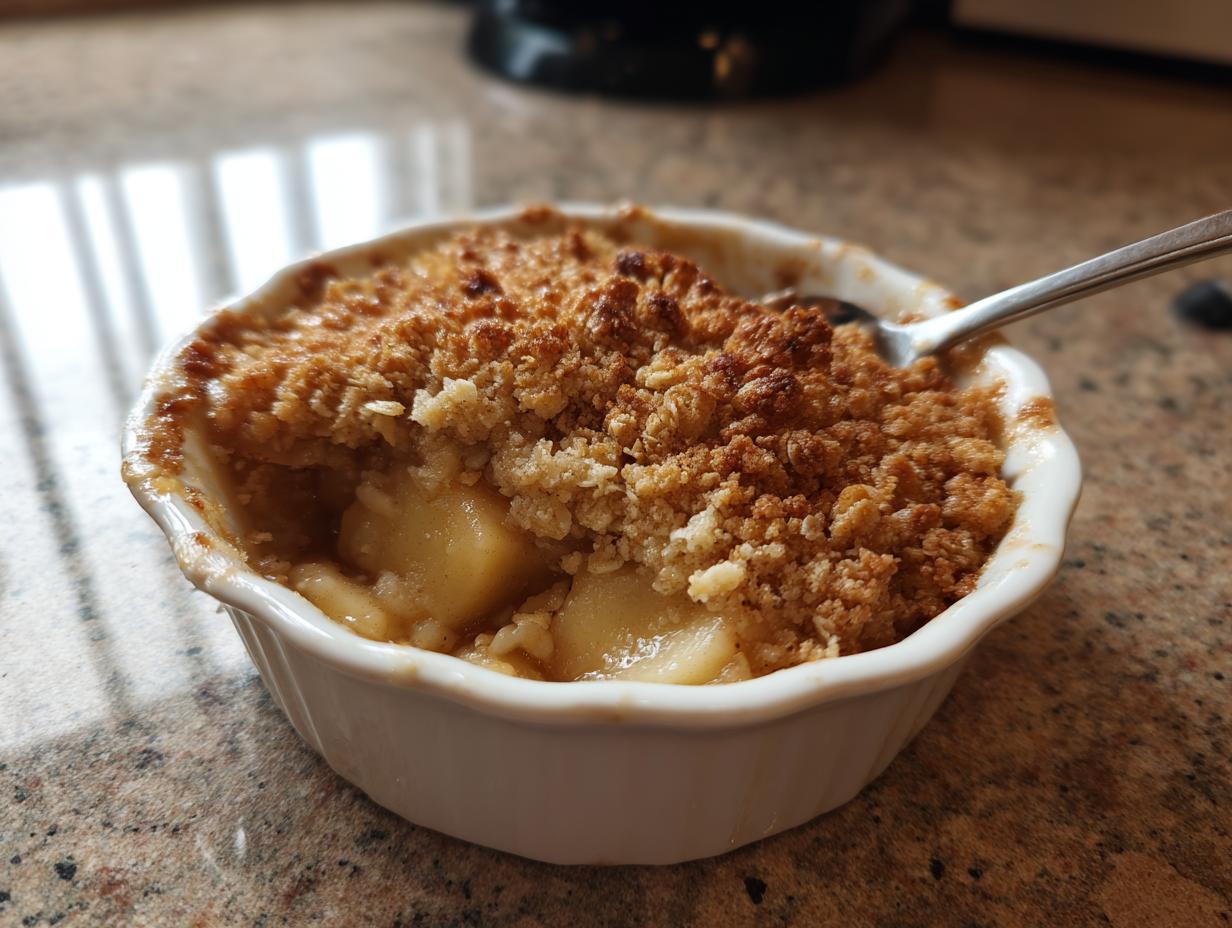
When that first chilly evening hits and you’re craving true homemade comfort food, you need a dessert that delivers warmth without demanding your entire evening. Forget complicated pie crusts! I’m handing over what I truly believe is The Ultimate Foolproof Apple Crisp with Brown Butter Crumble. This isn’t just another recipe; this easy apple crisp has been rigorously tested in my own chaotic kitchen to ensure you get that perfect, golden, buttery crisp topping every single time—no guesswork needed.
It embodies everything Cheffinity stands for: real flavor, real ingredients, and minimal stress. The apples bake down until they are tender and deeply spiced, making this the perfect quick autumn dessert for cozy nights. Trust me, once you nail this simple apple dessert, you’ll be making it weekly all season long. You can find other great delicious dessert recipes here, but this one is *the* staple.
- Why This is the Best apple crisp Recipe You Will Ever Make
- Gathering Ingredients for Your apple crisp
- How to Make apple crisp: Step-by-Step Instructions
- Expert Tips for the Perfect apple crisp Success
- Serving Suggestions for Your warm apple crumble
- Storage and Reheating Instructions for apple crisp
- Variations on the Classic apple crisp
- Frequently Asked Questions about making apple crisp
- Estimated Nutritional Data for this apple crisp
- Share Your Cozy Dessert Ideas
Why This is the Best apple crisp Recipe You Will Ever Make
I know, I know. Everyone claims theirs is the “best,” but this apple crisp truly lives up to the hype because it solves those frustrating little problems that ruin other recipes. We are done with soggy bottoms and pale, chewy toppings. This is a genuinely foolproof dessert recipe that works even when you’re running late or trying to get dinner cleaned up first.
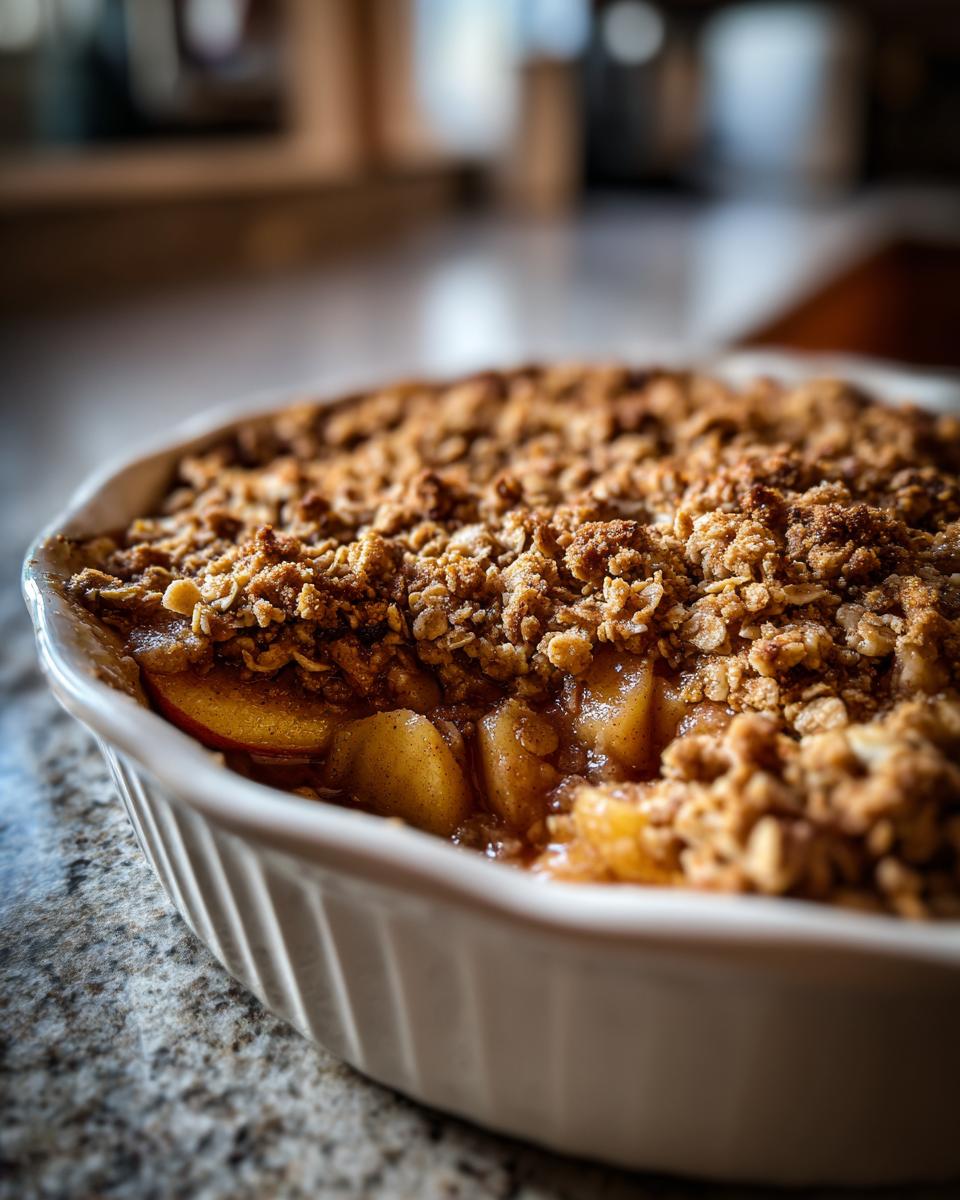
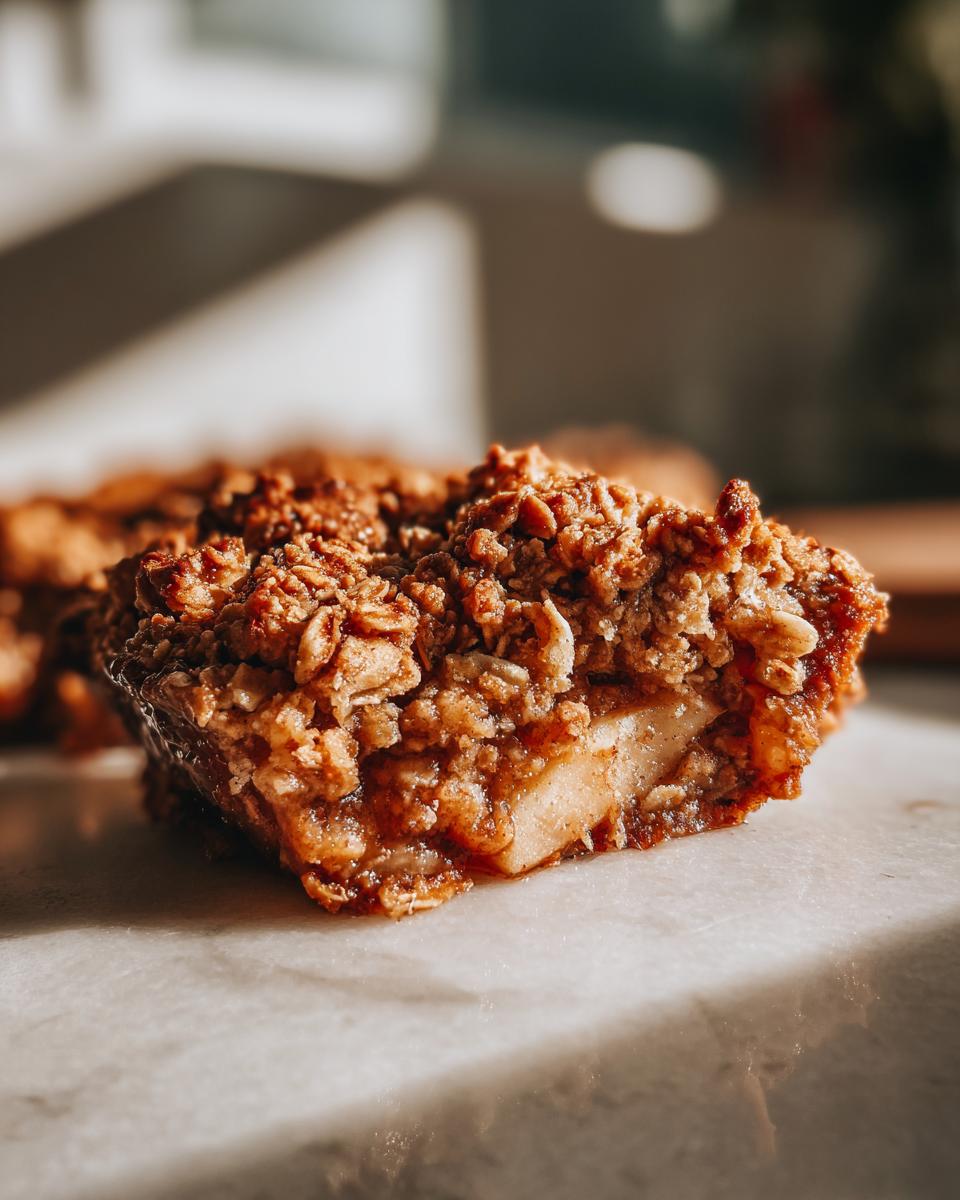
- It delivers that perfect contrast: melt-in-your-mouth tender baked apples against a gorgeously golden, crunchy topping.
- It’s designed for real life—fast enough for a weeknight treat, but special enough for company.
- The topping is pure heaven. It’s robust, unbelievably buttery, and holds up beautifully without getting mushy.
Quick Prep Time for Your apple crisp
This is where we save you time, which is essential in our busy lives. You can have the apples sliced and the topping mixed in about 15 minutes flat. Seriously, 15 minutes! That’s why I call this my go-to quick autumn dessert. It fits right into the Cheffinity philosophy of getting great food on the table without spending hours hovering over the oven.
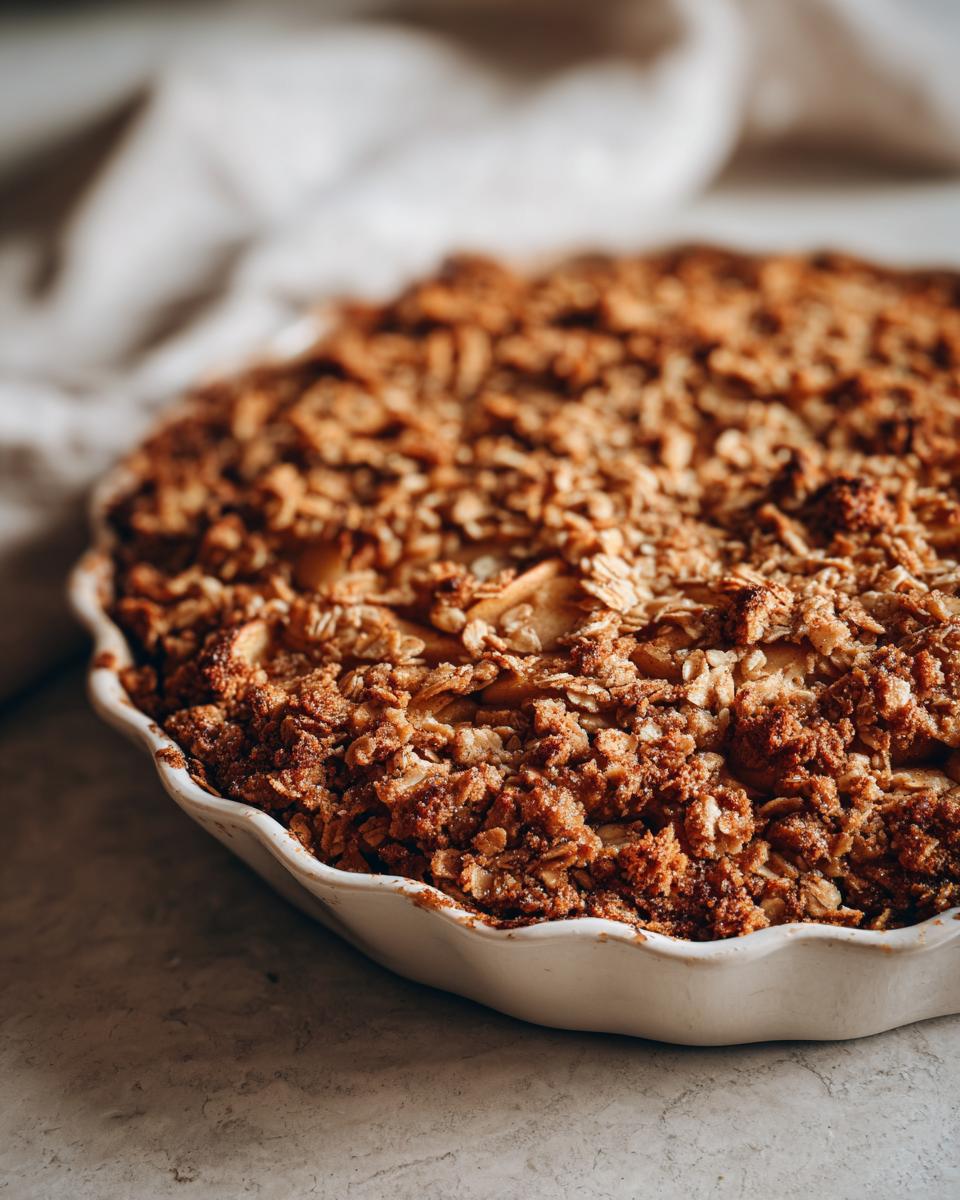
The Secret to a Golden, Buttery crisp topping
Most recipes just tell you to mix cold butter in, but we’re taking it one easy step further with the brown butter concept. You don’t even have to fully brown it until it’s nutty, but melting that butter first and then drizzling it over the dry ingredients creates a richer, deeper flavor profile in the final buttery crisp topping. It coats the oats and flour perfectly, guaranteeing that gorgeous golden crispiness every single time.
Gathering Ingredients for Your apple crisp
Okay, now that we’ve established how easy the technique is, let’s talk ingredients. Making a fantastic apple crisp is really just about two halves: the apples and the topping. The quality of your apples matters a ton, so don’t just grab any old thing! I always recommend a mix of tart and firm apples, like Granny Smith, so they hold their shape during baking. Make sure your butter for the topping is straight out of the fridge and cut into cubes—that coldness is essential for that crumbly texture we are aiming for. Let’s get organized so you can move fast!
For the Tender Baked Apples
- 6 medium apples (Granny Smith or Honeycrisp recommended)
- 1 tablespoon lemon juice
- 1/4 cup granulated sugar
- 1 teaspoon ground cinnamon
- 1/4 teaspoon ground nutmeg
For the Cinnamon Oat Topping
- 1/2 cup all-purpose flour
- 1/2 cup rolled oats
- 1/2 cup packed light brown sugar
- 1/4 teaspoon salt
- 1/2 cup (1 stick) cold unsalted butter, cut into cubes
How to Make apple crisp: Step-by-Step Instructions
Seriously, this is the part where people sometimes get nervous, but trust me, this process is incredibly straightforward. We’re keeping the heat steady and the mixing minimal. Remember that 15-minute prep time we talked about? That efficiency carries right through the construction phase. Just make sure your oven is warmed up and ready to go when you start layering everything together. It moves fast from here to golden perfection!
Preparing the Apples and Dish
First things first: get that oven preheated to 375 degrees Fahrenheit. While that’s warming up, lightly grease your baking dish—an 8×8 inch one works perfectly for this amount. Next, tackle those apples. You need to peel, core, and slice them evenly, aiming for about 1/4-inch thick pieces. Put them right into a big bowl and toss them with the lemon juice, granulated sugar, cinnamon, and nutmeg. You’re looking for everything to be coated evenly. Spread those beautiful cinnamon-spiced apples out in a nice single layer in your prepared dish.
Creating the Buttery Crisp Topping
Time for the star of the show! In a separate bowl, whisk together all your dry topping bits: the flour, rolled oats, brown sugar, and salt. Now, grab your cold, cubed butter. You need to cut that butter into the dry mixture. If you have a pastry blender, use that! If not, just use your fingertips, rubbing the butter into the flour mixture until it looks like coarse crumbs. Don’t overthink this part; you actually *want* some pieces of butter visible—think pea-sized amounts. Those are the pockets that turn into pure gold in the oven. Sprinkle this topping evenly over the apples.
Baking and Resting the apple crisp
Pop that dish into the preheated oven. You’re looking at 35 to 45 minutes of baking time. You’ll know it’s done because the topping will be deeply golden brown, and if you peek underneath (carefully!), the apple filling should look bubbly and soft when you test it with a fork. This is a crucial step that many people skip, so listen up: You MUST let this apple crisp cool down for at least 15 minutes after it comes out. Resting allows the filling to thicken up properly so you don’t end up with soup on your plate!
Expert Tips for the Perfect apple crisp Success
Even though this is my foolproof recipe, I always want you to feel like you’re getting insider knowledge! My methodology focuses on getting the most flavor out of simple ingredients. If you follow these little extras, you’ll elevate this dish from “good” to absolutely unforgettable. We want that perfect blend of tart apples and rich topping, which relies on a few simple checks right before and during baking.
Apple Selection and Flavor Balance
When you’re making a classic baked apples dessert, the apple choice is everything. If you only use sweet apples like Fuji, you’ll end up with mushy apples that taste one-note. I really push people to use at least two types of apples in their mix—something tart, like Granny Smith, blended with something more aromatic, like Honeycrisp or even Braeburn. This mixture guarantees the filling stays firm enough and has that complexity we look for in a great fall apple dessert.
Troubleshooting Topping Browning
Sometimes, depending on how much fat is in your butter or how close your oven rack is to the element, that beautiful oat topping can start turning dark brown before the apples underneath are totally tender. Don’t panic! This is easily fixed. If you see the crisp getting too dark around the 25-minute mark, just grab a sheet of aluminum foil and loosely tent it over the baking dish. This shields the top from direct heat while letting the trapped steam finish cooking those lovely cinnamon-spiced apples below. You can learn about other great savory solutions here, but this foil trick works every single time for crisps!
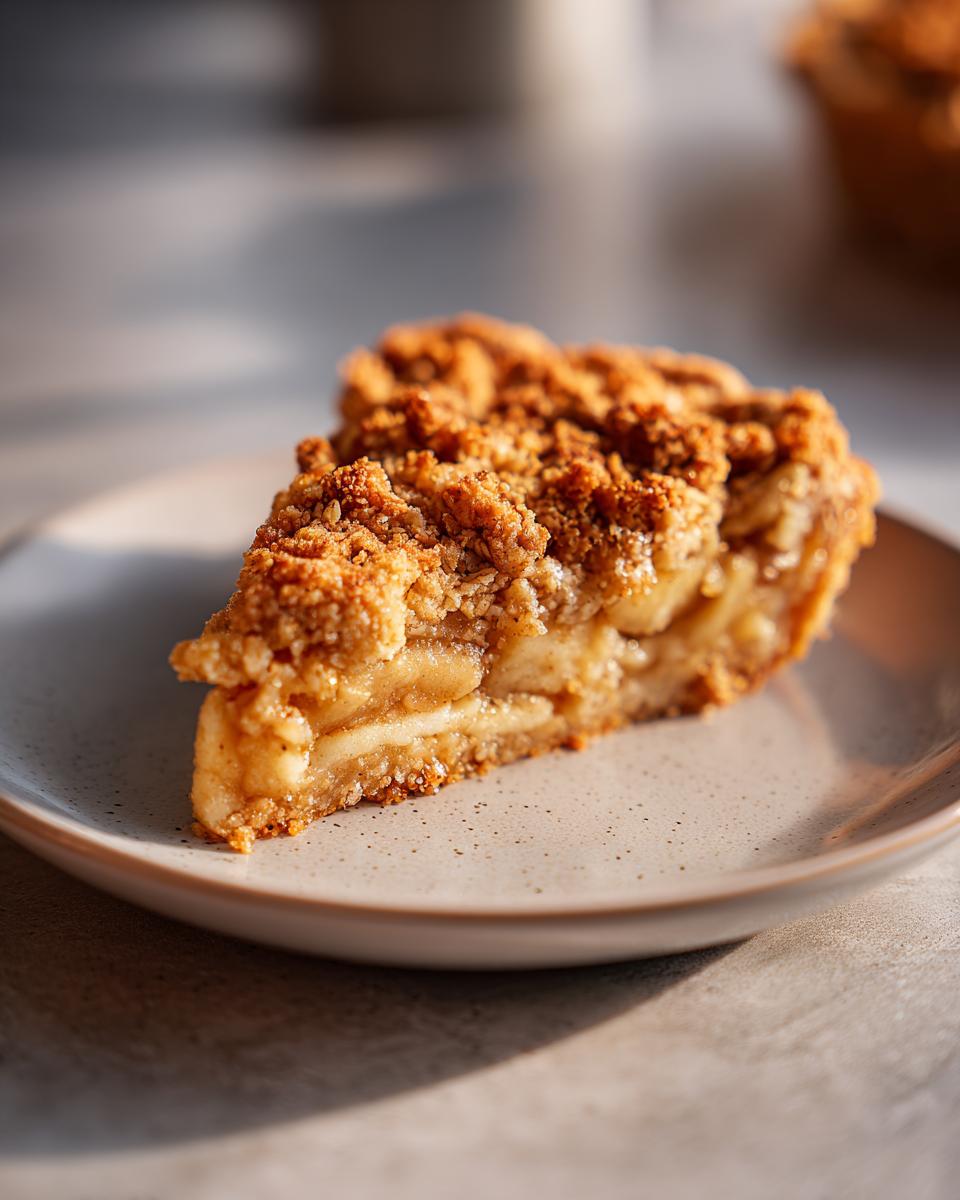
Serving Suggestions for Your warm apple crumble
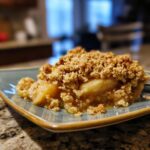
The absolute best part about pulling this warm apple crumble out of the oven is knowing what comes next! This dessert is practically begging for a temperature contrast. My top recommendation, and what my kids demand every time, is a generous scoop of high-quality vanilla ice cream melting right into that buttery topping.
If you’re feeling extra decadent, a drizzle of good caramel sauce elevates everything. That combination of a apple crisp with ice cream and caramel? Pure bliss. You can even try making my homemade chocolate syrup here; although, I usually save that for brownies—it’s just too good to add to this perfect fall treat sometimes!
Storage and Reheating Instructions for apple crisp
Okay, so my apple crisp is dangerously good, meaning you might actually have leftovers—a rare and wonderful thing! Storing it correctly is key to making sure that amazing topping stays crunchy when you reheat it. If you’re just saving it overnight, I recommend leaving it right there in the baking dish, but be sure to cover it tightly with plastic wrap or foil. I usually leave it out on the counter overnight if it’s going to be eaten the next day. Because we use so much sugar and fat, it usually stays perfectly fine at room temperature for 24 hours.
If you need to save it longer than that, pop the covered dish into the fridge. It’ll last happily for 3 to 4 days. Now, reheating is where the magic happens again. The microwave is fast, yes, but it softens the crisp terribly. For the best result—to bring back that golden crunch—you want to reheat your portion in a toaster oven or a regular oven set to about 325 degrees Fahrenheit for about 10 minutes. If you must use the microwave, use short 20-second bursts, and sneak a tiny sprinkle of loose oats on top before zapping it; it helps a little!
Variations on the Classic apple crisp
While I absolutely stand by the simplicity and perfection of this basic foolproof recipe—it just works—I know you might want to jazz it up a little now and then. That’s the beauty of a great base recipe, right? It’s like a blank canvas for your own kitchen creativity! We don’t want to complicate things, because this is meant to be an easy fruit crisp, but a little extra something can make it feel brand new for the weekend.
The easiest place to start mixing things up is right in that wonderful oat topping. Don’t feel like you have to stick only to oats and flour. Think about adding some texture and nuttiness in there. I love tossing in about half a cup of chopped pecans or walnuts with the oats before you cut in the cold butter. They toast up beautifully during baking and add a fantastic crunch layer.
You can also play with the spice profile if cinnamon and nutmeg feel too familiar. For a completely different, warmer scent filling your house, try swapping out a bit of the cinnamon for cardamom or even a pinch of ground allspice. These subtle shifts really maximize the cozy dessert ideas we’re going for in the fall. For another amazing seasonal bake, check out my recipe for pumpkin sourdough cinnamon swirl loaf; it uses those warmer spices too!
Another simple twist is adding a splash of vanilla extract—about a teaspoon—directly into the apple filling when you toss it with the spices. That little addition deepens the flavor of the cooked apples so much. Remember, variations should be fun, not stressful. Stick to adding just one or two things so you can still taste that amazing brown butter crumble we worked so hard to perfect!
Frequently Asked Questions about making apple crisp
It’s totally normal to have a few last-minute questions when you’re trying out a foolproof dessert recipe for the first time. I’ve fielded tons of questions over the years, especially since this is such a cornerstone recipe for any fall baking recipes collection! These are the things that pop up most often when people are gathering their ingredients and aiming for that perfect texture without the fuss. Since this recipe champions simplicity, let’s clear up any last-minute worries so you can get this delicious fruit crisp into the oven quickly.
Can I assemble this apple crisp ahead of time?
Yes, you absolutely can, and it’s great for low-stress entertaining! Here’s my approach: Assemble the spiced apples in the baking dish, cover it tightly, and keep it in the fridge for up to a day. Keep the cinnamon oat topping completely separate in an airtight container on the counter. When you’re ready to bake, sprinkle the topping over the apples right before it goes into the oven. You might need to add about 5 to 10 minutes to the baking time since the apples will be colder, but it works like a charm!
What apples are best for this simple apple dessert?
If you want those tender baked apples that don’t completely dissolve into mush, you need apples that hold up to heat. I always stress using tart apples because they balance the sweetness of the brown sugar. Granny Smith is my number one choice because they are steadfast! Honeycrisp is great too because it’s firm and carries flavor well. Using a mix is your secret weapon for the best texture. If you’re looking for quick ideas for the morning after, check out my easy breakfast ideas!
Estimated Nutritional Data for this apple crisp
Okay, while my focus here at Cheffinity is always on comfort and flavor over calorie counting—especially with a cozy dessert like this—I know many of you still like to have a general idea of what you’re serving up. Here is the estimated breakdown for one serving of our Ultimate Foolproof Apple Crisp. Remember, these numbers are just guidelines. They’re based on the exact ingredient list provided and the portion size we recommend (6 servings total).
If you add extra ice cream or a huge drizzle of that amazing caramel sauce we talked about, those numbers are definitely going up! But for the crisp itself, this gives you a good baseline for enjoying a slice of genuine homemade comfort food dessert. We believe in transparency, even if it’s just for a little comfort food!
Here are the estimated metrics:
- Serving Size: 1 serving
- Calories: 350
- Sugar: 28g
- Sodium: 150mg
- Fat: 18g
- Saturated Fat: 11g
- Unsaturated Fat: 7g
- Trans Fat: 0.5g
- Carbohydrates: 48g
- Fiber: 5g
- Protein: 4g
- Cholesterol: 45mg
As always, please remember this is based purely on the ingredients listed in the recipe card. The exact brands of butter, the sugar content of your specific apples, or if you add nuts to your topping can shift these numbers a bit. This is just to give you a general idea so you can enjoy every bite without worry!
Share Your Cozy Dessert Ideas
So, there you have it—the best apple crisp recipe that’s guaranteed to be easy and delicious, fitting perfectly into your busy life! Now, I need to know: how did yours turn out? Seriously, hop down to the comments below and let me know what you thought, or tell me if you added pecans to your topping!
If you made this and loved the comforting fall vibes, please give it a quick rating! And if you’re already thinking about your next cozy bake, you should absolutely check out my apple bread pudding recipe next for another amazing fall treat. We love seeing your recreations over on social media too—you can tag us, just like you would find inspiration from sites like Belle of the Kitchen!
PrintThe Ultimate Foolproof Apple Crisp with Brown Butter Crumble
Make this easy apple crisp for a comforting fall dessert. It features tender, cinnamon-spiced apples under a golden, buttery oat topping that bakes up perfectly every time. This is a simple, foolproof dessert recipe.
- Prep Time: 15 min
- Cook Time: 40 min
- Total Time: 55 min
- Yield: 6 servings 1x
- Category: Dessert
- Method: Baking
- Cuisine: American
- Diet: Vegetarian
Ingredients
- 6 medium apples (Granny Smith or Honeycrisp recommended)
- 1 tablespoon lemon juice
- 1/4 cup granulated sugar
- 1 teaspoon ground cinnamon
- 1/4 teaspoon ground nutmeg
- 1/2 cup all-purpose flour
- 1/2 cup rolled oats
- 1/2 cup packed light brown sugar
- 1/4 teaspoon salt
- 1/2 cup (1 stick) cold unsalted butter, cut into cubes
Instructions
- Preheat your oven to 375 degrees Fahrenheit. Lightly grease an 8×8 inch baking dish.
- Peel, core, and slice the apples into 1/4-inch thick pieces. Place the apple slices in a large bowl.
- Toss the apples with lemon juice, granulated sugar, cinnamon, and nutmeg until evenly coated. Spread the spiced apples in a single layer in the prepared baking dish.
- In a separate medium bowl, whisk together the flour, rolled oats, brown sugar, and salt for the topping.
- Cut the cold butter cubes into the dry topping mixture using a pastry blender or your fingertips until the mixture resembles coarse crumbs. Do not overmix; some pea-sized pieces of butter are fine.
- Sprinkle the oat mixture evenly over the apples in the baking dish.
- Bake for 35 to 45 minutes, or until the topping is golden brown and the apple filling is bubbly and tender when pierced with a fork.
- Let the apple crisp cool for at least 15 minutes before serving. Serve warm with vanilla ice cream or caramel sauce.
Notes
- For a richer topping flavor, melt the butter first and drizzle it over the dry ingredients, then mix until just combined. This creates a brown butter crisp topping.
- Use a mix of apple varieties for the best texture and flavor balance.
- If the topping browns too quickly during baking, loosely cover the dish with aluminum foil for the last 10 minutes.
Nutrition
- Serving Size: 1 serving
- Calories: 350
- Sugar: 28g
- Sodium: 150mg
- Fat: 18g
- Saturated Fat: 11g
- Unsaturated Fat: 7g
- Trans Fat: 0.5g
- Carbohydrates: 48g
- Fiber: 5g
- Protein: 4g
- Cholesterol: 45mg