
There is simply nothing like the smell of truly rustic, homemade bread filling your kitchen. But achieving that perfect, tangy slice isn’t magic—it starts with something alive: your own sourdough starter. I get it; baking bread without commercial yeast sounds intimidating! That’s why Ava Sinclair established Cheffinity: to take complicated techniques and make them work in your real, busy life. Trust me, creating this wild yeast culture from scratch is easier than you think. We’ve tested this exact process over and over, so you can follow these straightforward steps and build confidence right from Day One. If you want to learn more about the mission that drives us to simplify home cooking, check out our story here: Why we focus on real, fast meals.
- Why You Need an Active Sourdough Starter for Artisan Bread
- Gathering Supplies for Your Sourdough Starter Guide
- The Sourdough Starter Day by Day: Creating Your Beginner Sourdough Culture
- Expert Tips for Feeding Sourdough Starter Successfully
- Sourdough Starter Care: Refrigeration and Refreshing
- Sourdough Troubleshooting Tips for Your New Culture
- From Sourdough Starter to Artisan Bread: Next Steps
- Frequently Asked Questions About Your Sourdough Starter
- Sharing Your Sourdough Journey for Beginners Success
- Sharing Your Sourdough Journey for Beginners Success
Why You Need an Active Sourdough Starter for Artisan Bread
So, why bother with this whole bubbling jar situation when you can just grab a packet of yeast at the store? Honestly, it’s all about that deep, complex flavor. Commercial yeast is great, sure, but this wild yeast culture is what separates a store-bought loaf from something truly special.
When you cultivate your own sourdough starter, you are creating a natural leavening agent that does incredible things for your bread:
- It creates that signature, addictive tang you just can’t fake.
- It breaks down gluten and phytic acid, making the resulting artisan loaf easier on your stomach.
- It gives you that glorious, open, airy crumb structure—the hallmark of a real artisan loaf.
It really is the foundation of great baking. If you want to see what a great finished loaf looks like once your starter is ready, check out my favorite no-knead artisan bread guide.
The Flavor and Texture Advantage of a Homemade Sourdough Starter
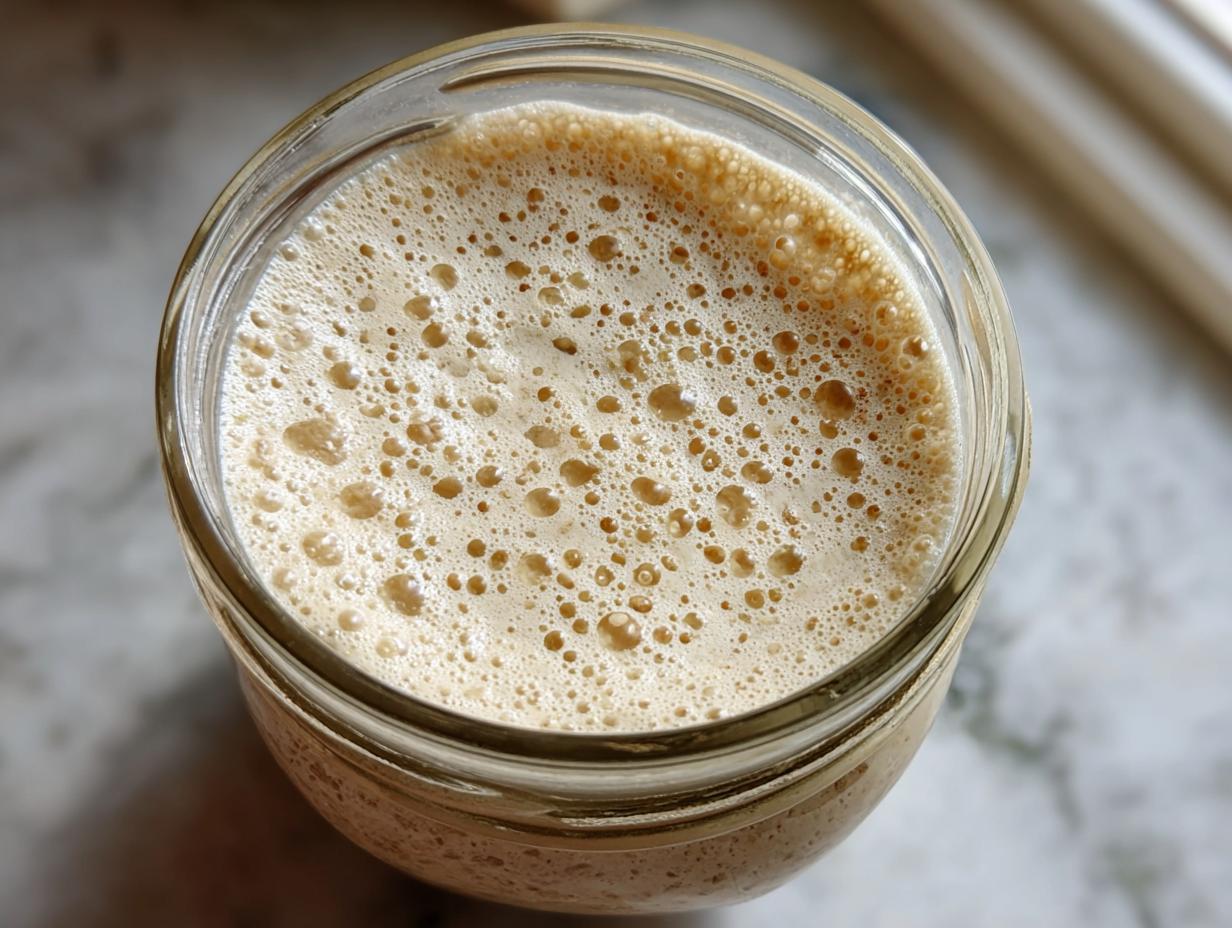
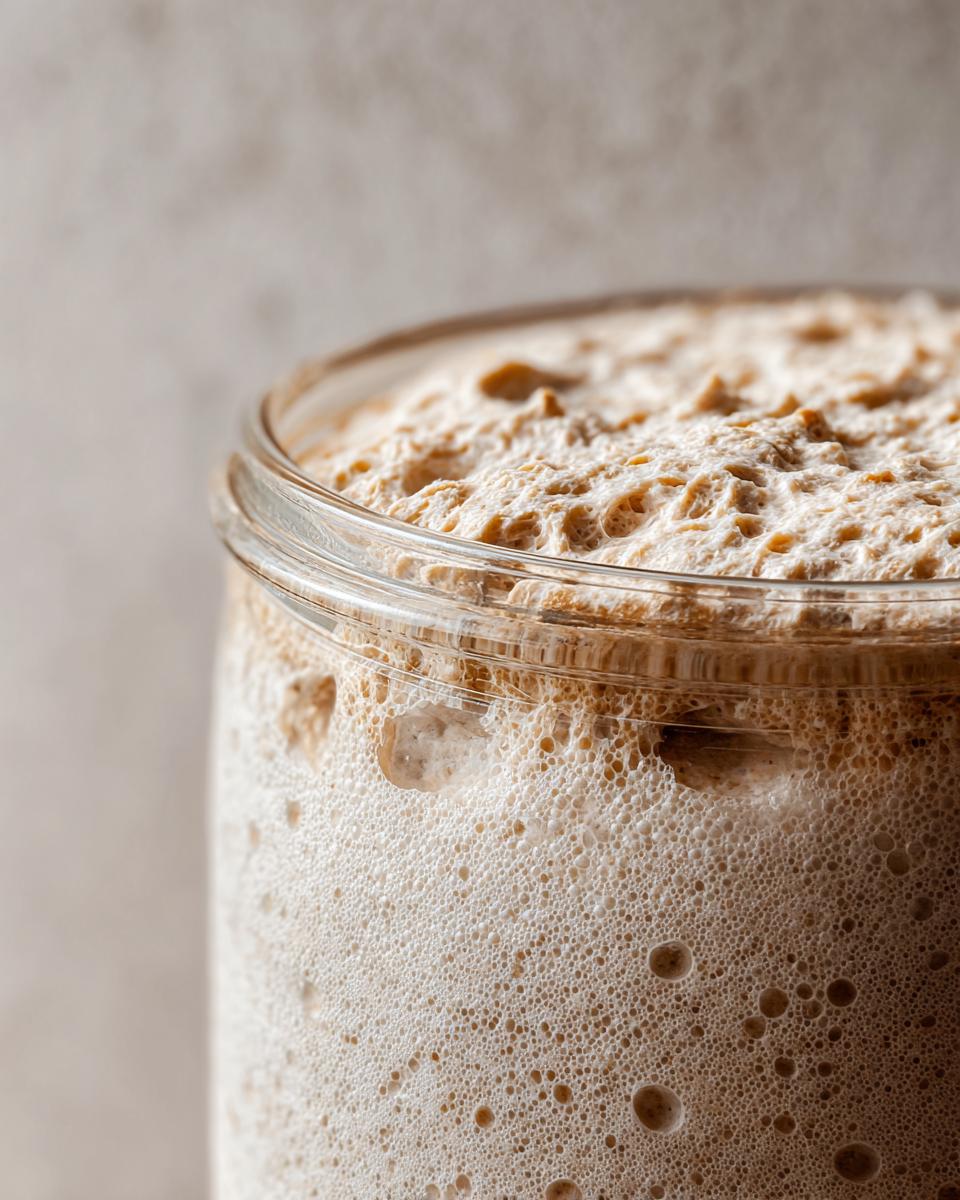
That beautiful, chewy texture and the slight sourness? That all comes from the millions of wild bacteria and yeast you captured from the air and flour. This is truly the cornerstone of sourdough basics for beginners. We aren’t just making bread rise; we are adding layers of flavor that commercial baking powder can never touch. Trust me, once you taste bread made with your own vibrant starter, you won’t go back!
Gathering Supplies for Your Sourdough Starter Guide
When I first started my own sourdough journey, I thought I needed some fancy, specialized bag of flour flown in from France. Nope! Remember our philosophy here at Cheffinity: we use what’s accessible. This isn’t about specialty equipment; it’s about routine and patience. The most important thing you need is a clear container so you can watch the magic happen!
Essential Ingredients for Your Flour and Water Starter
You only need two main things to capture that wild yeast, but the type matters for the start. Grab your kitchen scale now—trust me, this is the one piece of equipment that separates success from guessing games when you start feeding sourdough starter. For the first few days, you want whole wheat or rye flour; the bran in those naturally occurring grains is packed with the microbes we’re trying to attract.
- Whole Grain Flour (Rye or Whole Wheat for the first few days).
- Unbleached All-Purpose Flour (for after the initial activation).
- Unchlorinated, room-temperature water—chlorine is the enemy of happy wild yeast!
Equipment Needed to Make Sourdough Starter From Scratch
Keep it super simple for this sourdough starter guide. You don’t need a massive stand mixer or anything complicated. Just an earnest desire to watch some bubbly goodness form!
- A clean glass jar (a quart size is perfect—you need room for growth!).
- A loose-fitting lid or a piece of cheesecloth secured with a rubber band. You have to let air in!
- A reliable kitchen scale—I cannot stress this enough for accurate ratios.
- A small spatula or spoon for mixing.
The Sourdough Starter Day by Day: Creating Your Beginner Sourdough Culture
Alright, deep breath! This is the exciting part where we stop buying yeast and start capturing wild yeast. We are making a living thing here, so we need to be consistent, like clockwork. Don’t worry if things look weird in the first couple of days—that’s totally normal for a brand-new sourdough starter recipe. Just follow the schedule I laid out, keep your jar somewhere cozy, and let nature do the work.
Days 1 and 2: Establishing the Initial Sourdough Starter
For the first 48 hours, we are setting up a home for the yeast! In your clean jar, mix up 50 grams of your whole wheat or rye flour with 50 grams of room-temperature water. Mix it until it looks like thick pancake batter. Don’t seal the lid tight—we need air exchange! Just set it loosely on top. You might see a few lonely bubbles on Day 2, or nothing at all. If you see a little watery layer, that’s okay; just stir it in. For a beginner sourdough culture, inactivity is often the first stage.
Days 3 and 4: Transitioning and Seeing Activity in Your Sourdough Starter
Time to toss half of what you made! Yes, we discard! It feels wrong, I know, but we are concentrating those good microbes. Now, switch over to the all-purpose flour. Feed the remainder with 50g of all-purpose flour and 50g of water. By Day 3 or 4, you should see definite activity—maybe some small bubbles on the surface or a slightly fruity smell. This is great progress toward an active sourdough starter. Keep that twice-a-day discard/feed routine going.
Days 5 to 7: Developing a Predictably Active Sourdough Starter
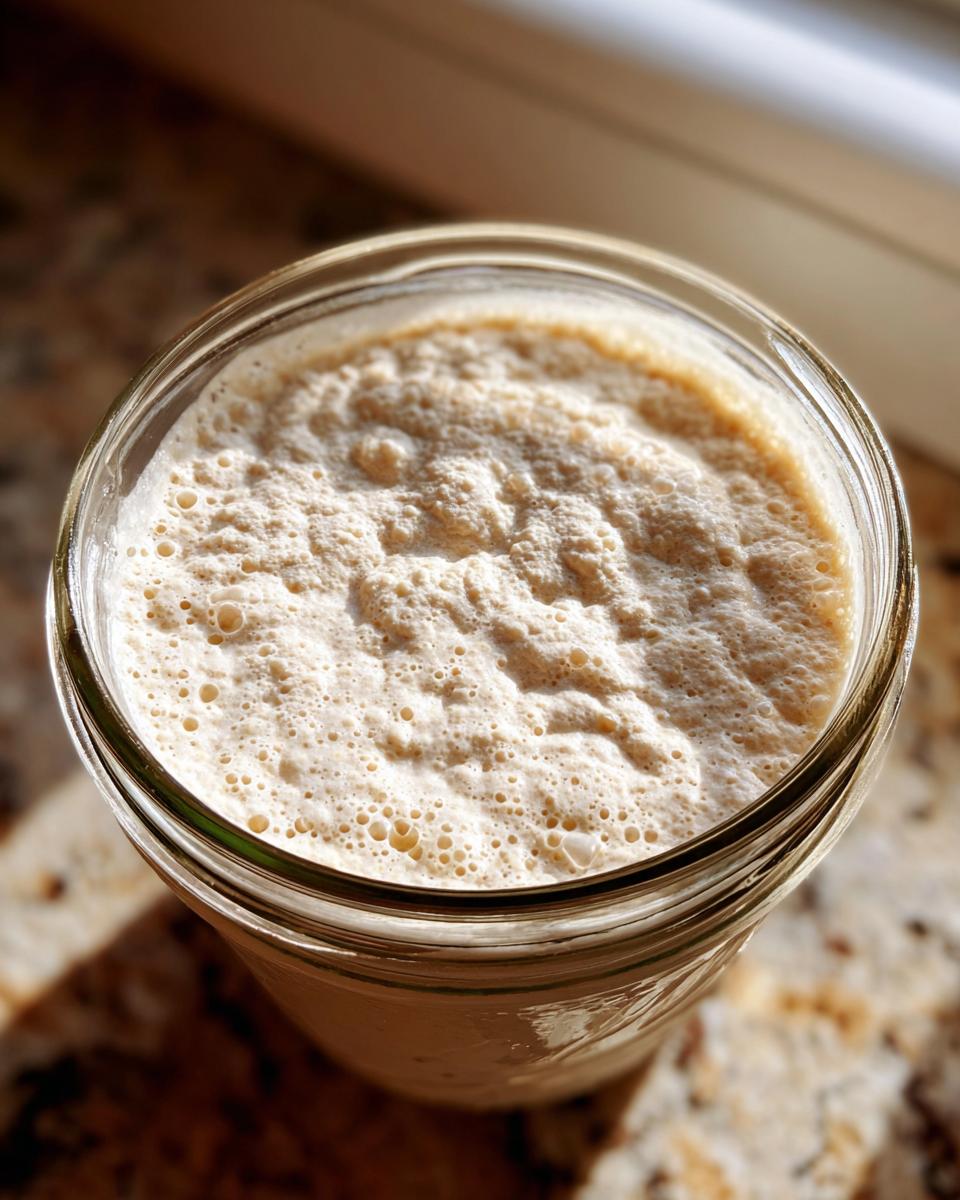
If you see the starter is consistently peaking and shrinking within 10 to 12 hours, it’s time to bump that feeding schedule up to every 12 hours, even if that means feeding before bed! This repetition is building immense strength in your colony. The true sign that your sourdough starter from scratch is ready for bread baking? It reliably doubles in volume within 6 to 8 hours after you feed it. Once it’s doing that, you’ve got a reliable, happy culture ready for action—and you can start using discard recipes like my favorite discard pizza dough!
Expert Tips for Feeding Sourdough Starter Successfully
Okay, now that you’ve wrestled your wild yeast into submission and you have a bubbly, happy culture, we need to talk about keeping it that way. Maintaining it is so much easier than creating it! This is where we move from beginner enthusiasm to reliable home baking skills. My goal here is to help you keep your sourdough starter healthy enough to use in any recipe, whether you refresh it daily or keep it quiet in the fridge.
Understanding Ratios When Feeding Sourdough Starter
If you want consistent results, you have to measure by weight. Forget volume measurements like cups; they just aren’t accurate enough when dealing with something as microscopic as the yeast population you’re managing. For your regular feeding—whether it’s daily or weekly—aim for a 1:1:1 ratio by weight. That means 1 part old starter, 1 part new flour, and 1 part new water. Using a scale makes sure this natural leavening agent performs exactly how you expect it to every single time!
Temperature Control for Your Sourdough Starter
Think of your starter like a teenager: warmth makes it hyperactive, and cold makes it sleepy! If your kitchen is chilly—say, below 70°F—you might find your **feeding sourdough starter** routine needs to slow down to every 24 hours. But if you’re in a warmer spot, or if you put your jar near the oven vents (gently, please!), that activity speeds right up. You might need to feed it every 10 hours instead of 12. Pay attention to how fast it’s rising, not just the clock, and adjust your timing based on the warmth of your current environment. If you need a deeper dive into how different starters behave, check out this great article: understanding different starter builds.
Sourdough Starter Care: Refrigeration and Refreshing
Once you get that beautiful, bubbly creature going, you have a choice: keep it out on the counter, or send it on vacation! If you aren’t baking giant loaves every single day, the fridge is your best friend for your sourdough starter. Keeping it cold slows down all that yeast activity significantly, meaning you only have to feed it about once a week instead of daily. That’s huge for busy weeknights!
But how do you wake it up when you’re ready for baking? Learning how to refresh sourdough starter after it’s chilled is key to success. Before you bake, pull it out, discard down to a small amount—maybe 50 grams—and feed it a fresh 1:1:1 ratio (starter:flour:water) at room temperature. Let it sit out for a few hours, see it wake up, and then feed it again 12 hours later. By the second feeding, it should be doubling vigorously and ready to create that amazing rise in your dough. It’s really easy once you know the drill, just like the simple steps outlined in this beginner’s guide.
Sourdough Troubleshooting Tips for Your New Culture
If you’re anything like I was when I started my **sourdough journey for beginners**, you’re probably staring into your jar right now wondering if you accidentally captured nothing but sad flour paste. Don’t panic! That’s what these sourdough troubleshooting tips are for. Yeast is wild, and it certainly doesn’t work on our schedule sometimes. Seeing a little liquid layer on top—that’s called ‘hooch,’ and it just means your starter is hungry. Pour it off or stir it in, and feed it! That’s a sign of a hungry, not a dead, culture.
What to Do When Your Sourdough Starter Isn’t Active
If you’ve hit Day 5 and your culture is still sluggish, we need to remind those tiny microbes what they’re supposed to be doing. Try switching back to the whole wheat or rye flour for a couple of feedings. That extra nutrition often jolts them awake! Also, check the temperature. If your kitchen is chilly, move the jar to the top of the fridge or near a pilot light—somewhere consistently warmer than 70°F. Most importantly, if you ever see anything furry, pink, or orange, toss the whole thing and start over. That’s the one time you absolutely must throw it out; no saving a moldy batch!
Once you get that vibrant energy back, you can use that stronger culture in recipes like this amazing pumpkin sourdough cinnamon swirl loaf!
From Sourdough Starter to Artisan Bread: Next Steps
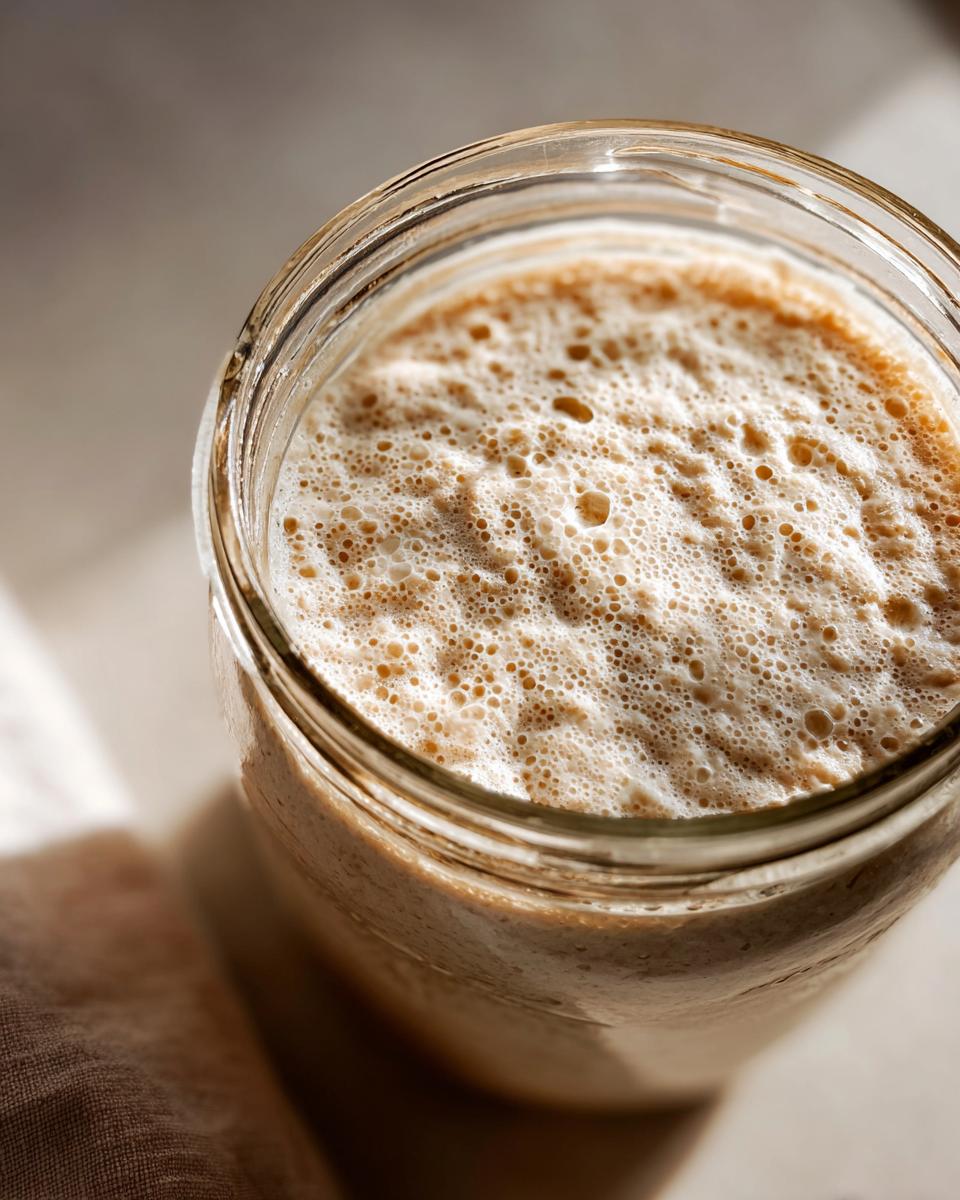
Isn’t it amazing? You’ve nurtured this wild living thing from just flour and water. That’s the hardest part of the whole journey! Now that you have this robust, bubbly, artisan bread starter, it’s time to bake something truly spectacular. Remember, your starter is now a faithful natural leavening agent, ready to replace all commercial yeast in your life.
The next logical step is pulling out a recipe and mixing up your first real loaf! If you want a super reliable place to start your baking adventure, I’ve put together a guide for a fantastic, soft loaf that handles beautifully. Check out my sourdough sandwich bread recipe—it’s the perfect reward for all that daily feeding!
If you’re looking for an alternative source on making your first culture, this guide might help you too: how to make a sourdough starter from scratch.
Frequently Asked Questions About Your Sourdough Starter
I know starting out feels like a big commitment, and you probably have a million little questions popping up while you wait for that first big rise. That’s why I gathered the ones I hear most often from folks starting their first sourdough journey for beginners. Don’t worry about perfection right now; consistency is what matters most!
How long does it take to create a reliable sourdough starter?
This is the biggest question! You’ll usually see bubbles early on, maybe around Day 3 or 4, but getting a truly *reliable* one—meaning one that consistently doubles in size within a predictable time frame after feeding—usually takes about 10 to 14 days. You might have a few days where things seem sluggish, but stick with the routine of discarding and feeding. That patience will pay off when you start baking!
Can I use my sourdough starter without feeding it first?
Oh, I wouldn’t risk it, especially when you’re just mastering the art of the beginner sourdough culture! You must wait until your starter is at its absolute peak activity—that moment right after it has doubled in volume, maybe even a little dome on top. If you scoop some out when it’s sluggish or deflated, your bread dough just won’t have the energy it needs to get that beautiful oven spring. Always feed it, wait for the double, and *then* measure out what you need for your recipe. You can always feed a small amount separately to build up what you need!
Is this recipe a good way to make a homemade yeast alternative?
Absolutely! That’s precisely what you are doing! When we mix flour and water and let it sit, we are cultivating the natural, wild yeast and bacteria that exist all around us in the air and on the flour itself. This thriving culture becomes your all-natural, completely homemade yeast alternative. You won’t need any commercial yeast for your loaves once this culture is strong and bubbly—it’s truly nature’s way of helping bread rise. It’s kind of amazing, right? If you’re done feeding jars and are ready for a savory snack, try dipping some bread into my easy hoagie dip!
Sharing Your Sourdough Journey for Beginners Success
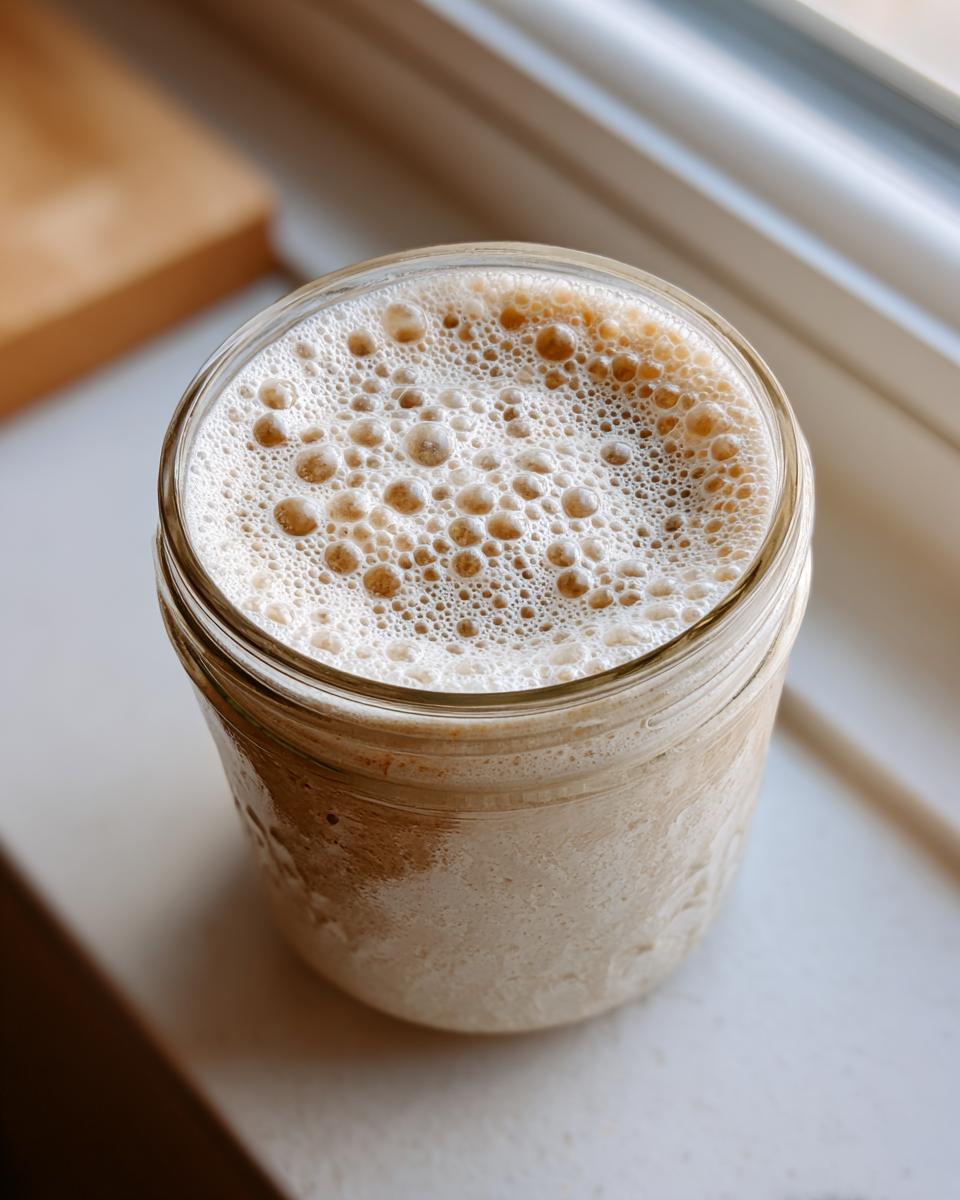
Seriously, this whole process is like adopting a tiny, flour-covered pet. I really want to celebrate with you when you finally see that beautiful doubling action! Don’t be shy—grab a picture of that first truly active sourdough starter and let me know how the first few days of your sourdough starter guide went. Drop a comment below or reach out via the contact page. We’re all learning this together!
Sharing Your Sourdough Journey for Beginners Success
Seriously, this whole process is like adopting a tiny, flour-covered pet. I really want to celebrate with you when you finally see that beautiful doubling action! Don’t be shy—grab a picture of that first truly active sourdough starter and let me know how the first few days of your sourdough starter guide went. Drop a comment below or reach out via the contact page. We’re all learning this together!
PrintUltimate Beginner’s Guide: How to Make a Sourdough Starter From Scratch (Day-by-Day Instructions)
Follow this easy, step-by-step guide to create your own active sourdough starter using only flour and water. Learn the daily routine for developing a healthy wild yeast culture for homemade artisan bread.
- Prep Time: 10 min per day
- Cook Time: 0 min
- Total Time: 7 days (active time)
- Yield: Approx. 100g active starter
- Category: Baking Basics
- Method: Fermentation
- Cuisine: American
- Diet: Vegetarian
Ingredients
- 100g Whole Wheat Flour or Rye Flour (for initial days)
- 100g Unbleached All-Purpose Flour (for later feedings)
- 100g Unchlorinated Water (room temperature)
Instructions
- Day 1: Mix 50g of whole wheat or rye flour with 50g of room temperature water in a clean glass jar. Stir until fully combined. Cover loosely and let it sit at room temperature (68-75°F) for 24 hours.
- Day 2: You may see little to no activity. Discard half of the mixture. Add 50g of whole wheat or rye flour and 50g of water to the remaining starter. Mix well, cover loosely, and wait 24 hours.
- Day 3: You should see some bubbles. Discard half. Feed with 50g of all-purpose flour and 50g of water. Mix and wait 24 hours.
- Day 4: Discard half. Feed with 50g of all-purpose flour and 50g of water. You should see more consistent bubbling. Wait 24 hours.
- Day 5: Discard half. Feed with 50g of all-purpose flour and 50g of water. If the starter is doubling in size within 6-8 hours, you can move to a twice-daily feeding schedule.
- Day 6 & 7 (and beyond): Continue discarding half and feeding twice daily (every 12 hours) with 50g of all-purpose flour and 50g of water until the starter consistently doubles in volume predictably after feeding. This indicates an active sourdough starter ready for baking.
- Maintenance: Once active, maintain your starter by feeding it daily if kept at room temperature, or weekly if stored in the refrigerator. Always feed it equal parts starter, flour, and water by weight (e.g., 1:1:1 ratio) when refreshing.
Notes
- Use unchlorinated water; chlorine can inhibit wild yeast growth.
- A warm spot (around 75°F) speeds up initial activity. Cooler temperatures slow the process down.
- If you see mold or pink/orange streaks, discard the entire batch and start over.
- When feeding, use a kitchen scale for accurate ratios; this is crucial for a reliable natural leavening agent.
Nutrition
- Serving Size: 100g culture
- Calories: 180
- Sugar: 0.5
- Sodium: 1
- Fat: 0.5
- Saturated Fat: 0.1
- Unsaturated Fat: 0.4
- Trans Fat: 0
- Carbohydrates: 37
- Fiber: 3
- Protein: 6
- Cholesterol: 0