

Let’s be honest: most sourdough bread tries so hard to be rustic and chewy that it forgets what we actually need on a Tuesday morning—a soft, fluffy, sliceable loaf. If you’ve ever wrestled a hard boule into a toaster slot, you know the struggle! At Cheffinity, Ava Sinclair is all about solving those everyday kitchen puzzles. That’s why we focused relentlessly on perfecting this Soft Sourdough Sandwich Bread recipe. It’s specifically designed to be manageable for beginners, giving you that rich, buttery crumb without any fuss. You’re getting real-life results that fit right into your busy week, not just weekend baking projects.
If you’re looking for easy breakfast ideas to pair with this bread, check out our guide over here: easy breakfast recipes.
- Why This Soft Sourdough Sandwich Bread is Your New Favorite
- Gathering Ingredients for Your Sourdough Sandwich Bread Loaf
- How to Make Sourdough Sandwich Bread: Step-by-Step Instructions
- Baking Your Sliceable Sourdough Loaf Perfectly
- Tips for Success with Homemade Sandwich Bread Sourdough
- Variations on the Sourdough Sandwich Bread Recipe
- Storage and Reheating for Your Sourdough Sandwich Bread
- Frequently Asked Questions About This Sourdough Sandwich Bread
- Nutritional Estimate for Sourdough Sandwich Bread
Why This Soft Sourdough Sandwich Bread is Your New Favorite
This recipe isn’t just another sourdough attempt; it’s engineered for real life. We designed this loaf specifically so you stop fighting with your bread knife every morning. It delivers what you need for daily lunch packing without the extreme density of traditional hearth loaves.
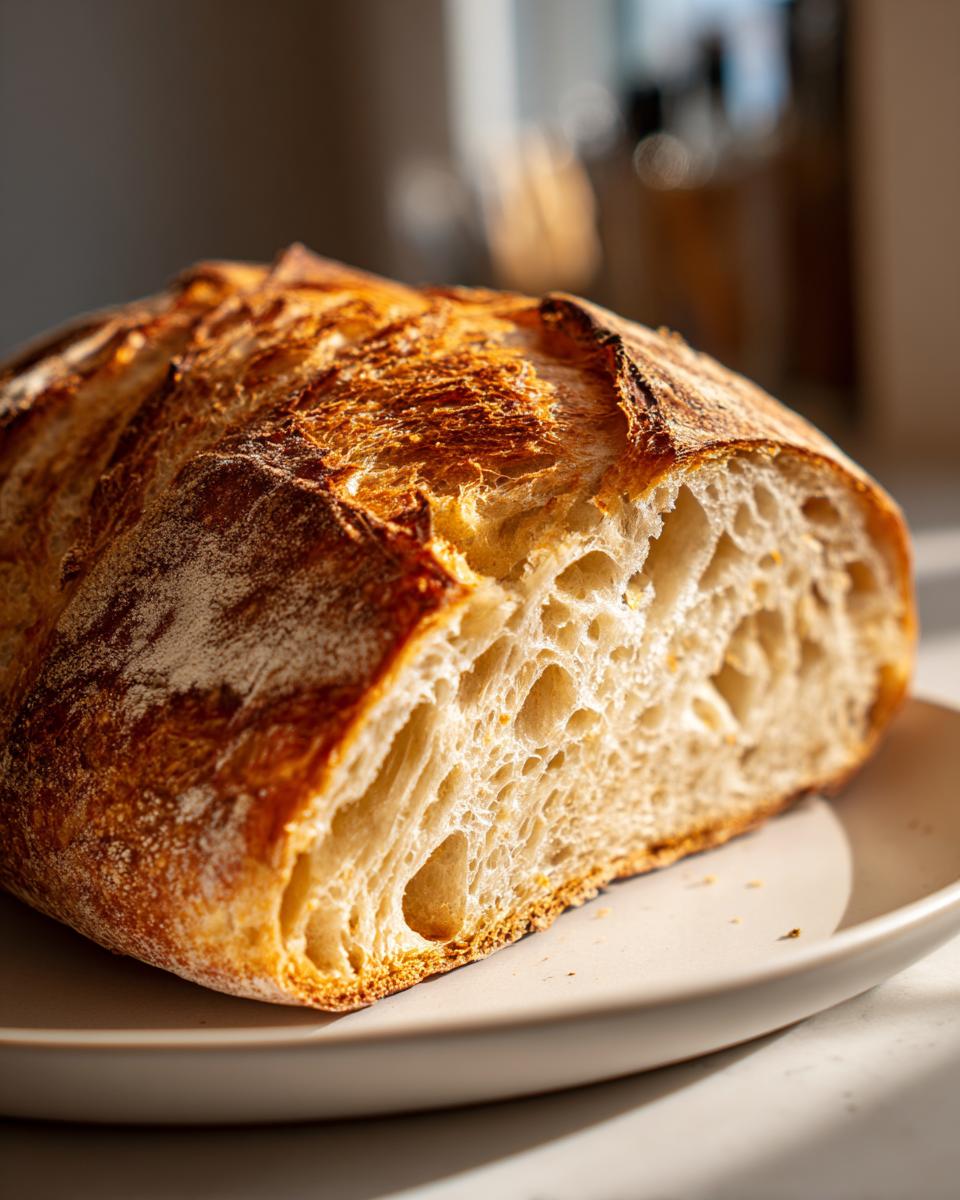
- It comes out as a perfectly Sliceable Sourdough Loaf that stays moist for days.
- It’s fantastic for those worried about flavor—the mild tang makes it a Picky Eater Sourdough Bread approved hit!
- This is truly your Easy Sourdough Loaf for everyday use.
Achieving a Fluffy Sourdough Recipe Texture
You might think you can’t get fluff in sourdough, but we cracked the code! Traditional loaves rely totally on steam and crust, but this formula includes a little avocado oil and honey. That bit of fat and sugar works wonders to soften the interior structure while it bakes. Seriously, it creates the dreamiest buttery sourdough crumb you’ll ever slice into. No dry edges here, I promise!
Beginner Sourdough Sandwich Bread Success
If free-form boules look intimidating, that’s okay! This is where we build confidence. Because we’re using a loaf pan, you don’t stress about shaping a perfect campfire-style circle. We swap aggressive kneading for gentle stretch and folds. This controlled method develops the strength needed for a Perfect Sourdough Loaf without turning your dough tough. You’ll nail this as your first attempt!
Gathering Ingredients for Your Sourdough Sandwich Bread Loaf
Okay, let’s get prepped! Getting the right components ready is half the battle. When we talk about this sourdough sandwich bread, every gram matters because we’re aiming for that specific soft texture. The most critical component is your starter—it absolutely must be active and bubbly. I mean, truly peaked and ready to go, or your whole rise will suffer. Don’t skimp on checking that starter first!
Here is exactly what you need to gather for one beautiful loaf:
- 150g active sourdough starter
- 325g warm filtered water
- 20g avocado oil
- 25g honey
- 500g unbleached bread flour
- 10g salt
Ingredient Notes and Substitutions
A little note from Ava: I always insist on using filtered water here. Tap water can have chlorine or other things that sometimes confuse delicate wild yeast populations. Also, that honey is key for both flavor and tenderness—it keeps the crumb soft. If you don’t have honey, pure maple syrup works beautifully and keeps that sweet, soft quality we are chasing. Just keep the measurement the same!
We need bread flour here, not all-purpose, to ensure we get the structure needed for a tall, sliceable sourdough loaf that won’t collapse on itself in the pan.
How to Make Sourdough Sandwich Bread: Step-by-Step Instructions
Now we get to the fun part—making the dough come together! Don’t worry if it feels messy at first. Sourdough is a journey, and this recipe keeps the steps straightforward. We’re focusing on gentle handling here to keep that beautiful soft texture. If you’re looking for some quick dipping sauce ideas to serve alongside your fresh bread later, I have a great recipe for easy dumpling sauce that pairs surprisingly well!
Mixing and Initial Rest for the Sourdough Sandwich Bread
First things first, grab your bowl! Mix that active starter, warm water, avocado oil, and honey until it looks happy and milky. Then, dump in your flour and salt. Mix it just until you can’t see any dry flour left—it’s going to look like a truly unruly, shaggy mess. Cover it up quickly and just let it chill out for one full hour. This initial rest is called autolyse, and it lets the flour start soaking up all that goodness before we start building structure.
Building Strength with Stretch and Folds
This is where we skip the hard work of kneading. Over the next couple of hours, we are going to gently coach the dough into shape. You’ll do four sets of stretch and folds total. After the first set, wait exactly 30 minutes before you do the next one, and keep that 30-minute timing between all four sets. Gently lift a section of the dough, stretch it up high, and fold it right over the middle. This gentle stretching is key to getting that nice, airy, Perfect Sourdough Loaf structure we want.
Shaping and Proofing the Easy Sourdough Loaf
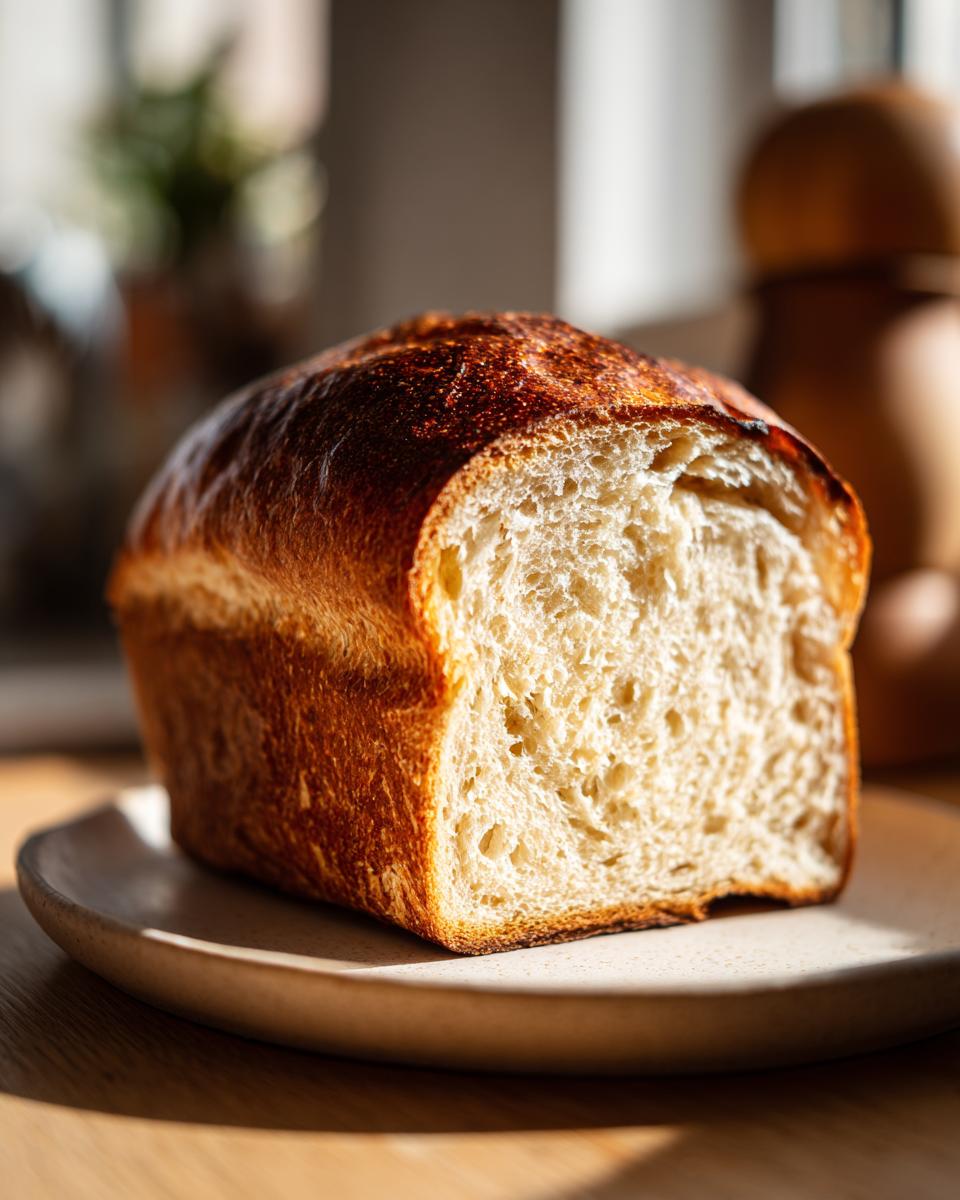
Once the final fold is done, cover the dough and let it bulk ferment until it looks puffy—about 50% bigger. Now, gently turn it out onto your counter. Shape it quite tightly into a log shape and tuck it seam-side down right into your greased 9×5 inch loaf pan. Loosely cover it again. You’re looking for the dough to rise until it’s sitting about an inch over the rim of the pan. That’s your visual cue that this Easy Sourdough Loaf is ready for the oven!

Baking Your Sliceable Sourdough Loaf Perfectly
Alright, the dough is shaped and proofed—it looks gorgeous sitting in that pan, right? Now we have to handle the bake carefully so we don’t ruin that soft texture we worked so hard to create. First, about 15 minutes before you plan to put this wonderful sliceable sourdough loaf in, preheat your oven up to 375 degrees Fahrenheit (that’s 190 Celsius). Getting the temperature stable is vital here; we want to bake it through, not just brown the outside.
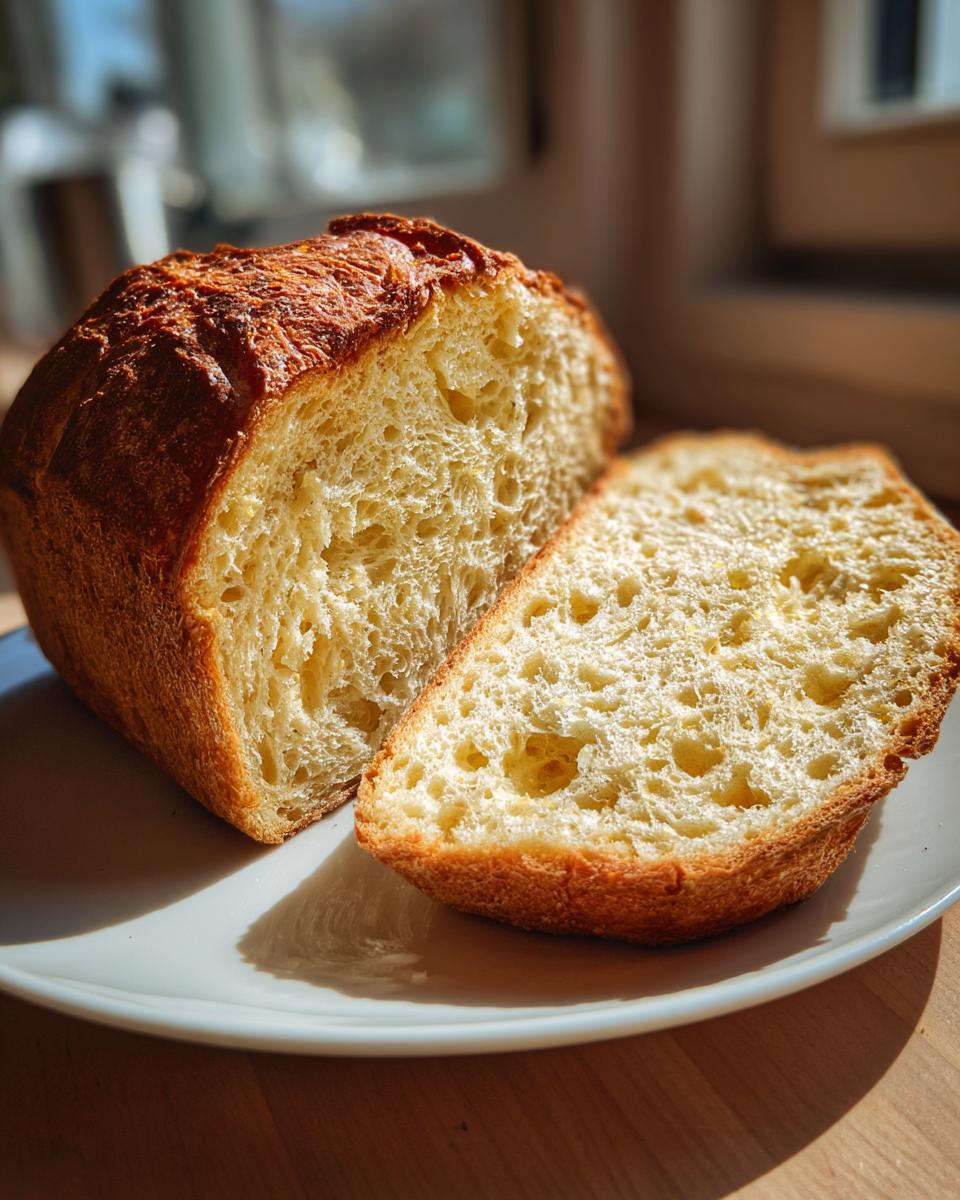
Bake for 35 to 45 minutes. But listen, visual color is only half the story. The real secret to knowing you have a perfect bake, especially with a pan loaf, is checking the internal temperature. Stick a thermometer right into the center where it’s thickest. If you hit 200 degrees Fahrenheit (93 Celsius), pull it out immediately. That temperature means the starches are set and the inside isn’t gummy!
Tips for Success with Homemade Sandwich Bread Sourdough
Even with the best sourdough sandwich bread recipe, a few little slips can turn your fluffy dream into a slight disappointment. The biggest pitfall I see beginners run into is slicing too soon! Remember, even when the oven says it’s done, steam is still trapped inside, which is what keeps that crumb soft. Resist the urge for at least two full hours after it comes out. If you slice it when it’s warm, you’ll end up with a gummy texture, which we absolutely cannot have in our homemade sandwich bread sourdough!
Another critical tip for success is using that avocado oil. Don’t skip it! That little bit of fat is what separates this loaf from standard, slightly denser sourdough loaves. It’s key for that buttery softness.
If you’re already thinking about what sides to make with your perfect, soft slices, I highly recommend pairing it with this amazing garlic parmesan mashed potatoes recipe when you make a big sandwich!
Finally, if you find your crust is getting too dark before the center is cooked, just loosely tent a piece of aluminum foil over the top during the last 15 minutes of baking. Easy fix!
Variations on the Sourdough Sandwich Bread Recipe
This base recipe is so solid that once you master the sourdough sandwich bread, you can start playing dress-up! We love keeping the soft crumb going, so any additions should be gentle. If you want to switch to a Honey Wheat Sourdough, just swap about 100g of the bread flour for whole wheat. Make sure your starter is extra active because whole wheat soaks up more moisture!
For a savory twist that’s amazing grilled cheese material, try folding in about 1/2 cup of finely shredded aged cheddar and a teaspoon of dried Italian herbs right after the final set of stretch and folds. You have to check out this recipe for maple mustard pork tenderloin; it makes an unbelievable leftover sandwich with this bread! Maple Mustard Pork Tenderloin
If you want to see another amazing, tested recipe focusing on that soft texture, my friend at Muscle Mamma has a great one here: Soft Sourdough Sandwich Bread recipe. Trust me, this soft loaf opens up so many possibilities!
Storage and Reheating for Your Sourdough Sandwich Bread
We made this so soft, we definitely don’t want it going stale overnight! For the best flavor and crust texture, I always keep this sourdough sandwich bread on the counter at room temperature. Storing it in the fridge is a huge no-no, because cold temperatures make the bread dry out super fast. Just use a bread box or wrap it snugly in a clean tea towel.
If you happen to have leftovers and you want them perfect for sourdough bread for toasting, here’s my trick: pop the slices straight from the bag into a toaster or broiler. You’ll get that satisfying crispness back instantly. If you want the whole loaf to feel fresh again, you can briefly mist the crust with a tiny bit of water and warm it in a 350-degree oven for about eight minutes. It brings back that fresh-baked amazingness!
Frequently Asked Questions About This Sourdough Sandwich Bread
I totally get it—there are always a few tweaks you might need to make in your own kitchen! Dealing with sourdough means understanding that temperature and starter strength are always the deciding factors. We want to make sure you get that wonderfully soft, sliceable texture every time you bake this sourdough sandwich bread.
If you’re in a real pinch for time, we have some fantastic suggestions for quick weeknight dinners you can whip up alongside your next loaf!
Can I make this a Quick Sourdough Sandwich using commercial yeast?
You absolutely *can* substitute the starter with commercial yeast if you’re in a rush, but you’d be making a regular enriched sandwich bread, not true sourdough! The whole point of using that active discard here is the long, slow fermentation which develops flavor and makes it easier to digest. Ditching the starter means you lose that signature tang and also the benefits of gut healthy sourdough bread. Stick with the starter; it’s worth the wait!
What if my dough doesn’t rise much during bulk fermentation?
This is almost always a starter timing issue, which is super common! If your dough hasn’t increased by 50% after 8 hours, your starter might not have been quite active enough, or maybe your kitchen is just cooler than mine. Next time, make sure your starter fully doubles or triples within 4-6 hours after feeding before you even think about mixing this dough. If you’re in the middle of the bake, try moving the covered bowl somewhere slightly warmer—like near the pilot light on the stove or inside an oven with just the light on. That little bit of warmth helps wake up those sleepy yeasties and will help you achieve the best sourdough sandwich recipe results!
How do I ensure I get that buttery sourdough crumb texture?
The texture really comes down to the fat and the cooling! Make sure you are using the full 20g of avocado oil; it’s your secret weapon for softness. But the absolute biggest thing for that perfect, non-gummy buttery sourdough crumb is patience. You *must* let the loaf cool completely on a rack before slicing. If you cut it at an hour, the interior steam will collapse the structure, making it dense and sticky, no matter how perfectly you mixed it!
Is this a No Knead Sourdough Sandwich recipe?
It’s very close! We are using stretch and folds instead of traditional kneading, which is a much gentler, hands-off way to build strength. So technically, yes, it’s a no knead sourdough sandwich method, which is why it’s so great for beginners. No need to dust your counter with flour and work the dough vigorously for 15 minutes; these gentle folds do all the heavy lifting for you.
Nutritional Estimate for Sourdough Sandwich Bread
We all want that delicious loaf, but it’s good to know what you’re putting on your plate, especially when making homemade sandwich bread sourdough every week. This information below is based on the exact measurements in the recipe. Just remember, these are always estimates! The final count can shift depending on the flour brand you use or the exact activity level of your starter. Eat well and enjoy every slice!
- Serving Size: 1 slice
- Calories: 250
- Fat: 3.5g
- Carbohydrates: 48g
- Protein: 9g
- Sugar: 1.5g
- Sodium: 450mg
Soft Sourdough Sandwich Bread Loaf for Beginners

Make a soft, fluffy, and sliceable sourdough sandwich bread loaf that is easy enough for beginners. This recipe produces a buttery crumb perfect for daily sandwiches and toasting.
- Prep Time: 30 min
- Cook Time: 45 min
- Total Time: 5 hours 55 min
- Yield: 1 loaf 1x
- Category: Baking
- Method: Mixing and Proofing
- Cuisine: American
- Diet: Vegetarian
Ingredients
- 150g active sourdough starter
- 325g warm filtered water
- 20g avocado oil
- 25g honey
- 500g unbleached bread flour
- 10g salt
Instructions
- Combine the starter, warm water, avocado oil, and honey in a bowl. Mix until the liquid looks milky.
- Add the bread flour and salt to the wet ingredients. Mix until just combined into a shaggy dough. Cover the bowl and let it rest for 1 hour.
- Perform four sets of stretch and folds, spacing each set 30 minutes apart. After the first set, gently stretch and fold the dough over itself, then cover it again. Repeat this process three more times.
- After the final set of folds, cover the dough and allow it to bulk ferment for 4 to 8 hours, or until it has increased in volume by about 50 percent and shows signs of activity.
- Gently shape the dough into a tight log and place it into a greased 9×5 inch loaf pan.
- Cover the pan loosely and let the dough proof at room temperature for 1 to 3 hours, or until it has risen about 1 inch above the rim of the pan.
- Preheat your oven to 375 degrees Fahrenheit (190 degrees Celsius).
- Bake the loaf for 35 to 45 minutes, or until the crust is golden brown and the internal temperature reaches 200 degrees Fahrenheit (93 degrees Celsius).
- Remove the bread from the pan immediately after baking and cool it completely on a wire rack before slicing.
Notes
- Using filtered water helps maintain a consistent environment for your starter activity.
- For a gut healthy sourdough sandwich bread, allow a longer, colder final proof in the refrigerator (12-18 hours).
- This recipe yields a perfect sourdough loaf for toasting.
Nutrition
- Serving Size: 1 slice
- Calories: 250
- Sugar: 1.5
- Sodium: 450
- Fat: 3.5
- Saturated Fat: 0.5
- Unsaturated Fat: 3.0
- Trans Fat: 0.0
- Carbohydrates: 48
- Fiber: 2.5
- Protein: 9
- Cholesterol: 0