
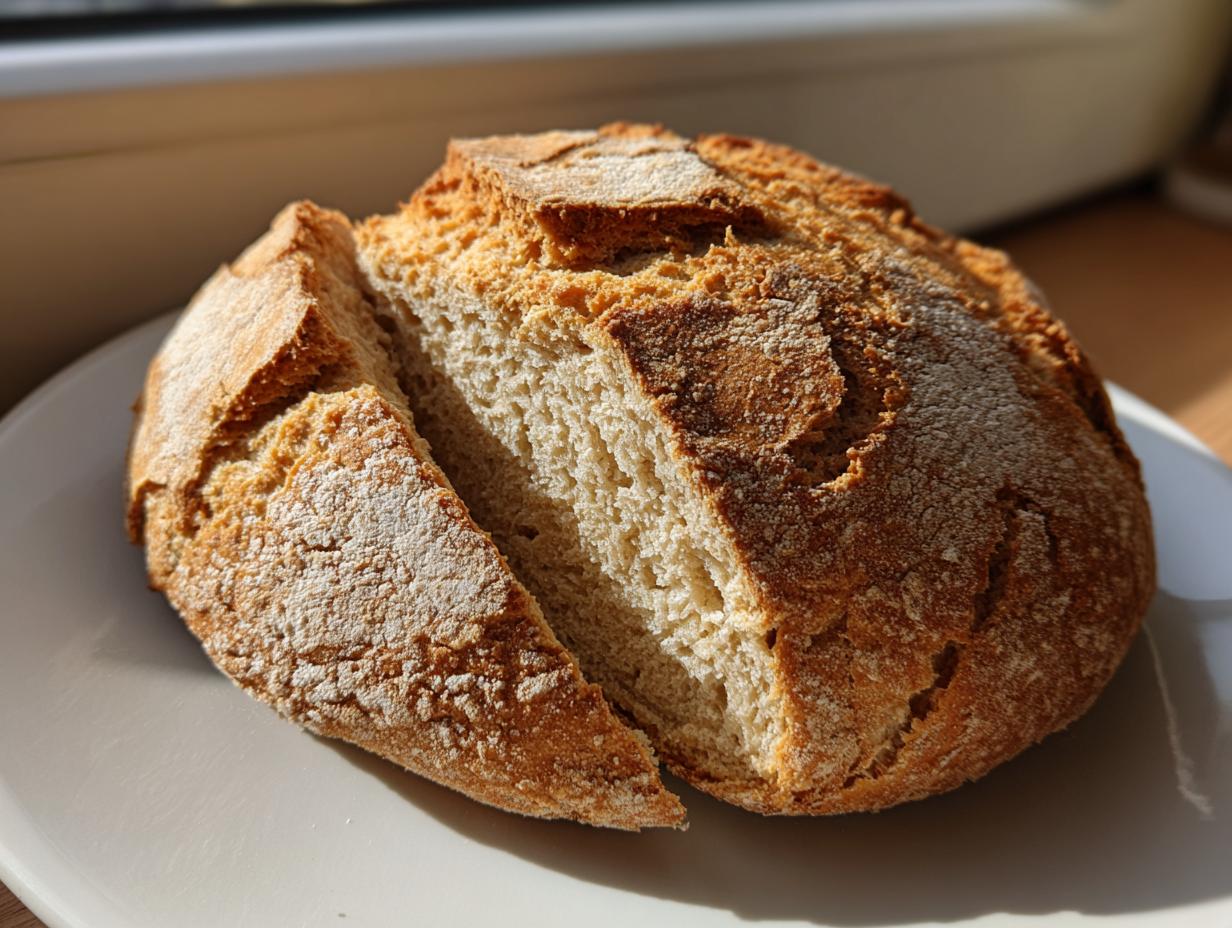
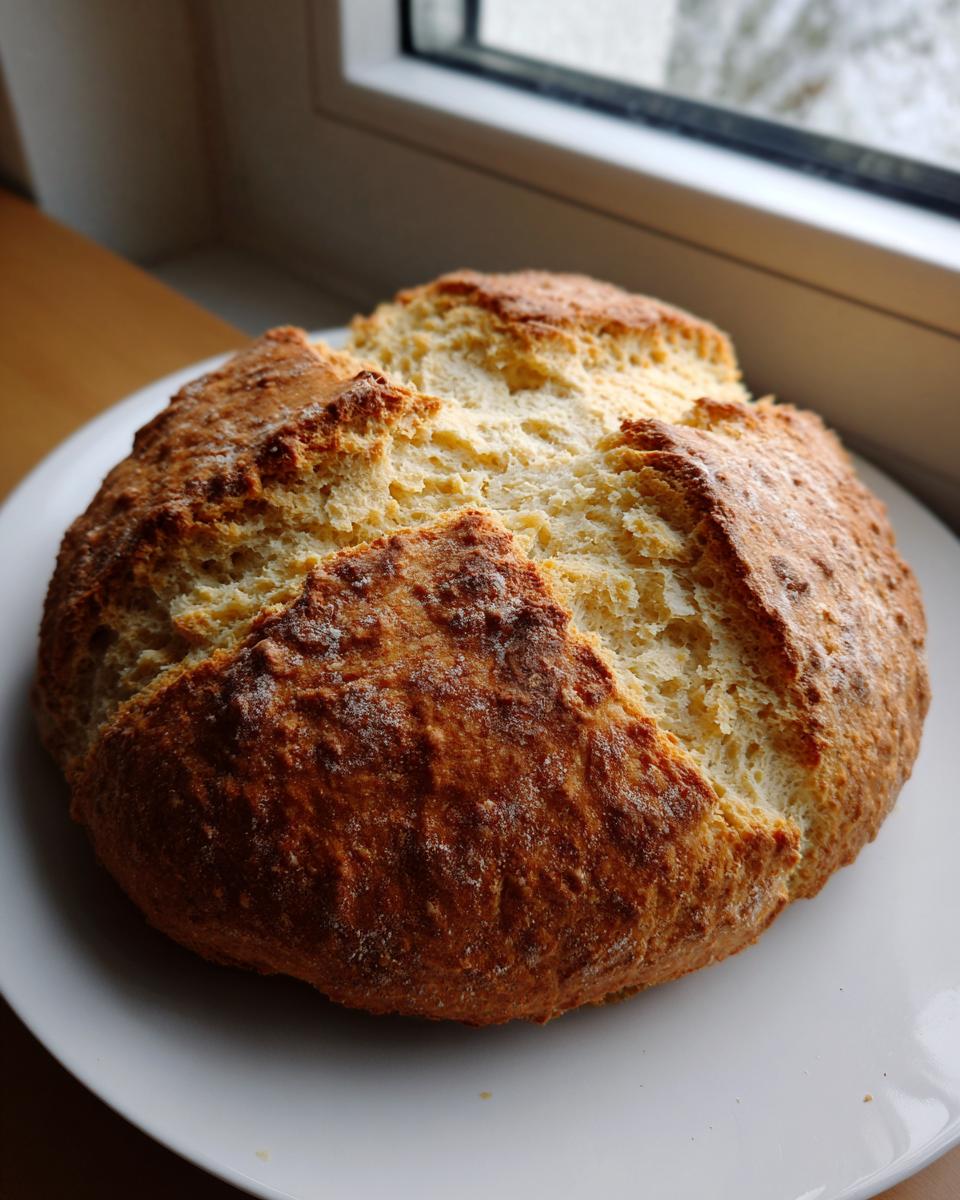
There is simply nothing better than the smell of freshly baked bread filling your kitchen after a long day. When dinner needs to come together fast—and we all know those nights happen often—you shouldn’t have to compromise that comfort. That’s why I’m sharing my go-to recipe for classic Irish soda bread. This isn’t one of those fussy recipes demanding hours of rising time. We skip the yeast entirely! Here at Cheffinity, we are built for solving those hectic weeknight dilemmas, and this recipe is the pinnacle of efficient, satisfying comfort food. It’s rustic, fast, and it proves that real homemade bread doesn’t need to be a luxury reserved for the weekend. If you love the idea of quick baking, you should definitely check out how we approach no-knead artisan bread.
- Why This Classic Irish Soda Bread Recipe Works for Busy Cooks
- Essential Ingredients for Authentic Soda Bread
- Step-by-Step Instructions for Perfect Soda Bread
- Tips for Success with Homemade Soda Bread
- Savory Soda Bread Ideas: Beyond the Classic Recipe
- Serving Suggestions for Your Comfort Food Bread
- Storage and Reheating Your Soda Bread Loaf
- Frequently Asked Questions About Soda Bread
- Nutrition Estimate for This Soda Bread
Why This Classic Irish Soda Bread Recipe Works for Busy Cooks
When I developed this recipe, the main goal, just like with everything else we cook here, was speed. You want that wholesome, comforting slice of bread without scheduling your entire evening around it. This is the ultimate definition of Easy No Yeast Bread!
- Speed: Ready in Under an Hour: Seriously, the total time clocking in around 45 minutes—that’s faster than waiting for delivery! Because we use baking soda as our leavener, there is zero rising time needed. These are the best Quick Bread Recipes for those emergency carb cravings.
- Simplicity: The True Spirit of Soda Bread: This recipe honors the original Irish spirit: few ingredients, maximum flavor. You won’t need any special equipment or intimidating techniques, making it perfect for Beginner Bread Baking. If you can mix four things in a bowl, you can make this loaf!
Essential Ingredients for Authentic Soda Bread
This is where the magic—and the speed—comes from! We keep the ingredient list short and powerful. I always tell people that an authentic soda bread with buttermilk recipe requires you to trust the reaction happening between the acid and the soda. Here is exactly what you need; I’ve double-checked these measurements against my notes so you don’t have to worry about failure. If you’re looking for other simple doughs, my recipe for crusty Italian bread is another pantry favorite!
Buttermilk Bread Recipe Base
Buttermilk is non-negotiable for that signature tang and the necessary acidity to activate the baking soda. You’ll need 1 3/4 cups! But hey, if you’re in a pinch, don’t panic. You can make your own quick substitute if you only have regular milk on hand. Just mix 1 tablespoon of white vinegar or lemon juice into 1 3/4 cups of milk and let it sit for about five minutes until it starts to look a little curdled. That acidity does the heavy lifting!
Optional Additions for Classic Soda Bread
While you can technically make this a four-ingredient loaf, adding a little sweetness really balances the sharpness of the buttermilk. I usually include 1 tablespoon of sugar, which just enhances the crust nicely. For the traditional flavor that I remember from old cookbooks, I also toss in about a quarter cup of raisins or currants. They plump up slightly as the bread bakes, adding little bursts of chewy sweetness.
Step-by-Step Instructions for Perfect Soda Bread
Okay, here is the most important part about making soda bread: speed and gentleness. This isn’t a yeasted dough where you spend ages kneading; you’re trying to kickstart a chemical reaction, not develop strong gluten networks. We want a rustic, tender interior!
- First things first, get that oven fired up to 400°F (200°C) and lightly flour a baking sheet. This bread bakes fast, so you need the heat ready to go!
- Whisk all your dry stuff together—the flour, baking soda, and salt—in a big bowl. If you’re using sugar or raisins, toss those in now too. Make a nice little well right in the middle.
- Pour that buttermilk right into the well all at once. Grab a knife or just use your hands and quickly mix everything until it just starts to come together into a shaggy mass. I mean fast, maybe 30 seconds max!
- Turn the dough out onto your floured surface. Pat it gently into a round shape, about two inches thick. Don’t wrestle with it; just coax it into a loaf shape.
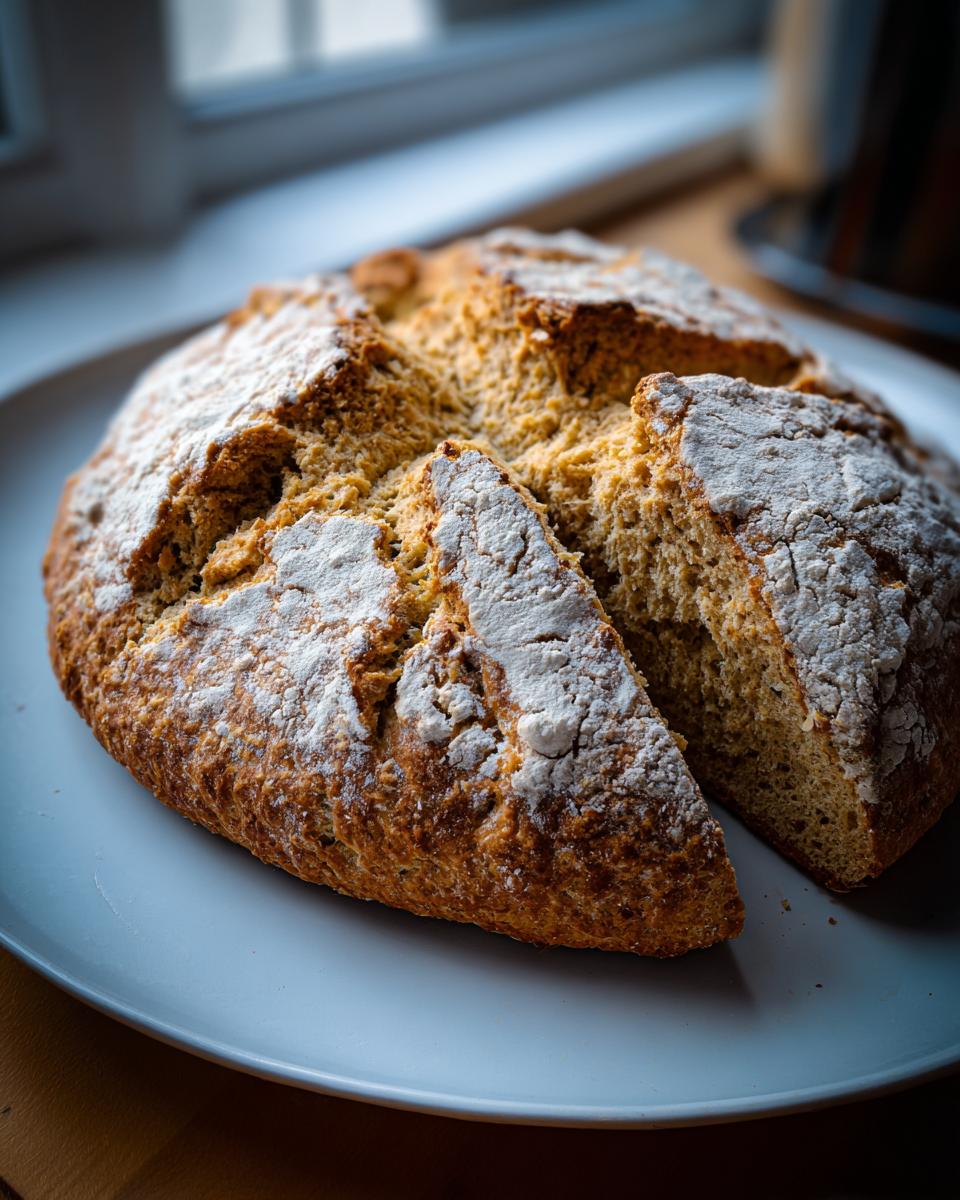
- Place it on your baking sheet and grab a sharp knife. Cut a deep cross into the top. This isn’t just tradition; it helps the middle cook through evenly.
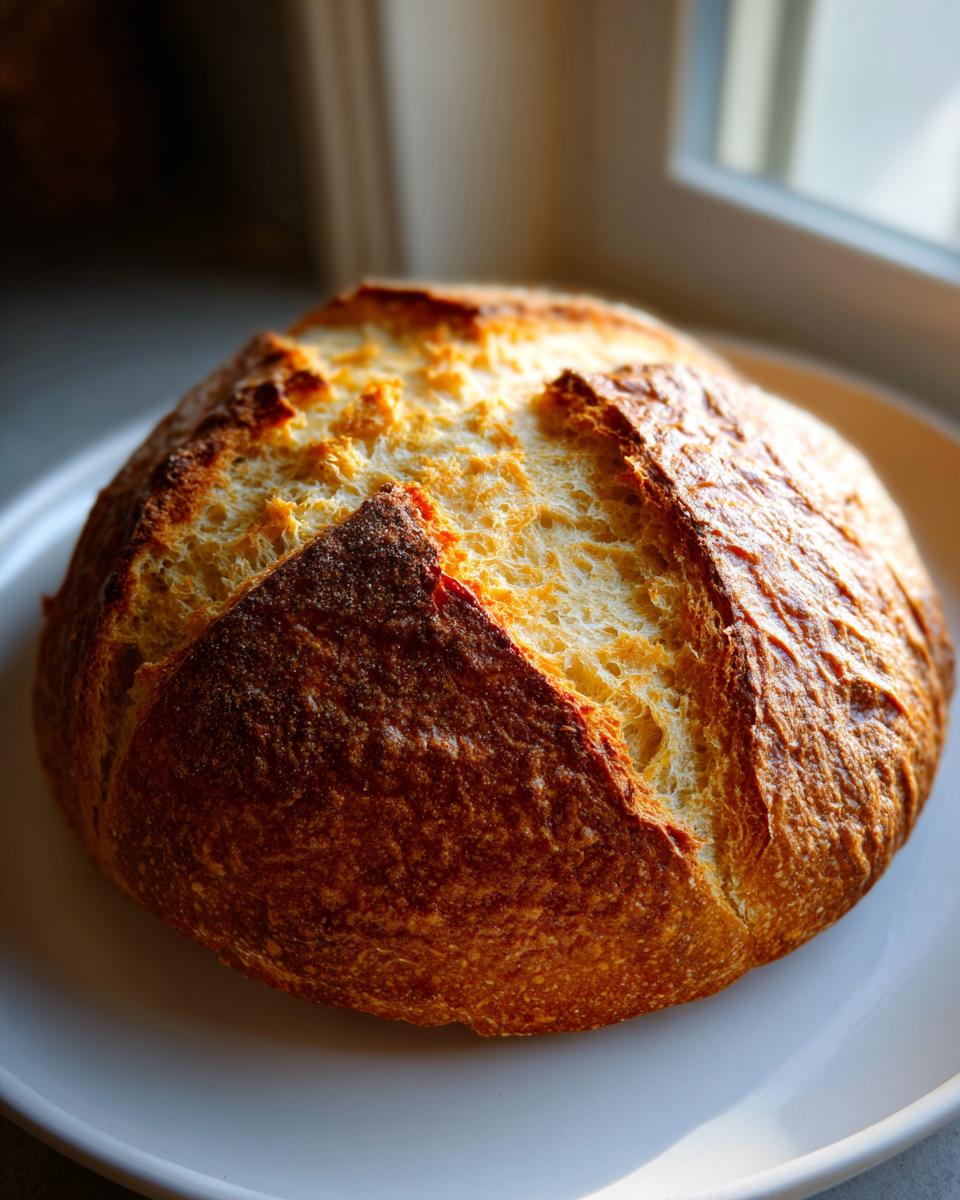
- Pop it in the hot oven for about 30 to 40 minutes. You’ll know it’s done when the crust is dark golden brown, and if you tap the bottom, it sounds totally hollow—like rapping on a closed door!
I learned this the hard way once when I got distracted checking emails while mixing; that loaf came out like a hockey puck because I kneaded it for too long! See? Trust me on keeping that mixing time super short. If you need some fun kitchen tools inspiration for mixing, check out these garlic parmesan breadsticks to see what I use!
Mixing the Soda Bread Dough Gently
I cannot stress this enough: mix only until the flour disappears! As soon as the buttermilk hits that baking soda, carbon dioxide starts bubbling up, giving your bread its lift. If you mix too much, you’re just overworking the flour, making all that gluten tighten up. That’s what turns your beautiful, soft loaf into something tough and chewy. You want a sticky dough when you finish mixing—that’s good! Stickiness means lightness later.
The Crucial Cross Cut on Your Crusty Loaf Recipe
Cutting that deep cross is essential for turning out a true Crusty Loaf Recipe. It allows the heat to penetrate the center quickly and evenly. Without it, you often end up with a beautiful, dark crust but a bready, doughy center that needs a few more minutes to bake, which usually results in burning the outside! Listen for that hollow sound when it comes out—that’s the sound of perfection.
Tips for Success with Homemade Soda Bread
When you’re relying on baking soda instead of yeast, the details really matter if you want that wonderful, soft interior and the signature crust. Baking is chemistry, right? And at Cheffinity, we test things until we find the absolute foolproof way to keep our weeknight dinners stress-free. Trust me, a couple of tiny checks before you start can save you from a dense loaf.
My first big rule? Check your baking soda date! This is super important for any soda bread recipe. If that box has been lurking in the back of your cupboard since last year’s Thanksgiving, it’s probably lost its power. Baking soda is the engine of this recipe; if it’s weak, your bread won’t rise, and you’ll end up with a heavy brick. I learned this the hard way when I was first trying to streamline my mother’s old recipes. I was so focused on mixing fast that I didn’t notice my soda was ancient. The result was flat, dense, and tasted mildly bitter, even though I mixed it perfectly! We had to toss it, which felt like a real waste of good buttermilk.
Another thing I do now, which I learned works wonders, is making sure my baking surface temperature is right. Since this whole recipe takes under an hour, the oven needs to be fully preheated to 400°F—no peeking, no opening the door early. Those hot walls are what give the crust that immediate, beautiful golden-brown color we are aiming for. You need that constant, high heat from the start!
Finally, when you are working with the dough, really treat it gently. If you find yourself really having to press down or knead it to get it into a perfect circle, stop! That extra handling generates heat and develops gluten, which is the enemy of tender homemade soda bread. Think of it more like squeezing modeling clay rather than kneading sourdough. If you want to try another quick, friendly bake, my recipe for fluffy banana pancakes is another fantastic way to start your day without a huge time commitment!
Savory Soda Bread Ideas: Beyond the Classic Recipe
Now, don’t get me wrong, I adore the slightly sweet, classic loaf served with berry jam, but sometimes for dinner—especially when pairing it with a hearty soup—you just need something savory, right? That’s where we get into some really fun territory with savory soda bread ideas. The base recipe is so neutral and forgiving that it handles robust flavors beautifully. It’s all about maximizing flavor without adding any extra time to the mixing process. You can use this simple foundation to create something incredible to serve alongside your main course.
For a richer, more textured loaf that feels almost like a meal on its own, try swapping out half your all-purpose flour for whole wheat or spelt flour. This gives the loaf a nuttier background flavor that perfectly complements salty additions. And of course, if you are looking for something really decadent, I highly suggest checking out my tips on mixing flavors for Italian herb and cheese bread—it gives you the same mindset for savory flavor packing!
Creating a Cheddar Herb Bread Recipe
If you want to nail the ultimate savory slice, you absolutely have to try making it into a Cheddar Herb Bread Recipe. This version is incredible served warm alongside a bowl of chili or even just slathered with salted butter.
The trick for this variation is really about what cheese you pick and how you mix it in. I insist on using a sharp, aged cheddar, not the mild stuff. You want flavor that cuts through when you bite into that crusty exterior. Grate about one cup of cheese. Fold it in right at the very end, just before you shape the loaf. Don’t mix it too much, or the cheese oils can start making the dough greasy!
As for herbs, fresh is best here. I love using a mix of finely chopped chives and maybe a teaspoon or two of fresh rosemary, but be careful with rosemary—it’s strong! You can also add a teaspoon of cracked black pepper for a nice little kick. Honestly, for an amazing savory loaf inspiration, I always glance over at the experts, and this recipe for Cheddar and Herb Soda Bread is one I always keep bookmarked for when I want to serve something truly special. Just remember: gentle mixing is the key to keeping that cheese suspended nicely inside that tender crumb!
Serving Suggestions for Your Comfort Food Bread
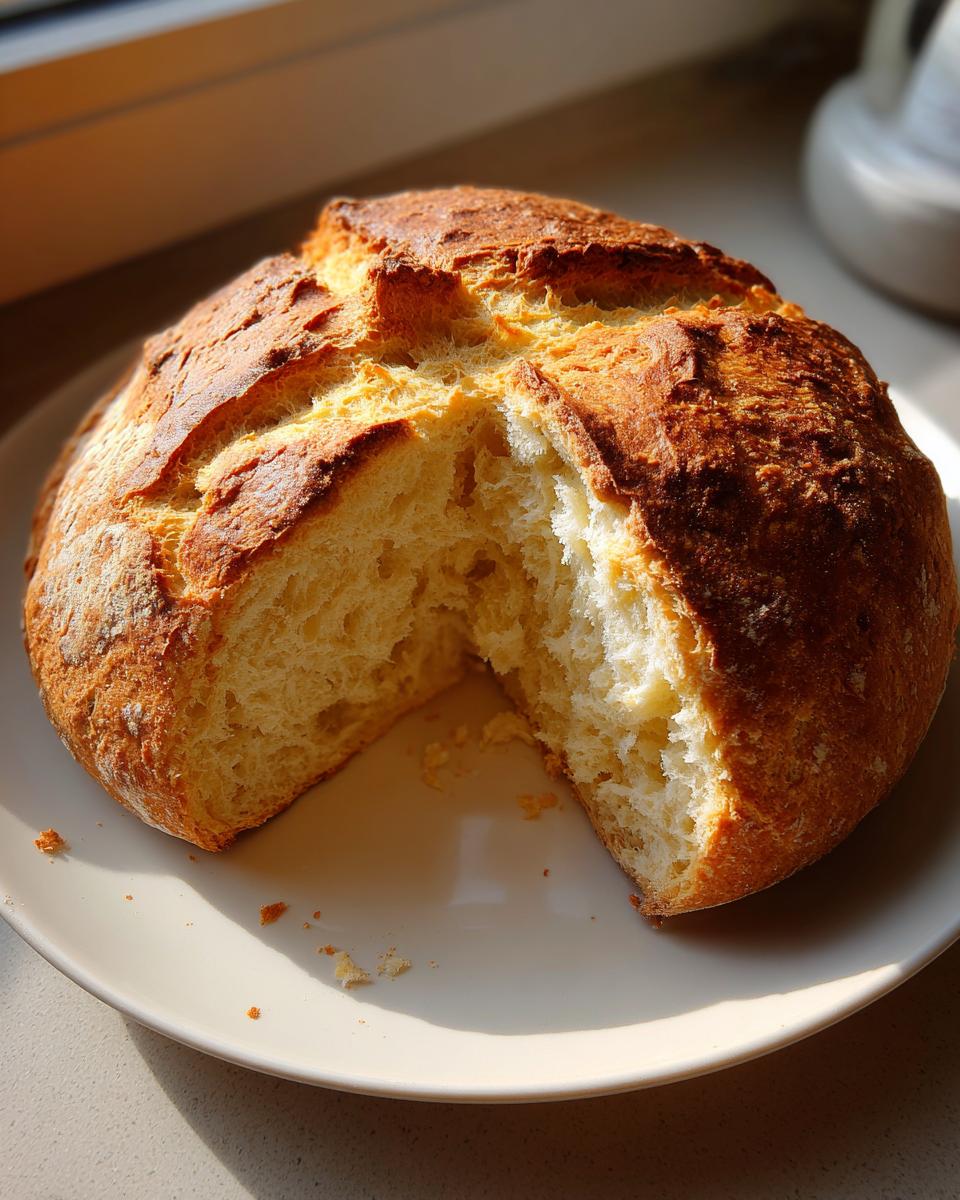
What’s the point of baking a gorgeous, crusty loaf of Comfort Food Bread if you don’t know the absolute best way to eat it? My favorite slices of soda bread are still warm—you can see the steam coming off that thick, dark crust. When it’s warm, simply slathering it with good quality salted butter is heaven. The butter melts right into all those nooks and crannies created by the quick mix! That’s non-negotiable in my house, even if we just made it for breakfast.
But let’s talk dinner pairings, because this bread was truly designed to accompany something hearty. Since this is an Irish staple, it shines brightest next to dishes that need a solid utensil to soak up every last delicious drop. This is absolutely the perfect companion for stew or thick, rich gravy. You know, those meals where you leave a little puddle on your plate? You need something sturdy, something that won’t fall apart when dipped, and my Homemade Soda Bread fits that bill perfectly!
If you are ever looking for a fantastic, flavor-packed meal that requires this kind of crusty bread for dipping, you absolutely have to try a big bowl of Mexican meatball soup, or Albondigas. I know it sounds a little worldly for an Irish loaf, but trust me, the hearty broth soaks up beautifully! You can find my highly streamlined recipe for Albondigas Soup right here on the site; it’s an easy weeknight winner.
For lighter meals, it’s wonderful cut thick and toasted slightly, then topped with a sharp jam or even thick slices of cheddar cheese. When you cut it right after it comes out of the oven, that interior steam gives you a phenomenal texture reminiscent of a good scone, just shaped like a loaf. Seriously, try the warm butter trick—you won’t regret it!
Storage and Reheating Your Soda Bread Loaf
Now, because this is a quick bread—meaning it doesn’t have the complex structure or preservatives of a yeast bread—it’s best eaten the day it comes out of the oven. Seriously, a slice of this warm, crusty **soda bread** with butter is unmatched! But if you happen to have leftovers (which is rare in my house, haha!), you need to store it right so it doesn’t go stale on you too quickly.
The way you wrap it changes everything. Don’t wrap it immediately when it’s piping hot, though! Let the loaf cool completely on a wire rack first. If you seal in that steam, the crust you worked so hard for will turn soft and chewy overnight, and nobody wants that. Once it’s totally cool, wrap it tightly in plastic wrap first. Then, I like to slip that wrapped loaf into a zip-top bag or an airtight container. This keeps the dry air out and maintains that nice dense interior texture.
This method should keep your **Homemade Soda Bread** perfectly good for about two or maybe three days. Any longer than that, and you risk it getting too hard, even if it’s wrapped well.
When you’re ready to eat the leftovers, you absolutely must reheat it to bring that crust back to life. Don’t reach for the microwave—that always makes quick breads tough! Instead, preheat your oven or toaster oven to about 350°F (175°C). Slice the bread first, and then place the slices directly on the oven rack for about five to seven minutes. Watch it closely! You want the edges to feel crisp again and the interior to be warm and soft. That quick blast of dry heat essentially resurrects the crust, making it taste almost as good as when it first came out of the oven. It’s the only way I eat leftover **Buttermilk Bread Recipe** slices!
Frequently Asked Questions About Soda Bread
I get so many questions about this soda bread loaf because people are often nervous about baking without yeast. Don’t be! Baking success is all about understanding the chemistry, and I’m happy to walk you through those little hiccups that sometimes happen. If you’re looking for even more quick food wins, check out my list of easy breakfast ideas; they follow the same Cheffinity philosophy of maximizing flavor in minimum time.
Can I use regular milk instead of buttermilk in this soda bread recipe?
Yes, you absolutely can, and I provided the quick fix earlier! But let me be clear: if you can find proper buttermilk, use it. True, cultured buttermilk produces the best flavor and the most reliable reaction with the baking soda. That acidic goodness is what gives your soda bread its unique lift and tang. The substitute (milk plus vinegar/lemon juice) works in a pinch to give you the lift, but the depth of flavor just isn’t quite the same. Think of the substitute as the emergency backup, and buttermilk as the first choice!
Why is my soda bread dense instead of light?
This is hands-down the number one reason people end up with a sad, heavy loaf, and it always comes back to one thing: overmixing. Remember, we are using baking soda, which needs acid (the buttermilk), to create carbon dioxide bubbles. Those bubbles are what make your soda bread light! The second you mix that wet and dry mixture for too long, you essentially work all the air out of those bubbles, and you start building gluten, just like you would with a kneaded dough. You want a soft, shaggy dough—not a smooth ball—when you turn it out. Keep that mixing time under a minute!
What is the best flour to use for traditional Irish Soda Bread?
For the classic lighter texture we aimed for in this recipe, all-purpose flour is the standard go-to. It provides that familiar white bread softness we know and love. However, if you want to make your Homemade Soda Bread heartier or more rustic—maybe to stand up better to thick stew—a lot of traditional bakers use a mix. I often swap out about half of the all-purpose flour for wholemeal (or whole wheat) flour. It changes the color and adds a wonderful nutty background note without compromising that quick-bread texture. Give it a try next time!
Nutrition Estimate for This Soda Bread
I always like to include a rough nutritional breakdown for our dishes, just so you know what you’re working with when you bring this wonderful **soda bread** home from the oven. Remember, these figures are just estimates based on the standard ingredients listed, and they can change slightly depending on the exact brand of flour or how much butter you slather on your slice! When we talk about Cheffinity meals, we focus on real food that fuels real life, and sometimes that means knowing the macros.
For a standard slice of this classic, fast-baked **Irish Soda Bread Recipe**, here is what you can generally expect. The beauty of this quick bread is that it’s relatively low in fat compared to enriched loaf breads, which is probably why Grandma loved it so much!
- Calories: About 250 per slice
- Carbohydrates: 53g
- Protein: 7g
- Fat: 2g (mostly unsaturated, which is great!)
See? A simple, satisfying slice that doesn’t weigh you down. It’s perfect for soaking up soup or just enjoying with a cup of tea. It’s classic **Traditional Irish Baking** made easy and accountable!
PrintClassic Irish Soda Bread: Quick, Easy, No Yeast Recipe
Bake this traditional Irish Soda Bread using simple pantry ingredients. It is crusty outside, soft inside, and requires no yeast or long rising times, making it perfect for a fast, comforting homemade loaf.
- Prep Time: 10 min
- Cook Time: 35 min
- Total Time: 45 min
- Yield: 1 loaf (8 servings) 1x
- Category: Bread
- Method: Baking
- Cuisine: Irish
- Diet: Vegetarian
Ingredients
- 4 cups all-purpose flour
- 1 teaspoon baking soda
- 1 teaspoon salt
- 1 3/4 cups buttermilk
- 1 tablespoon sugar (optional, for slight sweetness)
- 1/4 cup raisins or currants (optional, for traditional flavor)
Instructions
- Preheat your oven to 400°F (200°C). Lightly flour a baking sheet.
- In a large bowl, whisk together the flour, baking soda, and salt. If using, mix in the sugar and raisins or currants.
- Make a well in the center of the dry ingredients and pour in the buttermilk all at once.
- Use a knife or your hands to quickly mix the ingredients until just combined into a soft, slightly sticky dough. Do not overmix.
- Turn the dough out onto a lightly floured surface. Gently shape it into a round loaf, about 1.5 to 2 inches thick.
- Place the loaf on the prepared baking sheet. Use a sharp knife to cut a deep cross into the top of the loaf, cutting almost to the bottom.
- Bake for 30 to 40 minutes, or until the crust is deep golden brown and the loaf sounds hollow when tapped on the bottom.
- Transfer the soda bread to a wire rack to cool slightly before slicing. Serve warm with butter.
Notes
- If you do not have buttermilk, mix 1 3/4 cups of regular milk with 1 tablespoon of white vinegar or lemon juice and let it sit for 5 minutes before using.
- For a slightly richer crust, brush the top of the loaf with a little extra buttermilk just before baking.
- This bread pairs well with hearty soups and stews.
Nutrition
- Serving Size: 1 slice
- Calories: 250
- Sugar: 3
- Sodium: 350
- Fat: 2
- Saturated Fat: 1
- Unsaturated Fat: 1
- Trans Fat: 0
- Carbohydrates: 53
- Fiber: 2
- Protein: 7
- Cholesterol: 5