
That smell—cinnamon, nutmeg, and slowly cooked fruit—that’s the scent of cozy taking over the house, right? As someone who tries to keep weeknight meals simple, I absolutely refuse to let fall pass without making a huge batch of rich, homemade apple butter. It’s one of those magical things that tastes like it simmered for three days, but honestly, it doesn’t have to. My mom always used the stovetop method, which meant hours of stirring, but I’ve found ways to streamline those comforting traditions for busy lives like mine. This guide is my honest breakdown comparing the hands-off magic of the slow cooker versus the traditional stovetop method. Trust me, we are going to get you that thick, velvety spread without sacrificing your entire afternoon.
- Why You Will Make This Slow Cooker Apple Butter Recipe Again and Again
- Gathering Ingredients for Rich, Spiced Apple Butter
- How to Make Apple Butter Using the Slow Cooker Method
- Stovetop Apple Butter: The Old Fashioned Approach
- Tips for Perfect Homemade Apple Butter From Scratch
- Variations: Making Cranberry Apple Butter
- Storing and Canning Apple Butter for Winter Pantry Staples
- Serving Suggestions for Your Spiced Apple Spread
- Frequently Asked Questions About Apple Butter
Why You Will Make This Slow Cooker Apple Butter Recipe Again and Again
When I first started transforming family recipes for modern convenience, the slow cooker was my secret weapon, and it absolutely shines when making apple butter. We are moving away from constant pot-watching and towards real efficiency here. This Easy Apple Butter simplifies preservation almost entirely. Here’s why this method beats stirring endlessly for me:
- Truly Hands-Off Cooking: You toss everything in before work or before bed, and the machine does the heavy lifting. No babysitting required! It’s perfect for busy parents who want that classic fall flavor without the commitment.
- Deep, Caramelized Flavor: Cooking fruit low and slow—which the Crockpot is brilliant at—helps develop natural sugars. The result is a richer, almost caramelized flavor that the quick stovetop method just can’t replicate consistently.
- Velvety Smooth Texture: Because the apples break down so completely over 8+ hours, achieving that luxurious, velvety smooth texture is almost guaranteed before you even grab the blender.
- Perfect for Gifting: Making large batches is incredibly easy, cementing this as one of my favorite fall preserving ideas. I always make sure I have enough jars ready to give away as easy homemade gifts.
Gathering Ingredients for Rich, Spiced Apple Butter
When it comes to making the best homemade apple butter recipe, the quality of your initial haul truly matters. Since the slow cooker does all the work, we want to make sure the fruit base is top-notch. For this recipe, I always grab about six pounds of apples. My favorite combination is using tart apples like Granny Smith mixed with sweeter ones like Honeycrisp or Fuji—this balance is how we guarantee the best flavor!
You’ll need two types of sugar to get that deep, complex sweetness that screams autumn. Forget adding lots of sugar, though; the slow cook really concentrates the fruit’s natural sugars. And of course, we need those warm spices:
- 6 pounds apples (Fuji, Honeycrisp, or a mix), peeled, cored, and chopped
- 1 cup granulated sugar
- 1 cup packed brown sugar
- 2 tablespoons ground cinnamon
- 1 teaspoon ground nutmeg
- 1/2 teaspoon ground allspice
How to Make Apple Butter Using the Slow Cooker Method
This is where the magic happens, folks. Forget standing over a hot stovetop stirring for hours—the slow cooker handles this beautifully. Because this gorgeous apple butter cooks so gently, it concentrates those warm spices while breaking down the fruit perfectly. It’s truly the easiest way to preserve that amazing fall flavor.
Combining Ingredients in the Slow Cooker
Take all those wonderful chopped apples, both sugars, and all your spices—cinnamon, nutmeg, and allspice—and dump them right into your slow cooker basin. Give it a good stir until everything looks evenly coated. That’s it for the prep work! I usually give it a nice, vigorous mix right at the top so that no apples are hiding naked at the bottom without any spice coverage.
Cooking Time for Velvety Apple Butter
Now we wait! Cover your pot and set it on LOW for about 8 to 10 hours, or if you’re in a real hurry, HIGH for 4 to 5 hours. Don’t peek constantly, just let the heat work its slow magic. When it’s done, the apples should be completely tender—you should be able to mash them easily with just a fork or spoon.
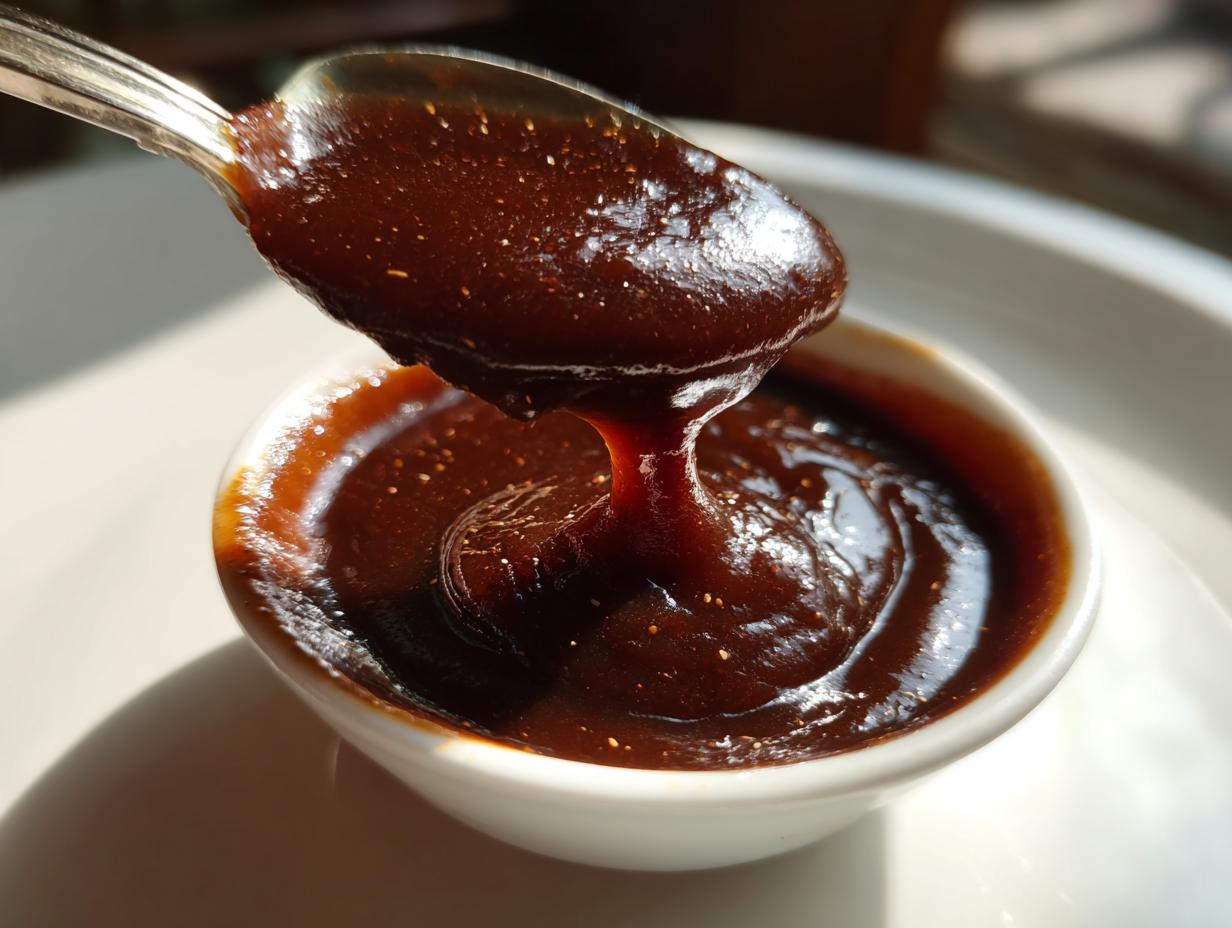
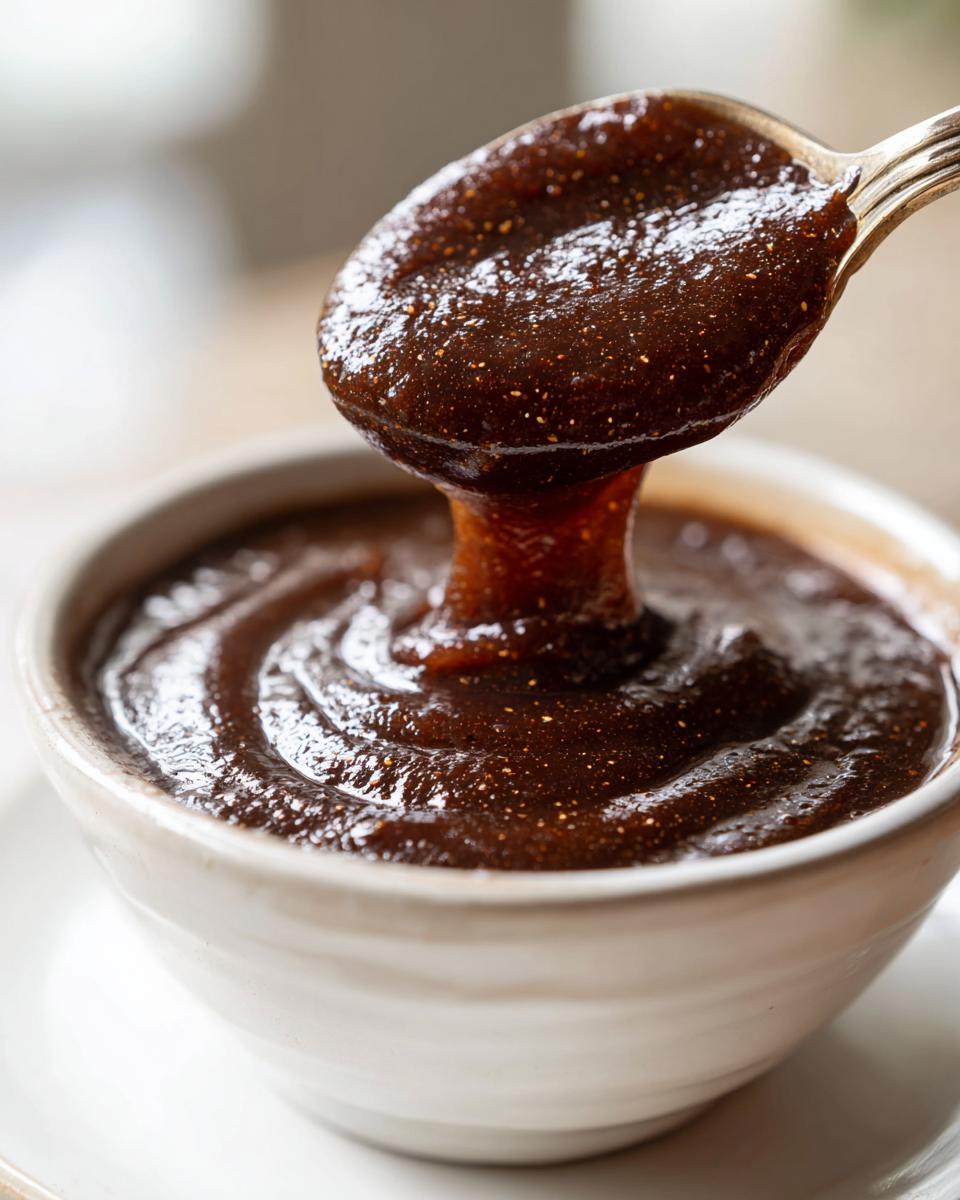
Achieving Thick Apple Butter Texture
Once soft, it’s time for that luxurious finish. Carefully transfer the cooked mixture to a blender, or if you have a good immersion blender, just stick it right in the pot! Blend until it’s completely smooth and velvety. If you find your Thick Apple Butter still looks a little runny after blending, just put it back in the uncovered slow cooker on HIGH for another 30 to 60 minutes. Stir it every so often until it coats the back of a spoon perfectly. That final thicken saves the whole endeavor!
Stovetop Apple Butter: The Old Fashioned Approach
I know the slow cooker is easy, but sometimes you just crave that *old fashioned* flavor that only comes from standing over a pot, right? The Stovetop Apple Butter method definitely requires more attention than tossing it in the Crockpot, but it gets the job done much faster. Instead of 8 hours, you are looking at maybe 2 to 3 hours of cooking time total after the initial soften.
The key difference is patience and stirring! When you make Stovetop Apple Butter, you have to stir much more frequently, especially once the mixture starts to bubble and reduce. This prevents that thick goodness from scorching on the bottom of your pan. It produces a slightly different depth of flavor—maybe a little less caramelized than the slow cooker version, but still incredibly rich and cozy. It’s a great solution when you realize at noon that you want apple butter for dessert!
Tips for Perfect Homemade Apple Butter From Scratch
Even though the slow cooker does most of the heavy lifting, I always follow a few rules when making my Homemade Apple Butter From Scratch. These little details are what elevate it from good to the absolute best, the kind you want to tuck away in your pantry for winter. Remember, I’m teaching you what I learned to make weeknight meals easy, and that applies to condiments too—efficiency, but never at the expense of flavor!
Here are the things I absolutely insist on for that perfect, rich, spiced apple butter:
- Don’t Bother Peeling: I know, I know! Peeling six pounds of apples sounds miserable. If you’re making the ridiculously long-cooking slow cooker version, you can skip peeling entirely. The skins break down completely during the long cook time. You MUST blend it super well afterward, but honestly, it saves about 20 minutes of work upfront. It’s my favorite secret for making it easier!
- Taste Before You Can: Before you even think about ladling the finished product into jars, give it a final taste test. Does it need a tiny bit more cinnamon? Maybe a pinch of salt to enhance the sweetness? Since this is a Natural Sweetener Apple Butter for me, I adjust the spice profile based on how sweet the raw apples tasted.
- The Sugar Reduction Trick: If you are committed to a lighter sugar version, go ahead and cut the total sugar by up to half a cup. Apples, especially firm ones like Fuji, are naturally quite sweet when cooked down this long. Taste frequently so you don’t lose that rich, comforting flavor profile, though!
- Use the Right Pot for Stovetop: If you decide to try the stovetop method (which is great for small batches!), make sure you use a very heavy-bottomed Dutch oven. Heavy pots distribute heat much more evenly, meaning fewer scorched spots at the bottom where your beautiful apple butter can burn.
- Canning is Essential for the Pantry: If you are making a big batch and want this to be one of your Winter Pantry Staples, make sure you follow proper hot water bath processing! Ladle the piping hot apple butter into sterilized jars and process for 10 minutes. This is non-negotiable for shelf stability.
Variations: Making Cranberry Apple Butter
You can’t talk about cozy fall recipes without mentioning how well cranberries pair with apples! If you want to make that gorgeous Cranberry Apple Butter Recipe, it’s so simple. You don’t need a whole new recipe, just a simple addition to this base one.
I usually add about one cup of fresh or frozen cranberries right when I add the apples to the slow cooker. They cook down just as beautifully, and when you blend everything smooth, they add the most wonderful tart punch that cuts through the richness from the brown sugar.
If you are worried about the blending consistency, you can always add the cranberries during the last hour of cooking instead. This allows them to break down a bit more before you tackle that final smoothing step. Honestly, this variation is so good; it makes the perfect accompaniment for your holiday entertaining!
Storing and Canning Apple Butter for Winter Pantry Staples
Making a huge batch of this delicious apple butter means you’ve officially started stocking your Winter Pantry Staples! While it’s tempting to just eat it all immediately off the spoon (I’ve definitely done that), canning ensures you have this cozy spread all season long. If you skipped the canning step in the main directions, you can store leftovers in the fridge for about three weeks, but for true long-term storage, we need heat processing.
When it comes to safe Canning Apple Butter, remember Step 6? That’s crucial. Once the apple butter is totally smooth and piping hot, ladle it into sterilized jars, leaving about 1/4 inch of space at the top. Wipe those rims clean and seal them up tight! Then, you need to process those jars in a boiling water bath for a full 10 minutes. Always follow safe guidelines—this simple step means you can pull a jar out next February and it will taste just as phenomenal as it does today. For other quick preservation ideas that don’t require the water bath, you can check my tips on making refrigerator pickles, but for this sweet treat, hot water bath rules! You deserve easy homemade condiments all year long, and you can see how others manage their own preservation kits over at Crock Pot Apple Butter for Canning Made Easy Today!
Serving Suggestions for Your Spiced Apple Spread
Okay, you’ve got this glorious, thick apple butter cooling now—what are you going to do with it all? Honestly, the first way I use it is just by grabbing a spoon, but I’m working on portion control! This spiced spread is fantastic as a base for all sorts of Quick Breakfast Spreads, like swirling a big spoonful into pancakes or yogurt.
But don’t stop at breakfast! This is an incredible, unexpected ingredient in baking. Try swapping out some of the oil or applesauce in your favorite muffin or cake recipe for the apple butter—it adds amazing moisture and deep spice notes. It’s also stellar on savory things, like spooned over baked ham or used as a glaze for pork chops. You are going to find yourself using this far more than you thought!
Frequently Asked Questions About Apple Butter
I get so many thoughtful questions about making this How to Make Apple Butter From Scratch. Seriously, you all are making great choices in the kitchen! Since weeknight cooking is all about being prepared, here are the answers to the most common things folks ask me about their batches of homemade apple butter.
What are the best apples to use for apple butter?
This is such a great question! You really want a mix for the best flavor balance. If you just use super sweet apples, your final product can taste a little flat, even with the spices. I insist on using a combination of sweet and tart apples. Honeycrisp or Fuji are great for their sweetness and texture, but you need something with some acidity to balance it out. Granny Smith is the classic choice, but Gala apples work beautifully too. Using a mix ensures you get that complex, rich flavor without needing a ton of extra sugar!
Do I really have to peel the apples for the slow cooker method?
This is my big time-saver tip! For the long, slow cooker version we detailed above, I often skip the peeling step entirely. Yes, you heard me! When the cooking time is 8 or 10 hours, those skins break down until they are virtually undetectable once you blend everything. This saves you about 20 minutes of tedious peeling upfront, which is gold in my book. You *must* use a good immersion blender or be prepared to blend in batches, but trust me, it works perfectly for making an incredibly **Easy Apple Butter**.
How long does homemade apple butter last?
If you go through the proper canning procedure—the hot water bath processing for 10 minutes—your sealed jars of **apple butter** can sit happily in your pantry for at least a year, maybe even longer if stored in a cool, dark spot. Once you open a jar, though, it moves into the refrigerator, and I recommend aiming to finish that jar within three weeks for the absolute best texture and flavor. If you just put an opened jar in the fridge without canning, aim to eat it within three weeks too, just to be safe!
Can I use less sugar or a natural sweetener?
Absolutely, you can certainly aim for a **Natural Sweetener Apple Butter**! The good news is that when you cook apples this long, they concentrate their flavor naturally. I often reduce the total sugar by about a half-cup without noticing a huge difference, especially since brown sugar adds moisture. If you want to go lower, that’s fine, but be sure to give it that final taste test before jarring it up. If you are cooking down a sweeter batch of apples, you might not need much added sugar at all!
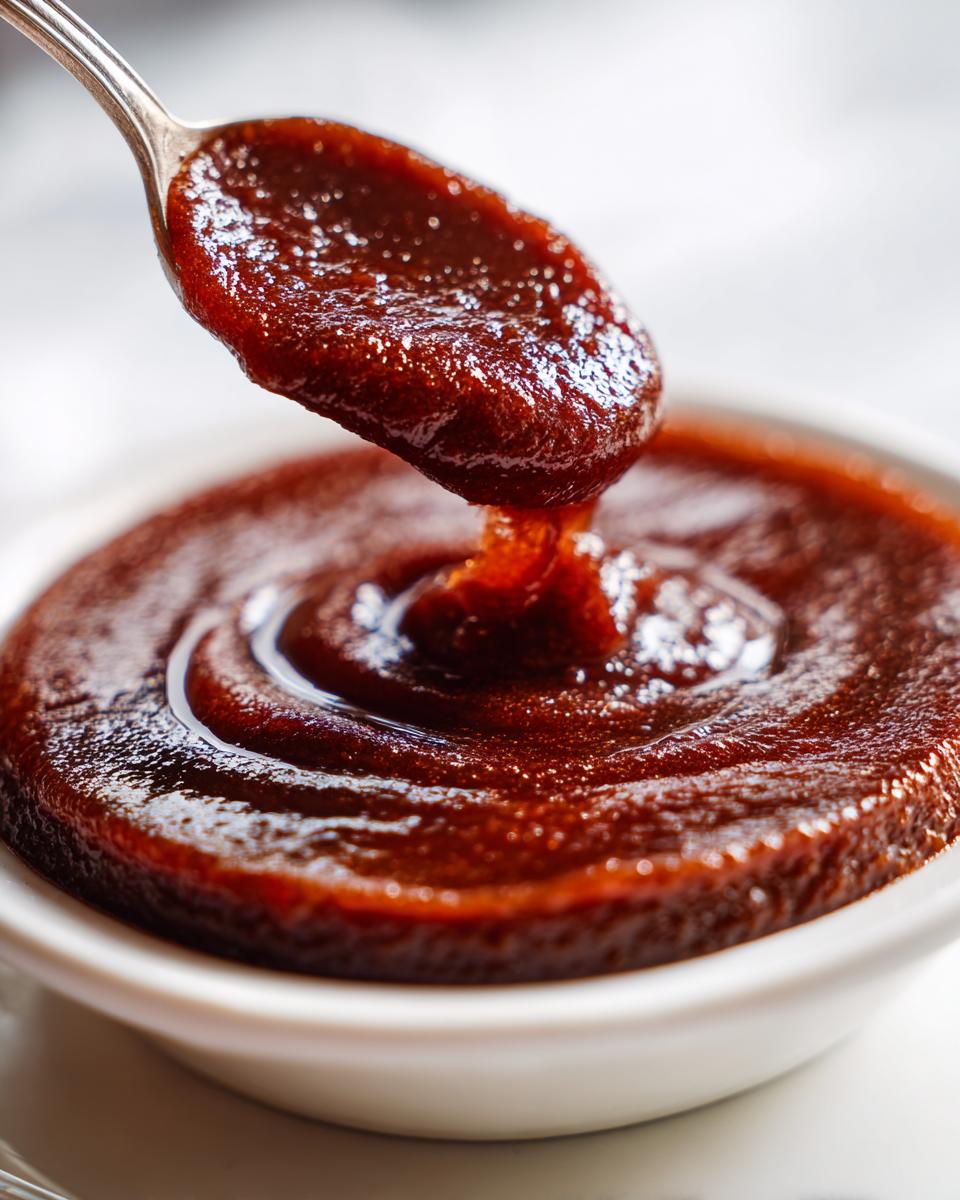
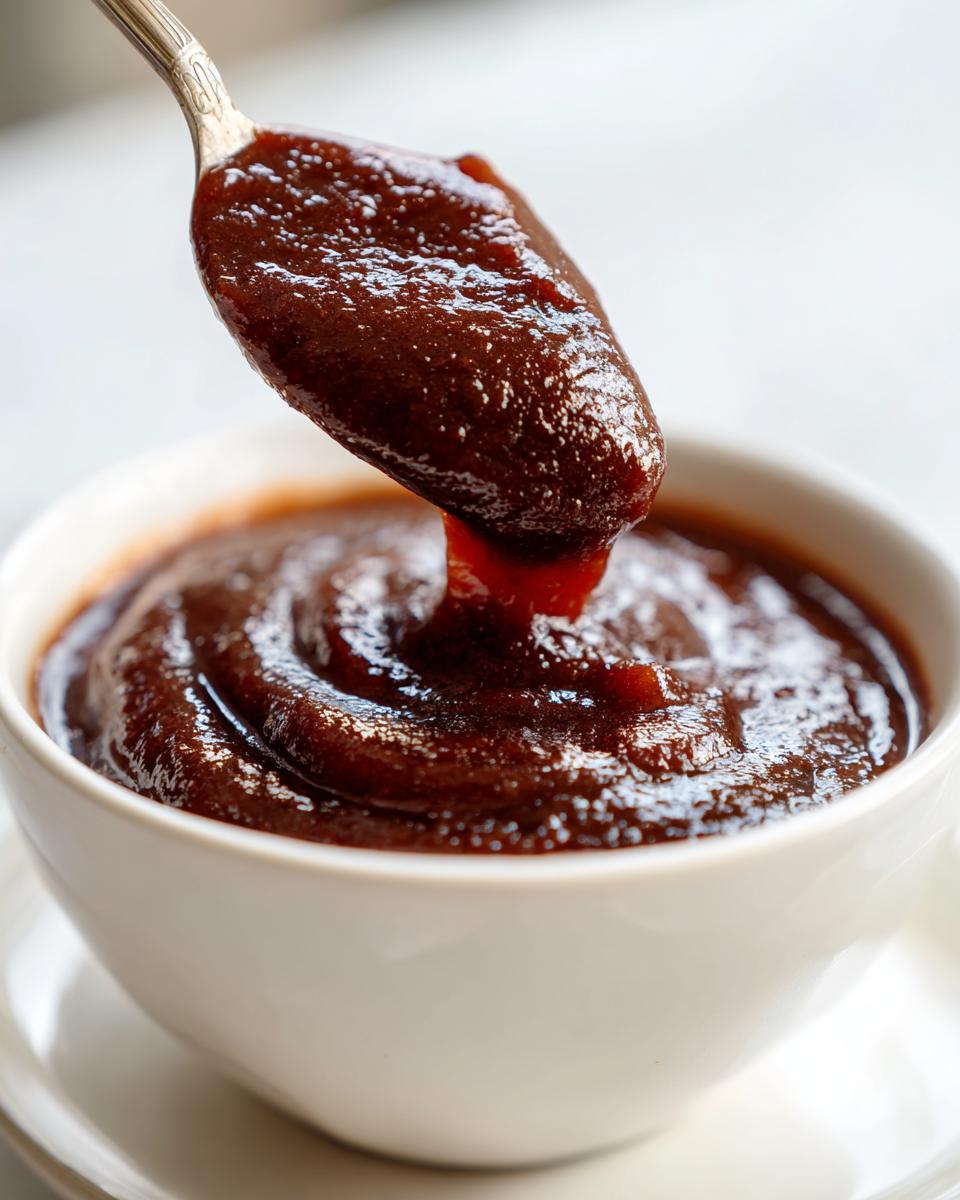
How do I get that thick, spreadable texture?
That’s the whole goal, isn’t it? Nobody wants runny, thin **apple butter**. The secret happens in the final stage. After you blend the cooked apples smooth, if it still looks too thin, put it back in the slow cooker (lid *off*) and run it on HIGH for about 30 minutes to an hour. You want to let that excess moisture evaporate. Stir it every 10 minutes or so. When it’s ready, it should be thick enough to hold its shape on a spoon for a second or two before slowly starting to fall. Let me know if you have any other questions! Feel free to reach out through my contact page.
PrintEasy Slow Cooker Apple Butter: Rich, Spiced Homemade Spread

Make rich, thick apple butter with minimal effort using your slow cooker. This recipe delivers deep, spiced flavor perfect for toast, baking, or fall preserving.
- Prep Time: 20 min
- Cook Time: 8 hours
- Total Time: 8 hours 20 min
- Yield: About 6 cups 1x
- Category: Condiment
- Method: Slow Cooker
- Cuisine: American
- Diet: Vegetarian
Ingredients
- 6 pounds apples (Fuji, Honeycrisp, or a mix), peeled, cored, and chopped
- 1 cup granulated sugar
- 1 cup packed brown sugar
- 2 tablespoons ground cinnamon
- 1 teaspoon ground nutmeg
- 1/2 teaspoon ground allspice
Instructions
- Place the chopped apples, granulated sugar, brown sugar, cinnamon, nutmeg, and allspice into the basin of a 6-quart or larger slow cooker.
- Stir the ingredients together until the apples are evenly coated with the spices and sugar.
- Cover the slow cooker and cook on LOW for 8 to 10 hours, or on HIGH for 4 to 5 hours. The apples should be very soft and easily mashed.
- Carefully transfer the cooked apple mixture to a blender or use an immersion blender directly in the slow cooker. Blend until the mixture is completely smooth and velvety.
- If the apple butter seems too thin, return it to the slow cooker (uncovered) and cook on HIGH for 30 to 60 minutes, stirring occasionally, until it thickens to your desired consistency. This step is key for thick apple butter.
- Taste and adjust spices if needed. For canning, ladle the hot apple butter into sterilized jars, leaving 1/4 inch headspace. Process in a boiling water bath for 10 minutes for shelf stability.
Notes
- For a no-peel apple butter option, you can skip peeling the apples before cooking; the skins will break down during the long cook time, but you must blend thoroughly afterward.
- If you prefer a less sweet spread, reduce the total sugar by half a cup and rely on the natural sweetness of the apples.
- This recipe is excellent for making winter pantry staples; process according to standard home canning guidelines for safe storage.
Nutrition
- Serving Size: 1/4 cup
- Calories: 145
- Sugar: 35g
- Sodium: 2mg
- Fat: 0.1g
- Saturated Fat: 0g
- Unsaturated Fat: 0g
- Trans Fat: 0g
- Carbohydrates: 37g
- Fiber: 2g
- Protein: 0.2g
- Cholesterol: 0mg