
I know that feeling, that rush right when dinner needs to hit the table, and you realize you’re missing that one perfect component. Too often, that means sacrificing flavor for speed, especially when it comes to gravy. But listen, getting a deeply satisfying, rich, velvety **homemade brown gravy** on the table in under 15 minutes doesn’t require you to roast a prime rib first! Cooking strategically is what we do here at Cheffinity; we solve the weeknight dinner dilemma. This is my trusted method for a spectacular **homemade brown gravy from scratch** that relies only on simple pantry items, proving you never have to settle for thin, dull sauces just because you’re busy. You can find more ideas for streamlining your kitchen workflow over at quick weeknight dinners. Trust me, this recipe works!
- Why This Homemade Brown Gravy Recipe is Your New Weeknight Staple
- Ingredients for Rich Savory Homemade Brown Gravy
- How To Make Brown Gravy From Scratch: The Roux Method
- Flavor Secrets for Deep Flavored Homemade Brown Gravy
- Tips for Success When Making Easy Brown Gravy
- Serving Suggestions for Your Homemade Gravy Recipe
- Storage and Reheating Instructions for Homemade Brown Gravy
- Frequently Asked Questions About Brown Gravy Without Drippings
- Nutritional Estimates for This Quick Dinner Gravy
Why This Homemade Brown Gravy Recipe is Your New Weeknight Staple
I developed this recipe because I needed real flavor, fast. It’s all about maximizing impact with minimal time. This isn’t just another saucepan sauce; it’s a reliable workhorse for busy nights.
- It’s genuinely ready in about 15 minutes total—a true Quick Dinner Gravy!
- We nail that deep, savory profile without needing any greasy pan drippings left over from roasting.
- It’s incredibly versatile. It works just as well for a quick meatloaf on Tuesday as it does for Thanksgiving turkey the following month.
- Achieving that signature velvety consistency is surprisingly foolproof using the classic roux method.
Ingredients for Rich Savory Homemade Brown Gravy
When you’re making **homemade brown gravy** without the benefit of those delicious fats from a roast, the quality of your base ingredients really shines through. I keep these staples stocked because they create instant depth! Make sure you have your butter ready to go, and using a low-sodium beef broth is my secret for keeping all the salt in my own control.
- 4 tablespoons unsalted butter
- 4 tablespoons all-purpose flour
- 2 cups beef broth (low sodium preferred)
- 1 teaspoon Worcestershire sauce
- 1/2 teaspoon onion powder
- 1/2 teaspoon garlic powder
- 1/4 teaspoon black pepper
- 1/2 teaspoon salt (or to taste)
- 1/4 teaspoon dried thyme
How To Make Brown Gravy From Scratch: The Roux Method
This is where the magic happens, and honestly, it’s so much faster than waiting for a roast to finish! We’re relying on the tried-and-true roux method to give us that wonderfully thick base in just about 10 minutes of cook time. Remember, since we aren’t using meat drippings, we have to build that deep, savory background color ourselves. Once this is done, you’ll have the perfect foundation for smothering those creamy mashed potatoes you’ve waited all day for! For more tips on quick sauce methods, people often check out advice like what I found over at Easy Brown Gravy (no drippings).
Creating the Perfect Roux Base for Homemade Brown Gravy
Start by melting all your butter over medium heat—don’t rush this part! Once it’s fully melted, whisk in the flour immediately. Keep stirring constantly for about two minutes. We want this mixture to turn a lovely light brown, nearing a peanut butter color. That color development is exactly what gives us that rich, savory gravy that tastes like it cooked all day!
Thickening Your Velvety Brown Gravy
Now, here’s the crucial tip for achieving that beautiful, velvety brown gravy texture: add your beef broth in very slow additions while whisking the roux like crazy. If you dump it all in at once, you get clumps, and we want smooth perfection! Once it’s all incorporated, bring it to a simmer and let it bubble gently for about three to five minutes until it coats the back of your spoon nicely.
Flavor Secrets for Deep Flavored Homemade Brown Gravy
Once your thickening agent is perfect, we tackle the flavor. Since this is a fantastic **gravy without drippings**, we have to cheat a little bit to get that amazing, savory depth. Worcestershire sauce is key here; it brings a fermented, slightly acidic umami note that mimics the slow cooking you get from roasted meat juices. And don’t skip the thyme!
That tiny bit of dried thyme, along with the onion and garlic powder, builds up a **deep flavored gravy** profile that tastes unbelievably comforting. It’s all about layering simple, common spices to give you that restaurant-quality taste in minutes. For similar excellent drippings-free techniques, always look at reliable sources like the guide found at Make Rich Homemade Brown Gravy Without Drippings.
Tips for Success When Making Easy Brown Gravy
Even with a foolproof plan, sometimes gravy needs a little field adjustment, right? That’s why I always stress tasting and adjusting before you serve. When I was perfecting this **easy brown gravy** for busy parents, I logged every mistake so you don’t have to repeat them! Remember, these flavor shortcuts make it simple, but these tips ensure you get that gorgeous final texture.
If your beautiful roux cooked up perfectly but the final sauce is just looking a bit too thin—maybe you poured too fast, oops!—don’t sweat it. Simply let it simmer for another minute or two; sometimes, that’s all it needs to firm up enough to become a proper **thick gravy sauce**. If it’s *still* not thick enough, I recommend whisking in a tablespoon of warm water or broth until you hit that perfect coating consistency.
And if you want that classic, hearty brown look but you’re using lighter colored broth? That’s fine! Just cook your initial roux for that extra minute—even up to three minutes—until it hits a deep, almost coffee-like color. That extra cooking time develops more flavor compounds and deepens the color without needing any tricks later on!
Serving Suggestions for Your Homemade Gravy Recipe
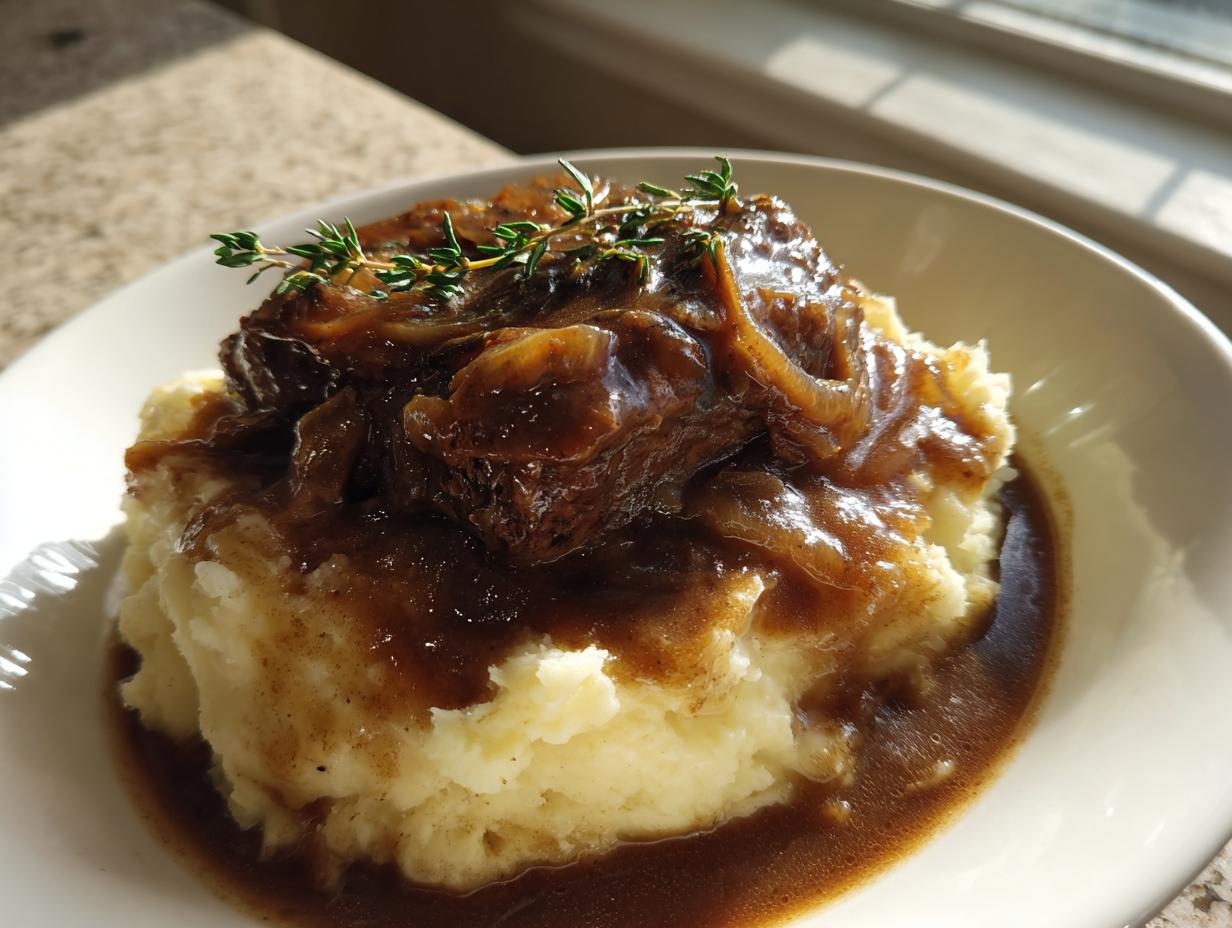
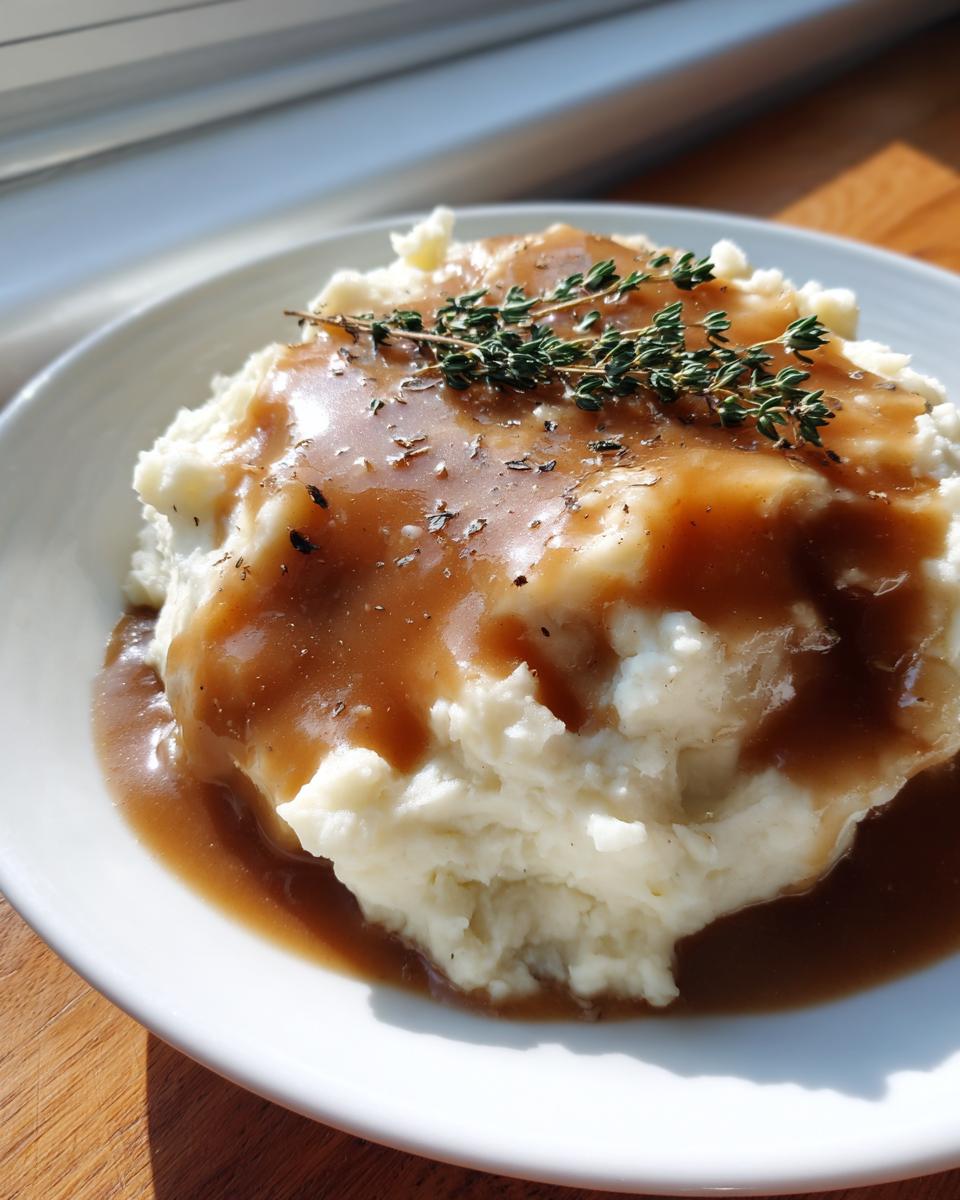
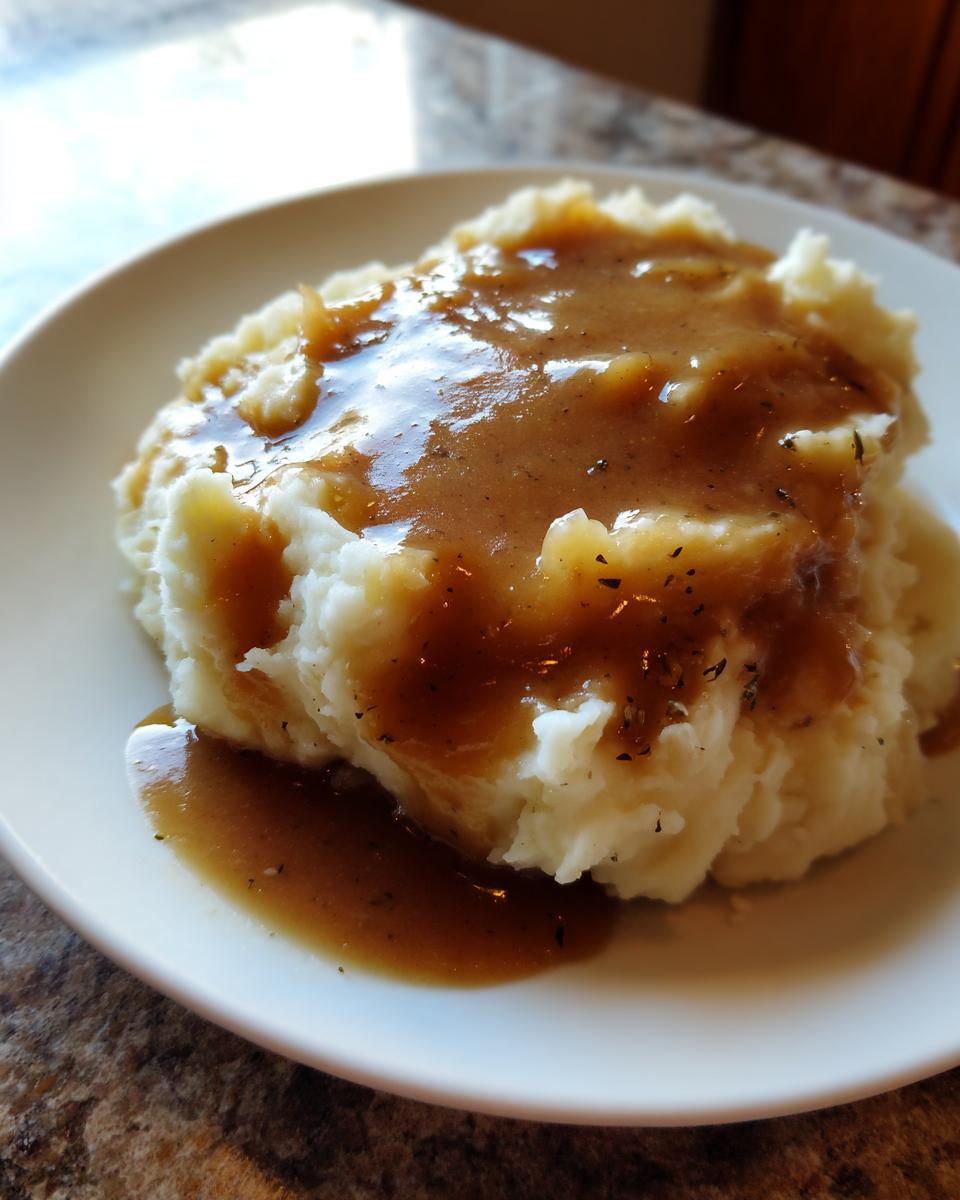
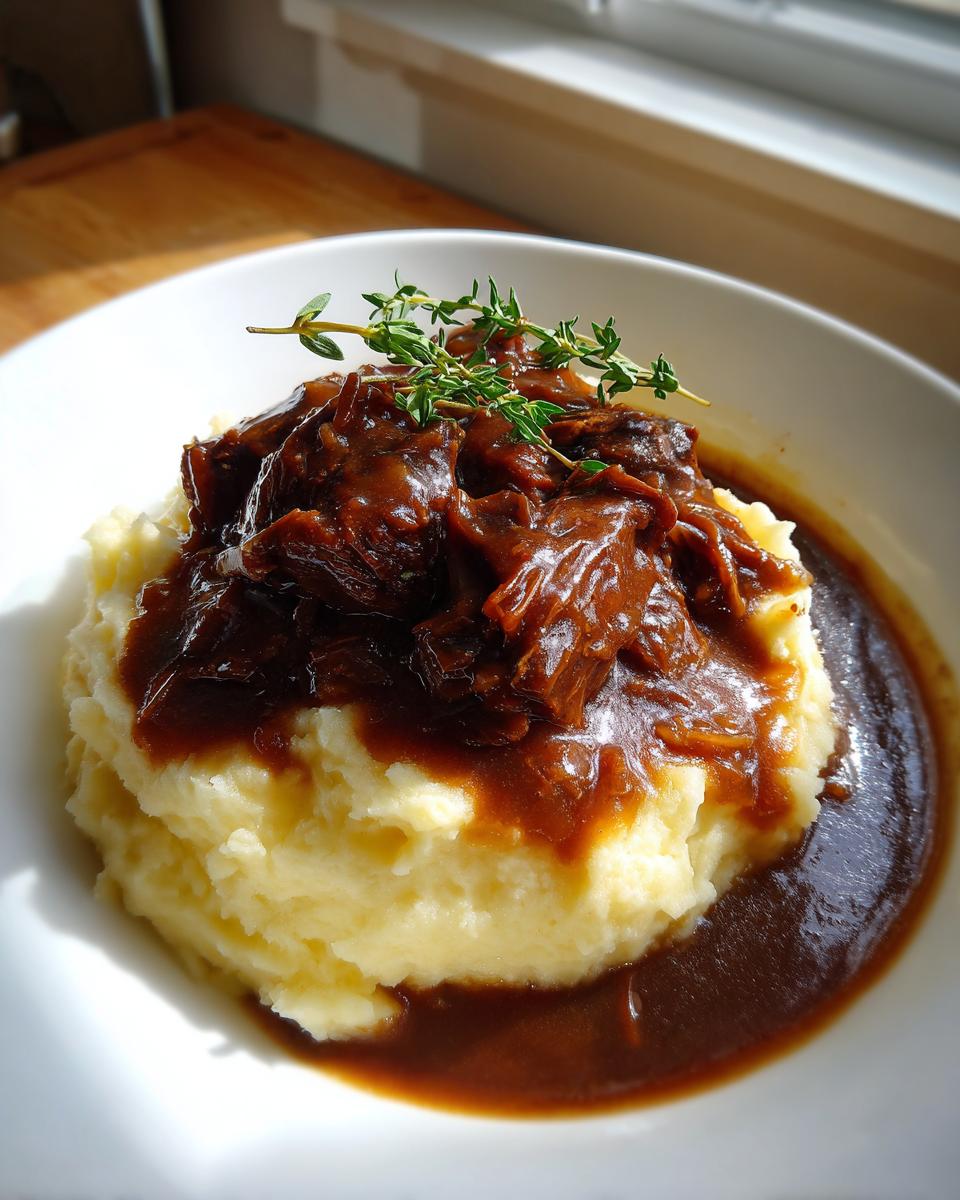
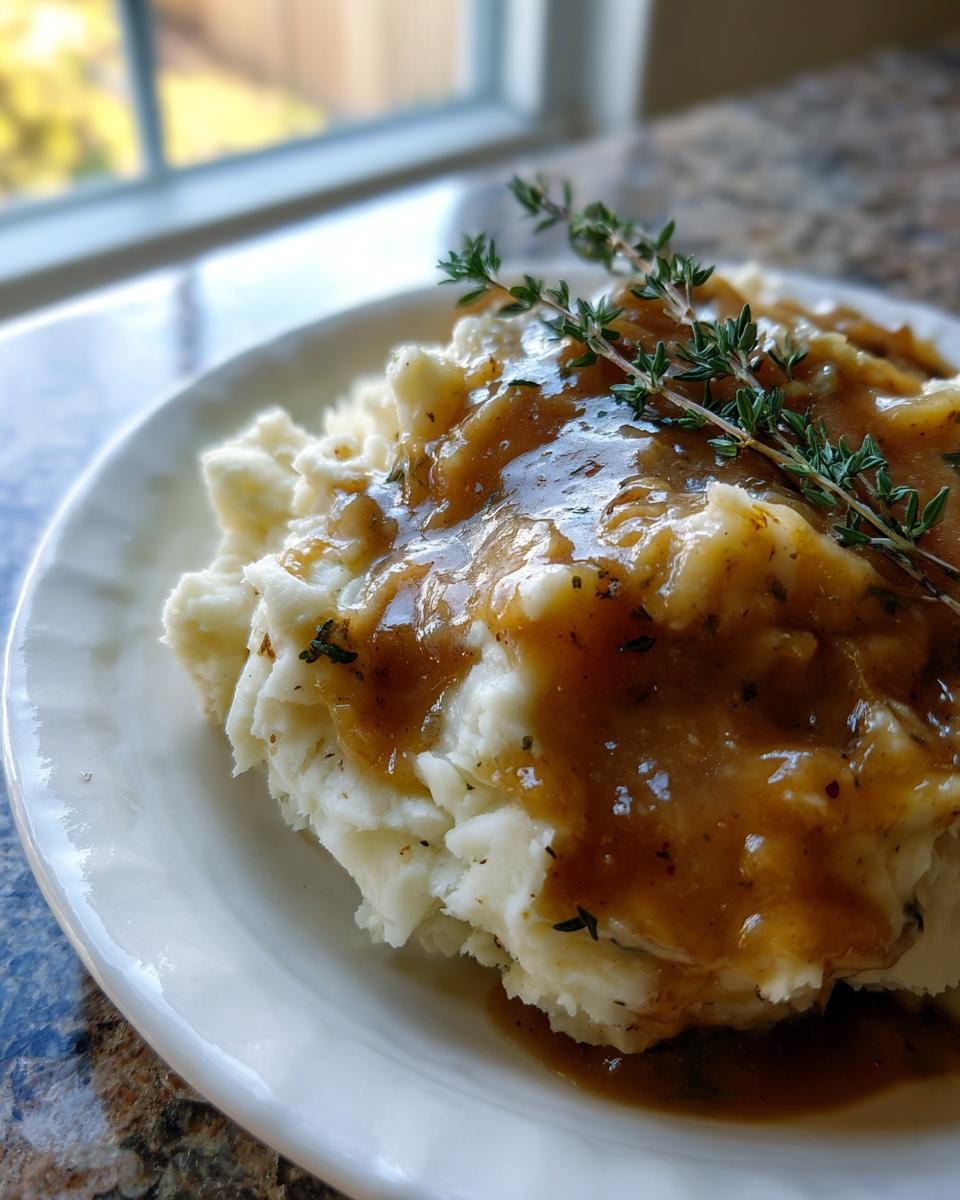
Once you have this sensational **homemade brown gravy** ready, the possibilities are just endless for dinner tonight! Obviously, it’s meant for topping a giant mound of fluffy mashed potatoes, but don’t stop there. This recipe is sturdy enough to handle anything you throw at it.
Think of it as your go-to comfort food sauce. It’s amazing poured right over tender slices of meatloaf or slathered on fresh, hot buttermilk biscuits. If you’re looking to build a whole meal around a savory sauce base, you should check out how I incorporate similar flavors into my Classic Shepherd’s Pie. This versatile **homemade gravy recipe** saves weeknights constantly!
Storage and Reheating Instructions for Homemade Brown Gravy
Because this **homemade brown gravy** is so quick to make, you absolutely don’t have to eat it all in one sitting! Store any leftovers in an airtight container. It stays wonderfully flavorful in the fridge for about three to four days. When you’re ready to use it again, transfer it to a small saucepan over medium-low heat. Whisk gently as it warms up—this brings back that lovely, velvety texture we worked so hard to create!
Frequently Asked Questions About Brown Gravy Without Drippings
When you want that deep flavor but skip the drippings, questions always pop up. I’ve gathered the most common things people ask while making this **simple stovetop gravy** so you can get it right the first time, every time. If you’re looking for other quick-fix sauces, check out my tips for easy dumpling sauce!
Can I make this brown gravy recipe using just water instead of beef broth?
You technically can, but I strongly advise against it if you want a **rich savory gravy**. Water just doesn’t have the necessary foundation of flavor. If you absolutely must use water, you’ll need to double up on the seasonings—add extra Worcestershire sauce, maybe a dash of soy sauce, and absolutely use a high-quality bouillon cube dissolved in it to mimic the depth you’d get from proper beef broth. For the best result, stick to a good quality broth!
Why didn’t my gravy get very dark? How do I get a darker Beef Gravy Recipe?
That’s all about the roux! If you want a darker color for your **beef gravy recipe**, you need to let that butter and flour mixture cook longer before adding the liquid. I mean, keep stirring it over medium heat until it looks like dark caramel or an almond butter color. Just watch it carefully because the difference between deep brown and burnt is like two seconds! That extended cook time develops a richer color and deeper flavor base.
Can I make this gravy ahead of time or freeze it?
Yes! This is a fantastic make-ahead sauce. It keeps great in the fridge for about three to four days. When reheating, just know it will likely be super thick—it thickens up a lot as it cools down. Whisk in a little warm water or extra broth slowly until you get the perfect consistency again—that’s the secret to keeping it smooth later. Freezing works too, but you might need a little extra whisking to smooth out any texture changes upon thawing.
Is this the same as a pan gravy?
It’s the *alternative* to a pan gravy! Traditional pan gravy relies on scraping up brown bits (fond) from a roasted meat pan. Since this is a **gravy without drippings**, we are building that deep flavor from scratch using the roux and seasonings instead. It gives you that same rich, comforting topping but with way more control over the outcome.
Nutritional Estimates for This Quick Dinner Gravy
Look, I’m not a nutritionist, and Cheffinity is all about getting dinner on the table, but I know you busy folks care about what’s in your food. These numbers are just estimates based on the butter, flour, and broth mixture we use here for our **quick dinner gravy**. Since we skip all the heavy fat from drippings, it keeps things pretty reasonable!
Here’s what you can generally expect per serving (about 1/4 cup):
- Calories: 85
- Fat: 6g (with 3.5g saturated)
- Carbohydrates: 6g
- Protein: 1.5g
- Sodium: 250mg (This varies hugely depending on your broth choice, so watch that label!)
If you’re making a big holiday batch, remember that this doesn’t account for whatever delicious thing you decide to pour it over—like those creamy potatoes! It’s just an estimate for the gravy itself, so use this as a guideline, not a law.
PrintThe Ultimate Homemade Brown Gravy (No Drippings Needed!) – Rich & Savory Perfection
Make rich, velvety brown gravy from scratch without needing meat pan drippings. This easy stovetop recipe delivers deep, savory flavor perfect for mashed potatoes, meatloaf, or holiday dinners.
- Prep Time: 5 min
- Cook Time: 10 min
- Total Time: 15 min
- Yield: About 2 cups 1x
- Category: Sauce
- Method: Stovetop
- Cuisine: American
- Diet: Vegetarian
Ingredients
- 4 tablespoons unsalted butter
- 4 tablespoons all-purpose flour
- 2 cups beef broth (low sodium preferred)
- 1 teaspoon Worcestershire sauce
- 1/2 teaspoon onion powder
- 1/2 teaspoon garlic powder
- 1/4 teaspoon black pepper
- 1/2 teaspoon salt (or to taste)
- 1/4 teaspoon dried thyme
Instructions
- Melt the butter in a medium saucepan over medium heat.
- Whisk the flour into the melted butter. Cook this mixture, stirring constantly, for 1 to 2 minutes until it forms a smooth, light brown paste (the roux). Do not let it burn.
- Slowly whisk in the beef broth, a little at a time, ensuring no lumps form. Continue whisking until the mixture is smooth.
- Bring the gravy to a simmer, stirring frequently. Let it simmer for 3 to 5 minutes, or until the gravy thickens enough to coat the back of a spoon.
- Stir in the Worcestershire sauce, onion powder, garlic powder, pepper, salt, and dried thyme.
- Taste the gravy and adjust salt and pepper as needed. Serve hot over your favorite comfort foods.
Notes
- For a deeper brown color without drippings, cook the roux for an extra minute or two until it reaches a peanut butter color.
- If the gravy is too thick, whisk in a tablespoon of warm water or broth until you reach your desired consistency.
- Use high-quality beef broth for the best deep-flavored gravy results.
Nutrition
- Serving Size: 1/4 cup
- Calories: 85
- Sugar: 0.5
- Sodium: 250
- Fat: 6
- Saturated Fat: 3.5
- Unsaturated Fat: 2.5
- Trans Fat: 0
- Carbohydrates: 6
- Fiber: 0.2
- Protein: 1.5
- Cholesterol: 15