
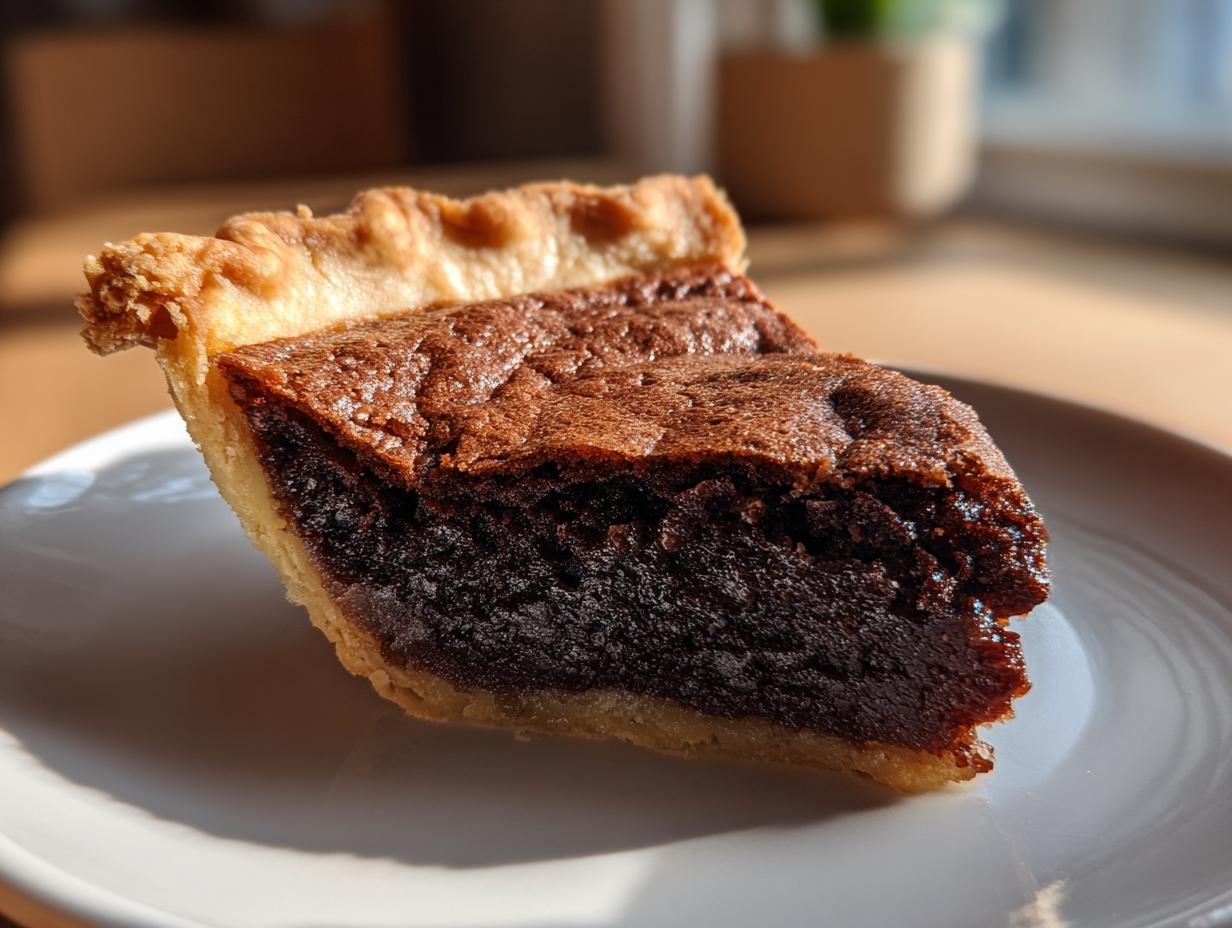
Oh, let’s talk about the South for a minute. Nothing shouts comfort, holidays, and true old-school baking like a proper chess pie. If you’re anything like me, you crave that deep, almost brownie-like interior hidden under a perfectly brittle, crackly shell. That’s exactly what we aim for here with my Old-Fashioned Chocolate Chess Pie with a Flaky Butter Crust. This isn’t one of those fussy, complicated desserts; it’s simple magic made from pantry staples that delivers that rich, fudgy center every single time. Ava Sinclair built Cheffinity on making classics attainable, and this chocolate chess pie is proof. Get your crust ready—we’re going deep into chocolate heaven!
- Why This Old-Fashioned chocolate chess pie Recipe Works (E-E-A-T)
- Ingredients for Your Homemade chocolate chess pie
- Step-by-Step Instructions for Classic chocolate chess pie
- Tips for Success with Your Fudgy Chocolate Pie
- Storage and Reheating Instructions for chocolate chess pie
- Serving Suggestions for This Decadent Chocolate Dessert
- Frequently Asked Questions About Classic Chess Pie
- Estimated Nutritional Data for chocolate chess pie
- Share Your Homemade chocolate chess pie Creations
Why This Old-Fashioned chocolate chess pie Recipe Works (E-E-A-T)
I know you’ve seen a thousand recipes out there, but trust me when I say we’ve nailed this one. This isn’t just a recipe; it’s the Best Chocolate Pie Recipe that survived trials in my chaotic home kitchen so you don’t have to worry about flop disasters! We combine the elegance of a true Southern Chocolate Pie with foolproof techniques. The result? Guaranteed gooeyness inside and that beautiful shatter on top. It’s my personal promise to you.
Achieving the Perfect Gooey Chocolate Pie Center
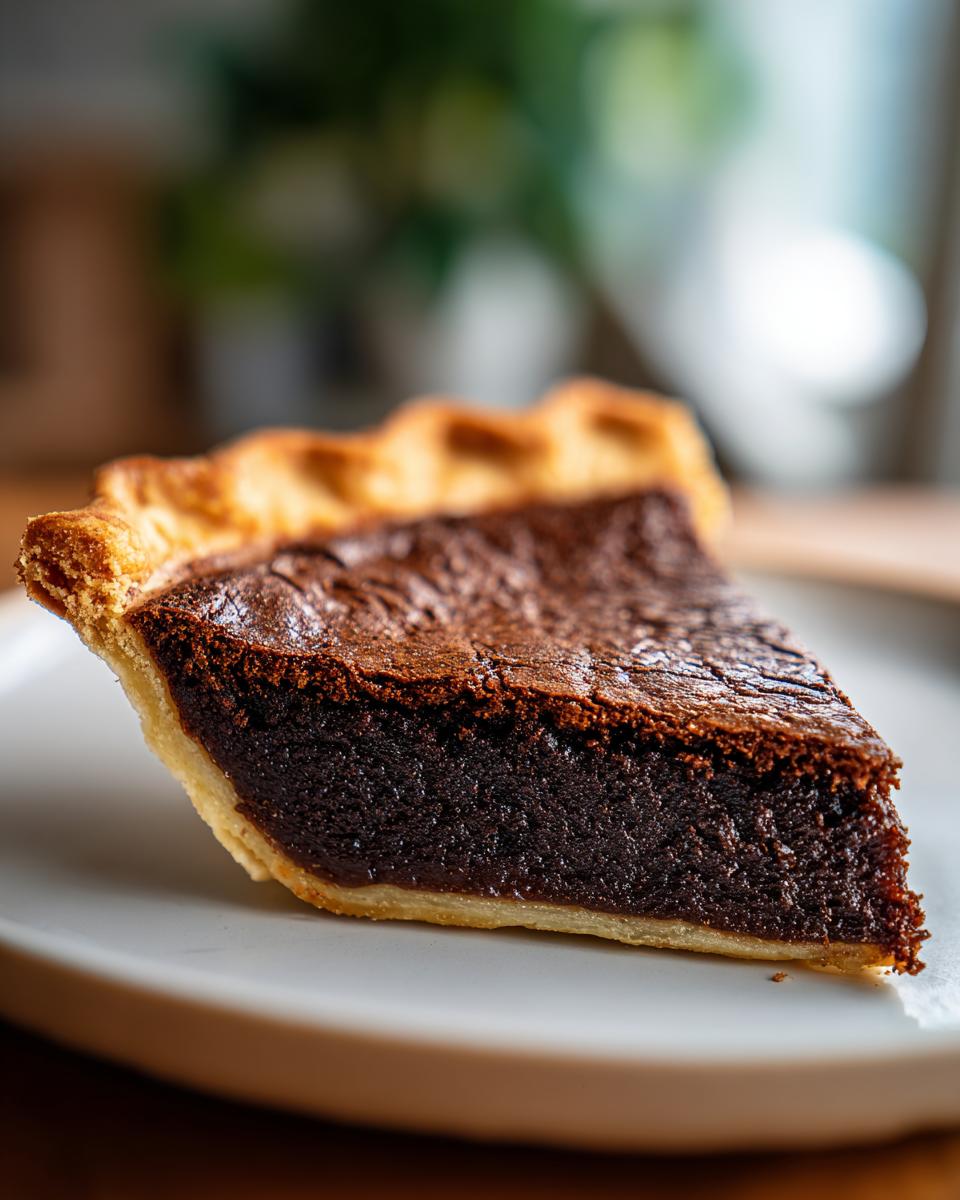
If you pull this pie out when it looks totally done, you’re in trouble—it’ll turn into fudge brick overnight! The key to that signature gooey chocolate pie center is underbaking it just a touch. Remember, the eggs and syrup finish setting up as it cools down. That light corn syrup is vital here; it stops the sugar from crystallizing too much, keeping the filling beautifully smooth and fudgy, not grainy.
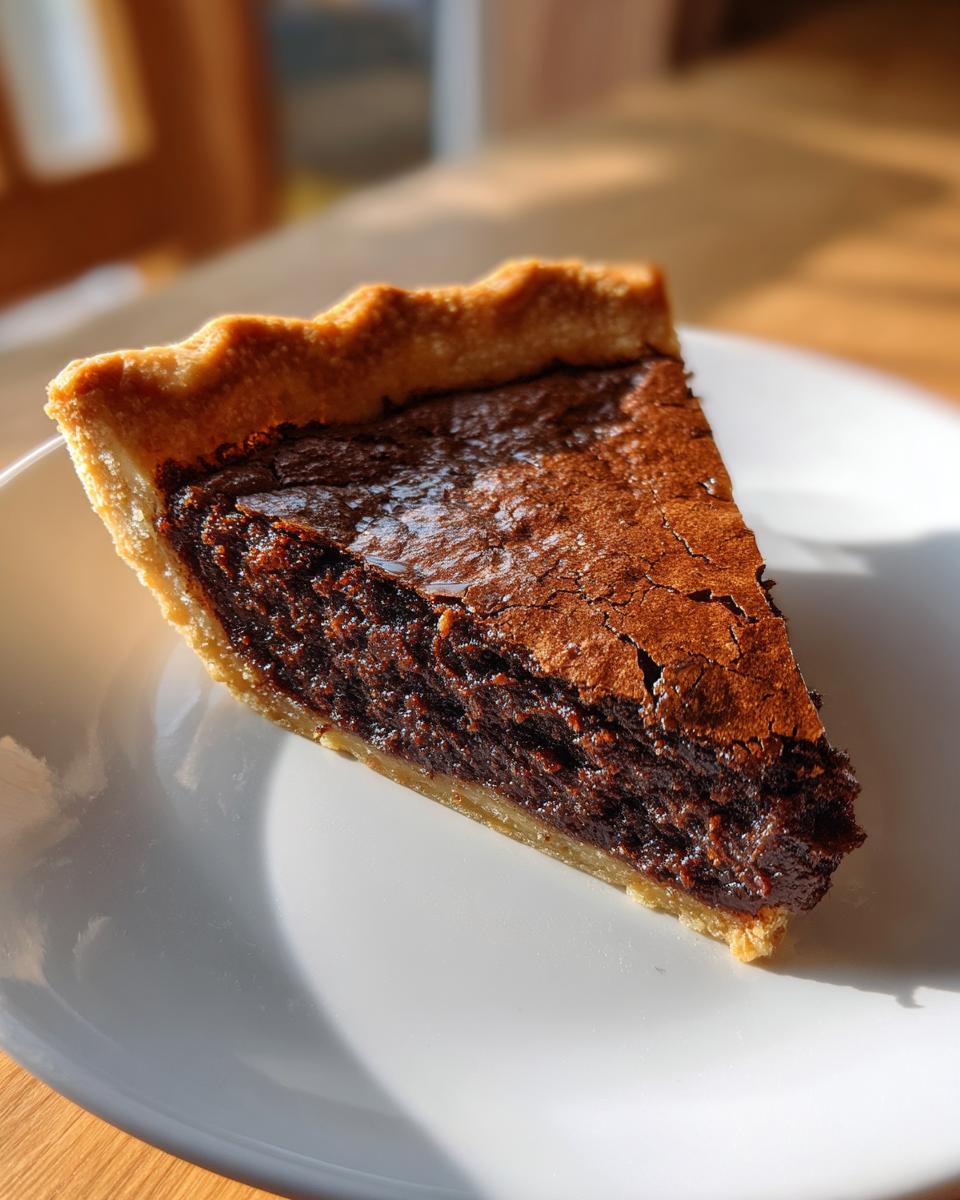
The Secret to a Crackly Top Chocolate Pie
That marvelous crackling top isn’t luck; it’s chemistry! Because we use a high ratio of sugar and syrup to eggs, the surface bakes faster than the center. As the top layer dries out slightly in the heat, it shrinks and cracks, creating that irresistible texture contrast. Don’t mess with the heat or the sugar content, and you’ll get that perfect brittle shell!
Ingredients for Your Homemade chocolate chess pie
When I tell you this pie is all about pantry staples, I mean it! You don’t need a fancy grocery run for this rich chocolate custard pie. Just grab your measuring cups and get ready. Remember, the measurements have to be right here, or we won’t get that perfect texture we talked about earlier.
- 1 unbaked 9-inch pie crust (yes, unbaked!)
- 1 cup granulated sugar
- 1 cup light corn syrup
- 1/2 cup (1 stick) unsalted butter, melted immediately
- 3 large eggs, just lightly beaten—don’t whip them into submission!
- 1 teaspoon vanilla extract
- 1/4 cup unsweetened cocoa powder
- 1/4 teaspoon salt
- 1/2 cup chopped pecans or walnuts (if you’re going nutty!)
Buttery Pie Crust Recipe Note
This isn’t the place for a temperamental crust, honey. We want flake and butter flavor. You can absolutely use a store-bought crust here if you’re short on time, just make sure it’s chilled and ready to go—no pre-baking! For the absolute best results, I highly recommend my Buttery Pie Crust Recipe, but whatever you choose, it must be unbaked before you pour in that glorious filling.
Step-by-Step Instructions for Classic chocolate chess pie
Okay, time to assemble this beauty! While we tackle this simple chocolate dessert, make sure your oven is heating up to 350 degrees F. We need it ready to go when the filling is mixed. This is totally straightforward, but attention to detail in the mixing stage is what separates a good pie from the pie everyone fights over. Don’t forget to check out my tips for easy breakfast ideas later for when you need a break from pie!
- First things first: Get that oven preheated to 350 degrees F. Take your unbaked crust and lay it gently into your 9-inch pie plate. Don’t poke it, don’t fuss with it, just let it sit there waiting patiently.
- In a good-sized bowl, you’re going to whisk together all the wet stuff and the sugar first: the granulated sugar, the corn syrup, the melted butter, the eggs, and that little splash of vanilla extract. Whisk until it looks completely happy and combined.
- Now, we handle the chocolate. In a *separate* little bowl, mix your cocoa powder and the salt together really well. This keeps you from getting those dry cocoa lumps swimming in your beautiful filling later!
- Take that dry cocoa mixture and carefully add it to the bigger bowl of wet ingredients. Whisk everything gently until it’s one uniform, gorgeous dark color. That’s right, stop mixing once it’s smooth! Overmixing is our enemy here.
- If you decided to use nuts (and I usually do!), stir them in now—just a quick fold so they distribute evenly.
- Pour that whole batter into your prepared crust. It’s going to look thin, but that’s right! Trust the process.
- Bake this beauty for about 45 to 55 minutes. Set a timer!
Mixing the Rich Chocolate Custard Pie Filling
When combining your ingredients, remember baking is like chemistry, but easier. Always blend your sugar and sweetener with the fats and eggs first—this creates the base structure. When you add the cocoa and salt, make sure you whisk those dry ones together first! I cannot stress this enough: once the cocoa hits the wet ingredients, stir just enough to incorporate. We are looking for smooth, not for air bubbles!
Baking and Setting the chocolate chess pie
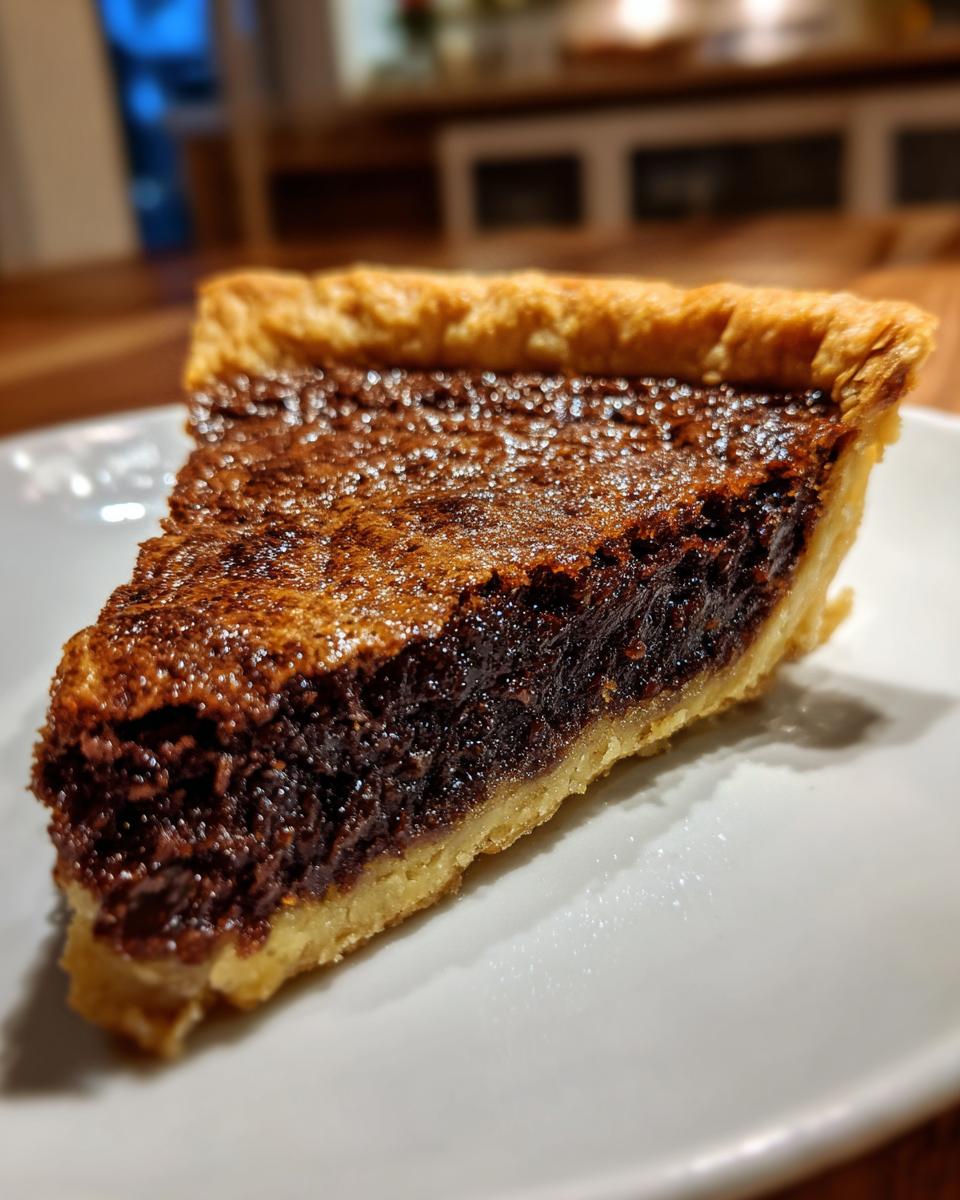
You’ll know it’s ready when the edges are firm and puffed up a bit, but the very center still has a tiny, slight jiggle when you nudge the oven rack. If it’s solid like a rock, you’ve gone too far, my friend! After you pull it out, you absolutely must let it cool on a wire rack for a minimum of 3 hours. If you slice it too soon, that rich chocolate custard pie filling will run everywhere. Patience saves the pie!
Tips for Success with Your Fudgy Chocolate Pie
Honestly, this gooey chocolate pie is incredibly forgiving, which is why I love it for those chaotic weeknights. But if you want to go from good to utterly legendary, I have a few tricks up my sleeve based on how I tweak it when company comes over. I always make sure my eggs aren’t ice-cold straight from the fridge; room temperature eggs mix in much smoother with the corn syrup and butter. If you need a savory break from all this sweetness, check out my tips for an easy chili recipe!
Also, don’t be shy if you want a real dark profile! If you’re craving that deep flavor reminiscent of a Dark Chocolate Chess Pie, try swapping out a quarter-cup of that white sugar for packed light brown sugar. It adds a little molasses depth that really punches up the chocolate flavor.
Oh, and the nuts! If you choose to include pecans or walnuts, make sure you fold them in last, super gently. Too much stirring at that stage can sometimes break up the filling’s surface tension right before baking, and we want that crackly top working perfectly!
Ingredient Adjustments for Deep Chocolate Flavor
If you want to skip the classic bright sweetness and go for something richer, follow the recipe note I left you! Swapping a 1/4 cup of your white sugar for dark brown sugar is a game-changer. It deepens the color and adds a subtle caramel note that just tastes expensive. It really elevates the overall experience for anyone who loves serious chocolate flavor, way better than just using plain cocoa!

Storage and Reheating Instructions for chocolate chess pie
Now, here’s the great thing about this chocolate chess pie: it tastes almost better the next day once everything has settled into its final, fudgy character. Don’t wrap it tight while it’s warm, or you’ll steam that gorgeous crackly top right off! Once it’s totally cool—and I mean three hours cool—cover it loosely with plastic wrap or foil. You can keep it covered in the refrigerator for up to three days. When you pull it out to serve, I think it’s best if you let it sit on the counter for about 30 minutes to come up to room temperature, but chilled is totally fine too!
Serving Suggestions for This Decadent Chocolate Dessert
You’ve made the perfect slice of decadent chocolate dessert; now, how do we serve it? Honestly, on its own, this pie is a knockout, but a little accompaniment never hurt anyone! I try to pair the deep richness with something cool and bright. A big dollop of homemade whipped cream is non-negotiable for me—it just cuts through that sweetness perfectly.
If you’re serving it slightly warm, you simply have to go for a scoop of good vanilla bean ice cream. The contrast between the warm, gooey center and the cold ice cream is just heaven. For a slightly lighter touch that still feels special, grab some fresh raspberries or strawberries. The tartness of the berries plays so nicely with the deep cocoa flavor. If you’re looking for baking inspiration for later, you absolutely have to check out my recipe for classic chocolate chip cookies!
Frequently Asked Questions About Classic Chess Pie
Whenever I share this recipe, I get the same handful of excellent questions. It’s smart to ask before you start mixing, so let’s dive into clearing up any confusion around making the best chocolate pie recipe. Don’t hesitate to reach out on my contact page if your question isn’t on this list!
Can I make this chocolate chess pie without corn syrup?
You *can*, but I really, really caution against it for this recipe. Corn syrup is what guarantees that signature gooey texture. If you absolutely must skip it, you can try swapping it 1:1 with maple syrup, but be warned—it might change the overall flavor profile slightly and might not give you the exact same brittle top as this classic chess pie.
How does this differ from a standard ‘Southern Chocolate Pie’?
That’s a great question! Traditional Southern Chocolate Pie usually involves making a stovetop pastry cream filling thickened with cornstarch or flour, and it’s often more like a luscious pudding. This chocolate chess pie uses eggs and syrup like the binder, which bakes up much denser, closer to a brownie consistency when done right!
If you’re looking for other amazing Southern takes, you can always check out what my friend Sophia is up to over at Sophia Recipes for inspiration!
Estimated Nutritional Data for chocolate chess pie
Now, listen up, because while this chocolate chess pie is pure joy, it’s definitely not diet food! Remember, these numbers are estimates from my kitchen to yours, and they change wildly depending on whether you use a homemade buttery crust or a store-bought version. Also, I used the standard amount of sugar, but if you swap in more brown sugar like I suggested, these stats will shift a bit.
- Serving Size: 1 slice
- Calories: 450
- Sugar: 55g
- Fat: 24g
- Carbohydrates: 58g
- Protein: 5g
Share Your Homemade chocolate chess pie Creations
Alright, bakers, you did it! You tackled the ultimate Southern classic—the chocolate chess pie—and I bet you got that beautiful crackle on top. I truly want to see your results! Please hit those stars below and let me know how this recipe worked for you. It helps other folks gain confidence in trying it out. And if you’re sharing photos online, tag me! I love seeing my Cheffinity recipes in the wild. Happy baking!
PrintOld-Fashioned Chocolate Chess Pie with a Flaky Butter Crust
Make this classic Southern Chocolate Chess Pie for a rich, fudgy center and a crackly top. This recipe uses pantry staples and results in a decadent dessert perfect for holidays or any night you need comfort food.
- Prep Time: 15 min
- Cook Time: 50 min
- Total Time: 3 hours 5 min
- Yield: 8 servings 1x
- Category: Dessert
- Method: Baking
- Cuisine: American
- Diet: Vegetarian
Ingredients
- 1 unbaked 9-inch pie crust (use your favorite buttery pie crust recipe)
- 1 cup granulated sugar
- 1 cup light corn syrup
- 1/2 cup (1 stick) unsalted butter, melted
- 3 large eggs, lightly beaten
- 1 teaspoon vanilla extract
- 1/4 cup unsweetened cocoa powder
- 1/4 teaspoon salt
- 1/2 cup chopped pecans or walnuts (optional)
Instructions
- Preheat your oven to 350 degrees F. Place your unbaked pie crust into a 9-inch pie plate.
- In a medium bowl, whisk together the granulated sugar, light corn syrup, melted butter, eggs, and vanilla extract until well combined.
- In a separate small bowl, whisk together the cocoa powder and salt. Add this dry mixture to the wet ingredients and whisk until the batter is smooth and uniform in color. Do not overmix.
- If using nuts, gently stir them into the chocolate filling.
- Pour the filling carefully into the unbaked pie crust.
- Bake for 45 to 55 minutes. The pie is done when the edges are set and slightly puffed, and the center has a slight jiggle (it will set completely as it cools). The top should develop a characteristic crackly surface.
- Cool the pie completely on a wire rack for at least 3 hours before slicing. This allows the rich chocolate custard to set properly.
- Serve at room temperature or slightly chilled.
Notes
- For a darker, more intense flavor, substitute 1/4 cup of the granulated sugar with 1/4 cup of packed light brown sugar.
- If you prefer a very gooey center, reduce the baking time by 5 minutes.
- This pie tastes best when served the day it is made, but you can store leftovers covered in the refrigerator for up to 3 days.
Nutrition
- Serving Size: 1 slice
- Calories: 450
- Sugar: 55g
- Sodium: 210mg
- Fat: 24g
- Saturated Fat: 14g
- Unsaturated Fat: 10g
- Trans Fat: 0.5g
- Carbohydrates: 58g
- Fiber: 1g
- Protein: 5g
- Cholesterol: 85mg