
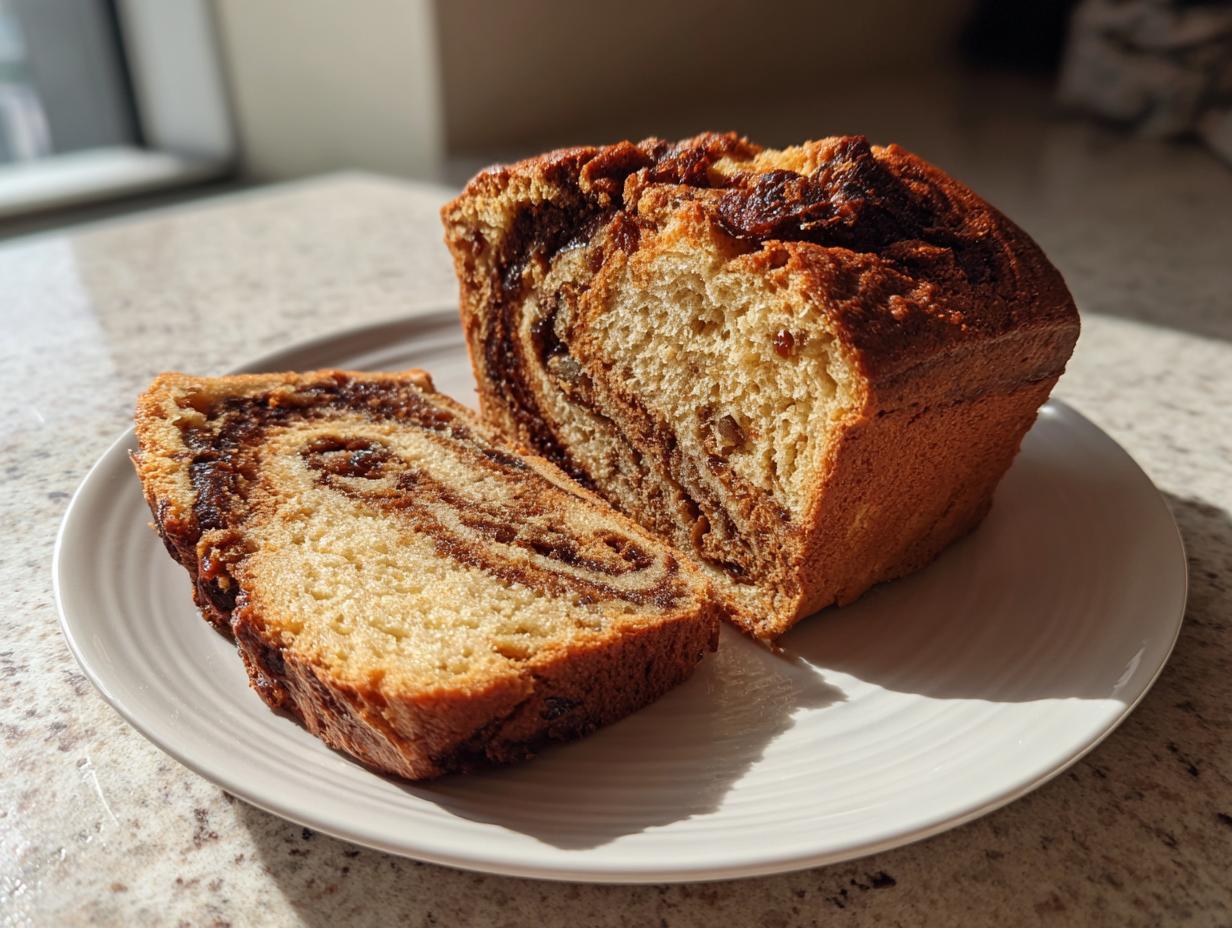
There’s just nothing that says ‘home’ like the smell of sweet grains and warm spice baking, right? When life gets crazy busy—and let’s be honest, it usually is—I turn straight to comfort food baking. That’s where this recipe comes in. I am so excited to share what I think is the absolute best recipe for **Cinnamon Raisin Bread** you can make.
Here at Cheffinity, my whole mission, inspired by watching my nurse mom get dinner on the table after a tough shift, is making those classic, comforting baked goods simple enough for your busiest weeknights. You shouldn’t need a weekend just to enjoy a soft, fluffy loaf of homemade bread. This recipe delivers huge on flavor—that beautiful cinnamon swirl you crave—but keeps the steps manageable. Trust me, this easy yeast bread will become your new favorite breakfast bread recipe staple. If you need even quicker ideas for the mornings, check out some of my easy breakfast ideas!
We’re keeping the complexity low so you can save your energy for other things. The focus here is on achieving that signature soft homemade bread texture that just melts when you toast it. Ready to fill your kitchen with that amazing aroma?
- Why You Will Love This Homemade Raisin Bread Recipe
- Gathering Ingredients for the Best Cinnamon Raisin Bread
- Ingredient Notes and Swaps for Your Raisin Bread
- Step-by-Step Instructions for Soft Homemade Bread
- Tips for Perfect Beginner Bread Baking
- Storage and Reheating Instructions for Your Raisin Bread
- Serving Suggestions for This Breakfast Bread Recipes Star
- Frequently Asked Questions About Homemade Raisin Bread Recipe
- Next Steps After Baking Your Comfort Food Baking Masterpiece
Why You Will Love This Homemade Raisin Bread Recipe
I get it—baking yeast bread can feel intimidating, like one wrong move means you end up with a doorstop instead of a loaf. But this recipe is different; it’s designed specifically for real life! I wouldn’t share it if it didn’t deliver consistent, comforting results, even when you’re juggling ten other things.
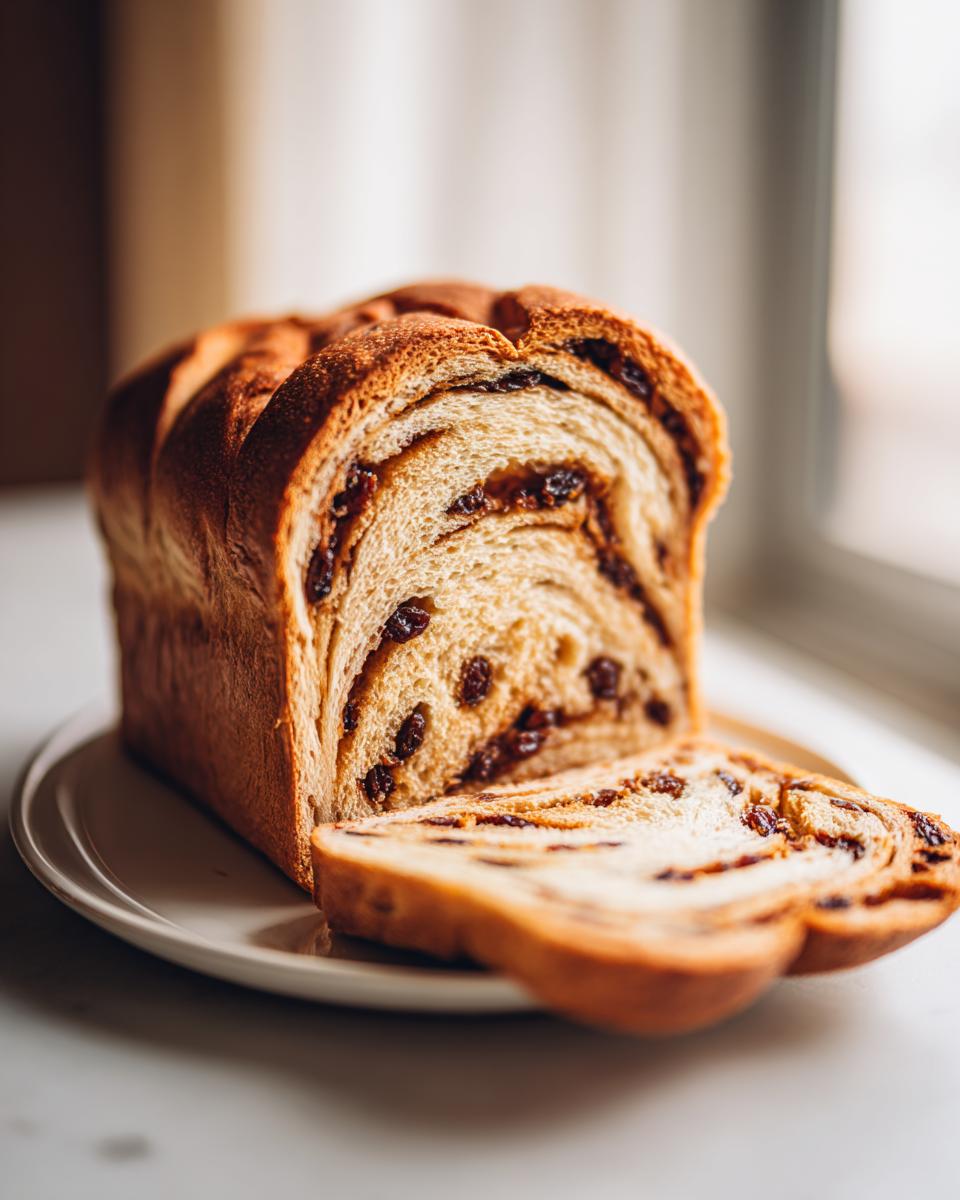
- Unbeatable Texture: We’re talking truly soft homemade bread here. Seriously fluffy! It’s tender all the way through, perfect for soaking up coffee or melting butter.
- Beginner Friendly: If this is one of your first times working with yeast, take a deep breath. This is structured to be successful, minimizing confusing techniques so you gain confidence fast.
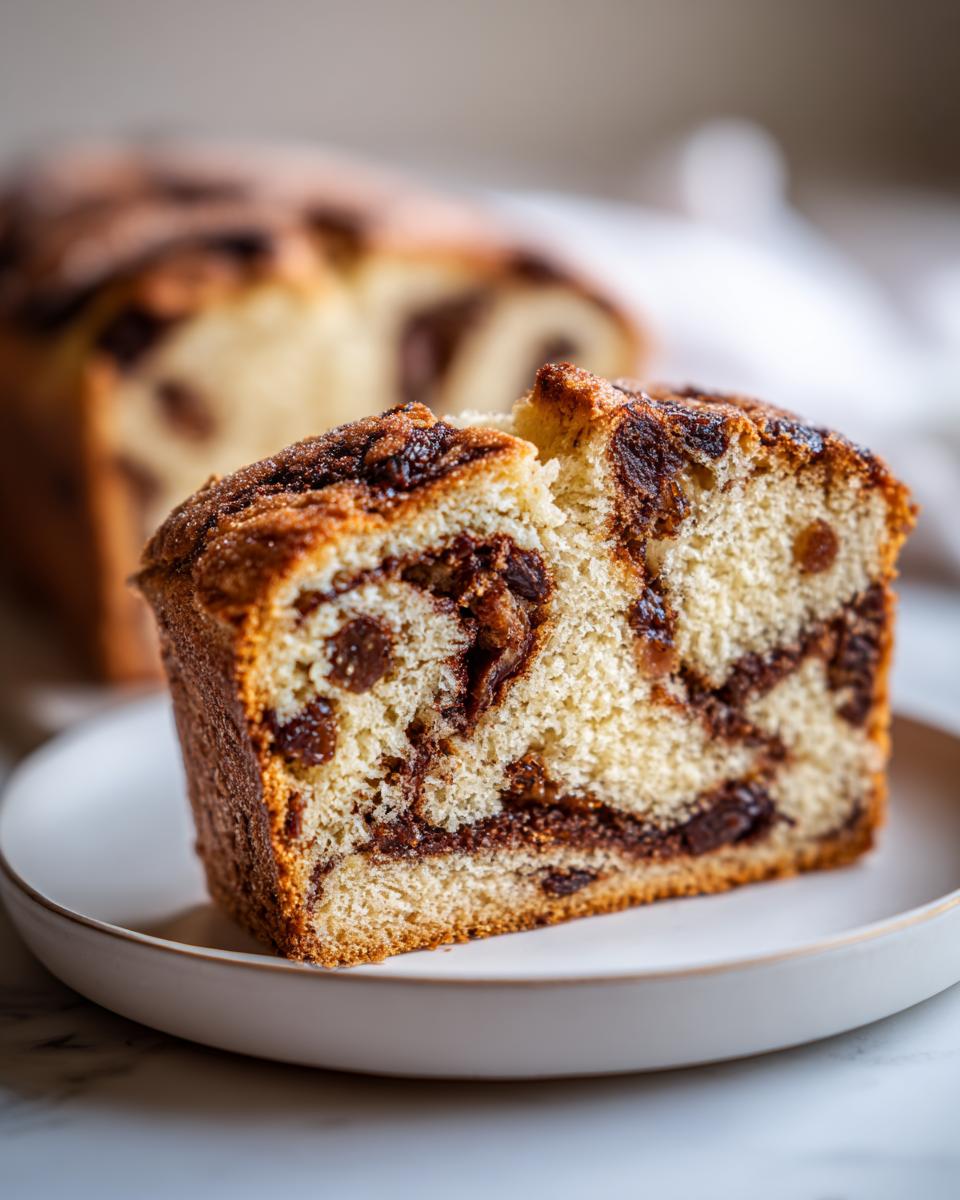
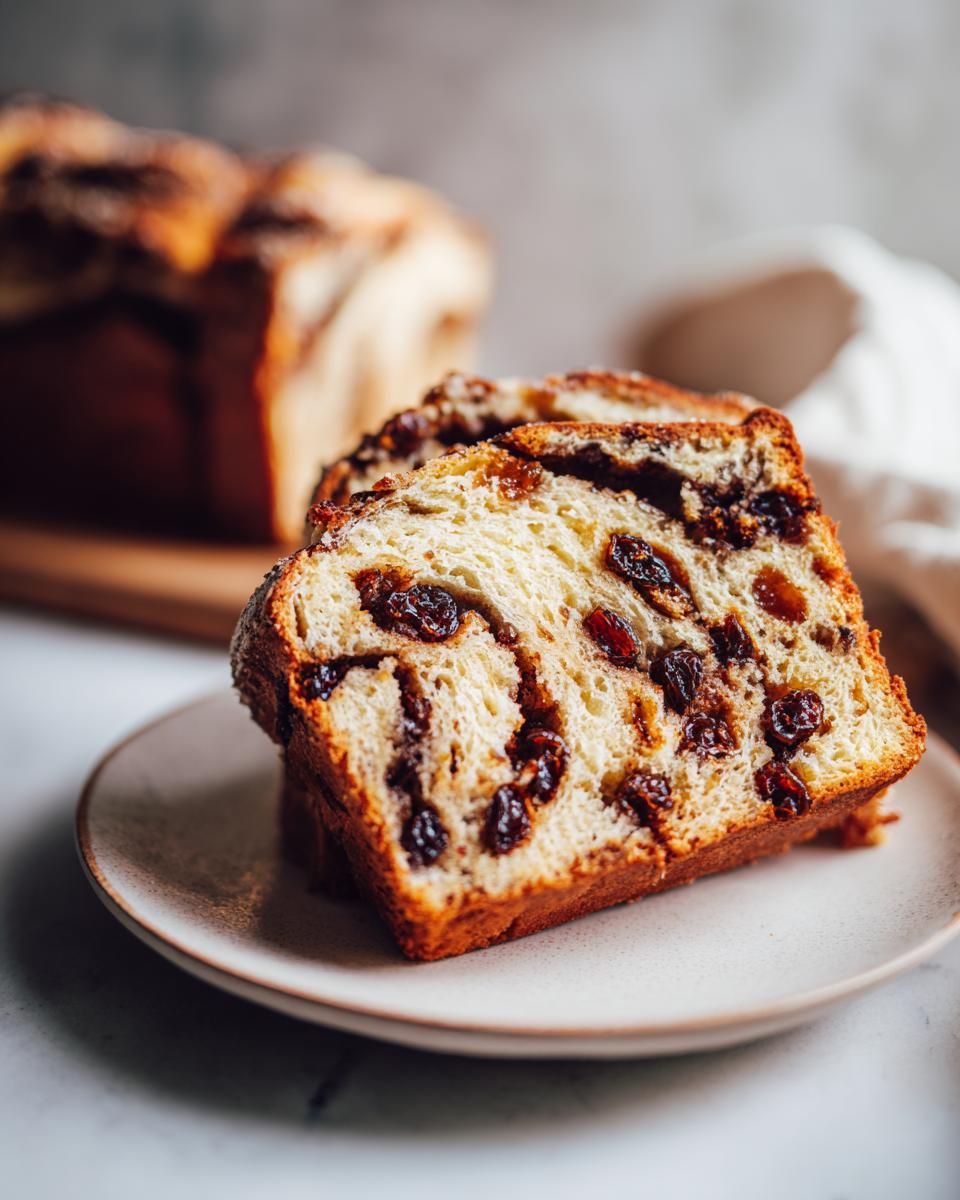
- That Perfect Swirl: The cinnamon swirl is non-negotiable, right? We layer it perfectly so every slice has that spicy-sweet ribbon running through it. It elevates this whole sweet bread loaf.
- Amazing Aroma: Honestly, the smell when this is baking is half the reward. It’s pure comfort food baking right from your own oven!
Gathering Ingredients for the Best Cinnamon Raisin Bread
Okay, let’s talk tools and ingredients! Since we are aiming for the absolute best and softest homemade bread, clarity here is key. Having everything ready—what I call my *mise en place*—makes the actual mixing process fly by! Don’t skip the small details, like making sure that egg is at room temperature; it really helps it incorporate smoothly without cooling down your yeast mixture.
Essential Ingredients for Your Sweet Bread Loaf
This recipe is structured around reliable staples, but that little bit of sugar and the temperature of the water are where the real magic—and the science—starts for our yeast. We absolutely need that water between 105°F and 115°F. Too cold, and the yeast just naps; too hot, and we’ve sadly made tea! I check mine quickly with a dependable thermometer, but you should be fine if it feels just warm, kind of like a warm bath.
- 1 cup warm water (105-115°F)
- 2 1/4 teaspoons active dry yeast
- 1/4 cup granulated sugar
- 1 large egg, room temperature
- 1/4 cup unsalted butter, melted
- 1 teaspoon salt
- 3 1/2 cups all-purpose flour
- 1 cup raisins
Then we have the swirl components, which are the superstars of this cinnamon raisin bread recipe:
- 1/4 cup packed light brown sugar (for swirl)
- 1 tablespoon ground cinnamon (for swirl)
- 2 tablespoons unsalted butter, melted (for brushing top)
Ingredient Notes and Swaps for Your Raisin Bread
In my kitchen, every ingredient has a job, and a little bit of attention to detail here makes the difference between an okay loaf and that incredible, soft homemade bread you’re dreaming of. Don’t worry; these aren’t fussy rules, just simple baker tricks that Ava Sinclair picked up over the years!
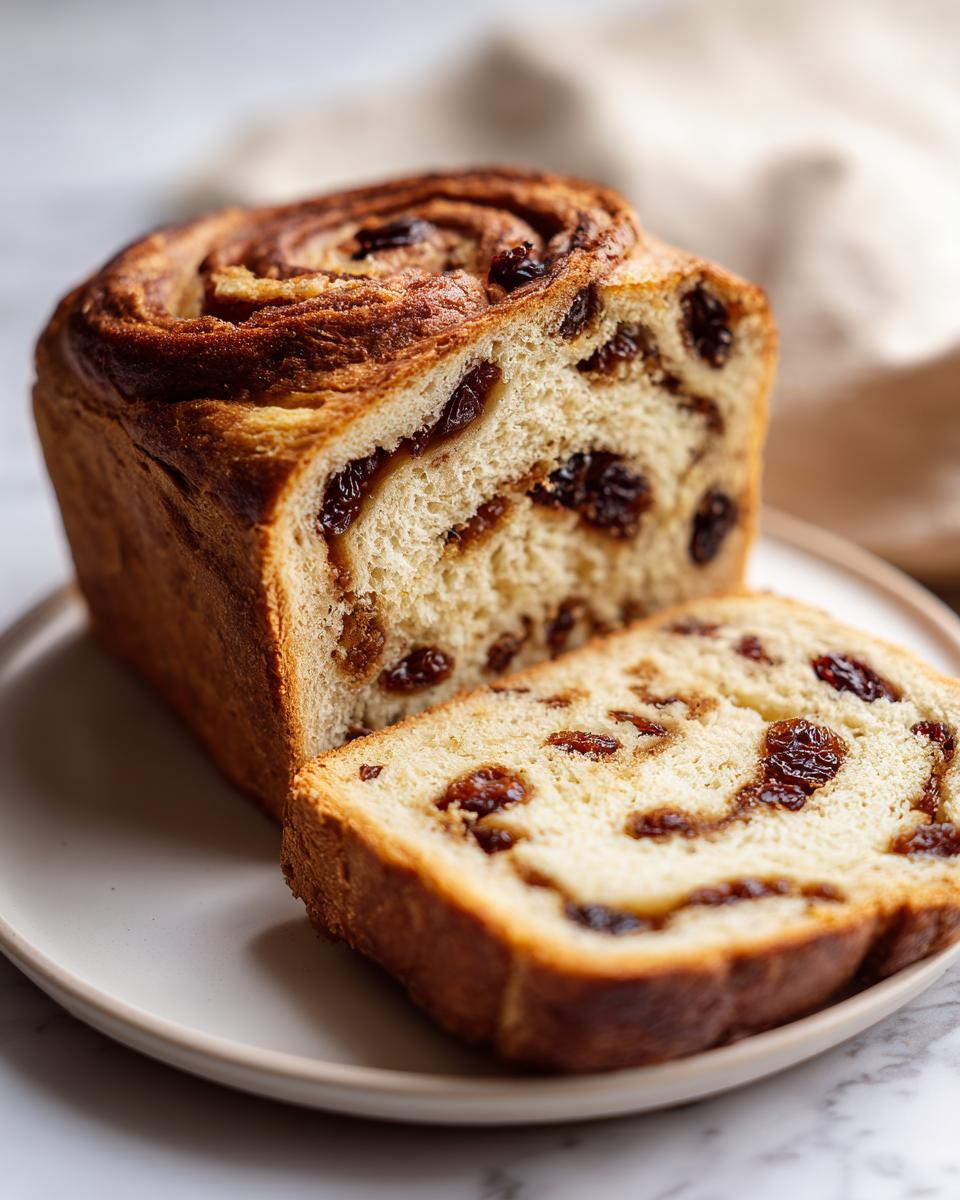
Let’s talk raisins first. If you grab a bag and they feel a little stiff, you definitely want to soak them. Dry raisins will suck moisture right out of your beautiful dough, leaving you with dense spots instead of that gooey burst of sweetness. I usually soak mine in hot water for about ten minutes while I’m mixing up the wet ingredients. Just make sure you drain them really well and pat them dry before adding them in the last minute of kneading.
Now, for the flour: While this recipe works beautifully with standard all-purpose flour, if you want to take this sweet bread loaf to the next level of tenderness, swapping in bread flour is a fantastic move. Bread flour has a higher protein content, which gives the dough more structure, leading to a better rise and an even fluffier final product. You can find some other great ideas for sweet loaves, like my cranberry orange bread recipe, if you want to mix up your routine next week!
Step-by-Step Instructions for Soft Homemade Bread
Now comes the fun part—turning those measured ingredients into what will soon be the star of your breakfast table! I know bread can look tricky because of the time it takes to rise, but honestly, the active work time is super quick here. When you follow these steps closely, you’ll end up with that perfect, soft homemade bread texture we’re aiming for.
Activating the Yeast and Mixing the Dough
We start with the yeast, which is the engine for our rise. Grab your large bowl. Remember what I said about the water temperature? It needs to be warm, between 105°F and 115°F. Dissolve the yeast and just 1 teaspoon of the granulated sugar in that warm water. Let it sit there for five minutes until it looks foamy and bubbly. If it’s flat, your water was too cold or too old, and we need to start that part over!
Once it’s foamy, stir in the rest of your sugar, the room-temperature egg, the melted butter, and the salt. Just a quick stir to combine everything nicely. Finally, start adding your flour slowly. Mix it in until the whole thing looks shaggy, like it’s barely holding together. Don’t overmix yet!
Kneading and First Rise for Your Raisin Bread
Time to get your hands a little messy! Turn that shaggy dough out onto a surface you’ve lightly floured. You need to knead this for about 6 to 8 minutes. You’re looking for it to transform from sticky and rough to something smooth and elastic—it should feel bouncy when you poke it.
Here’s the key moment for texture: add your cup of raisins during the very last minute of kneading. We don’t want them torn up too much! Now, lightly oil a clean bowl, pop the dough in, turn it over so it’s coated, cover it up, and let it hang out in a warm spot. It needs about 1 to 1.5 hours to rise until it’s doubled in size. It’s worth the wait!
Creating the Cinnamon Swirl and Shaping the Loaf
While your dough is puffing up nicely, whisk together that light brown sugar and the tablespoon of cinnamon to create your swirl mixture. This sweet, spicy powder is what makes this loaf the best cinnamon raisin bread around!
When the dough is ready, gently punch the air out. Roll it into a big rectangle, maybe 10 by 16 inches. Now, brush about 1 tablespoon of that remaining melted butter all over that surface. Sprinkle your cinnamon-sugar mix evenly right over the butter. Then, roll it up super tight, starting from the long edge, like you’re tucking in a baby. Pinch that seam closed tight so you don’t lose any swirl during baking! Place that log into your greased 9×5 inch loaf pan.
Give it one last cozy cover, and let it rise again (the second rise) for 30 to 45 minutes, or until it crowns about an inch over the top rim. You want that nice oven spring!
You should preheat your oven to 375°F (190°C) while it finishes rising. For great results without trying a no-knead artisan bread recipe, technique matters!
Baking and Cooling the Warm Homemade Loaf
Right before it goes into that hot oven, give the top of the loaf a light brush with the final bit of melted butter. That’s your secret weapon for a beautiful, crisp crust! Bake it for 30 to 35 minutes. How do you know it’s done? You’re aiming for that gorgeous golden brown color, but the most authoratative check is temperature—stick a thermometer right into the middle, avoiding the bottom edge. If you see 200°F (93°C), you nailed it! This ensures we have a fully cooked loaf that isn’t dried out. Pull it out as soon as it hits that temp, and get it out of that hot pan right away onto a wire rack to cool down completely before you even think about slicing! The cooling process is just as important!
Tips for Perfect Beginner Bread Baking
I know yeast can feel like you’re dealing with a moody house guest—sometimes it’s cooperative, sometimes it just sits there refusing to rise. Don’t stress! Baking this homemade raisin bread recipe is really about learning a few foundational checks. These tips are what I use every time to make sure I get that comforting, soft homemade bread texture instead of a brick.
First up: pan preparation. Because we have sugar migrating in our swirl, sticking is a real possibility, especially in older pans. My usual butter-and-flour dusting is fine, but for absolute peace of mind, try using a tiny bit of homemade cake goop—equal parts oil, shortening, and flour mixed into a paste—especially in the corners of your 9×5 pan. This is a huge confidence booster for beginner bread baking because no one wants to wrestle their beautiful, proofed loaf out of the tin!
Another big one is temperature. Yeast is sensitive! If your kitchen is cold, your dough won’t double during the rises. If that happens, don’t panic or add more yeast. Find a spot for it. Maybe place the covered bowl in your oven with just the oven light turned on—that little bit of ambient heat is usually perfect. Or, if you’re making complex recipes later, you can always check out my guide on making a sourdough starter from scratch, which really teaches you how to manage slow fermentation!
Finally, remember the two rises are distinct. The first rise builds flavor and structure throughout the whole mass. The second rise (the proofing in the pan) builds aeration and guarantees that light, puffy top. Don’t rush that second rise just because you’re eager for that warm homemade loaf smell! If it doesn’t crown an inch over the pan rim, it hasn’t proofed enough, and you risk a sad, squat loaf.
Storage and Reheating Instructions for Your Raisin Bread
Okay, you have successfully baked the perfect loaf. Now, how do we keep this fluffy goodness around for more than five minutes? For the best soft texture, ditch the plastic bag! Plastic traps moisture and makes the crust go gummy super fast. I use a clean kitchen towel to wrap the slice or loaf completely once it’s totally cool, and store it on the counter for up to three days. If you need it to last longer, slicing it and freezing it is the way to go.
When you pull a slice from the freezer, it’s amazing for raisin bread for toasting! Just pop it right into the toaster, no need to thaw. The heat instantly softens the interior while giving you that perfect crisp edge. It’s fantastic!
Serving Suggestions for This Breakfast Bread Recipes Star
Once your loaf has cooled down—and I know it’s torture waiting—it’s time for the best part: eating it! This homemade raisin bread recipe is designed to be the absolute star of your breakfast bread recipes rotation. I mean, what goes better with that first cup of coffee in the morning?
The absolute classic, what my family always defaults to, is a thick slice, toasted just right, slathered with real, creamy butter. That’s perfection, honestly. But if you’re feeling a little fancier, a layer of plain cream cheese is amazing, especially if you mix in just a tiny bit of vanilla extract into the cheese first. It complements the cinnamon swirl so nicely.
If you’re looking for something savory to balance the sweetness, I know that sounds crazy, but try a smear of my honey mustard chicken salad on a cold slice the next day. It’s unexpected, but trust me, the sweet raisin and the tang of the mustard are a dynamite combo! This bread is versatile; it’s not just for breakfast!
Frequently Asked Questions About Homemade Raisin Bread Recipe
I always get so many questions after people try this recipe—which I love! It means you’re diving into baking, and that’s what Cheffinity is all about: building confidence so you can make these incredible comfort food baking classics. Here are the most common things folks ask me about getting that perfect homemade raisin bread recipe.
Can I make this a no knead raisin bread?
That’s a fair question! This specific recipe is designed to use kneading because it helps develop the structure needed to support all those juicy raisins and that thick cinnamon swirl, especially since we aren’t using a bread maker here. Kneading builds the gluten so your loaf isn’t super heavy. If you absolutely must go the no-knead route, you can certainly try it, but I’d suggest doubling the first rise time—maybe 3 hours instead of 1 or 1.5—to let the yeast do a lot of the work!
What is the best way to get a good cinnamon swirl in my bread machine cinnamon bread?
Oh, the swirl! That’s the money shot, isn’t it? The key to getting those beautiful ribbons of cinnamon sugar in any loaf, whether it’s machine-made or hand-kneaded, is simple layering and tight rolling. You need even coverage of butter across the entire surface before you sprinkle the cinnamon-sugar mix on top. Think of the butter as glue! Then, when you roll it up, you need to keep that initial roll very tight—like you are trying to squeeze every bit of air out. If you roll it loosely, the swirl just blends into the dough instead of staying defined. For quick raisin bread ideas, you can even try spreading a thin layer of purchased cinnamon spread if you’re in a huge rush!
If you’re looking for more ways to simplify your baking projects, check out my tips for quick raisin bread ideas for when you just can’t wait for a full rise!
Next Steps After Baking Your Comfort Food Baking Masterpiece
Whew! You did it! You’ve successfully transformed simple ingredients into a truly wonderful, warm homemade loaf. Now that you have this gorgeous homemade raisin bread recipe under your belt, I really want to hear all about it. Baking is supposed to be interactive, and your experience helps me make sure I’m giving you the best tips possible!
Please, please let me know how it turned out! Did you go for the butter or the cream cheese? Did you manage to wait until it cooled completely before slicing (I usually fail that test!), or did you sneak a piece while it was still warm? Head down to the comments section below and give this recipe a rating. It helps other busy parents and bakers see that this amazing comfort food baking is genuinely achievable right in their own chaotic kitchen!
And if you took a picture of your beautiful, perfectly swirled cinnamon raisin bread, tag me! I love seeing your triumphs. For any questions that pop up while you’re waiting for the dough to rise next time, you can always reach out to my team and me through the contact page. Happy baking, friend!
PrintEasy Homemade Cinnamon Raisin Bread Recipe

Make soft, fluffy homemade cinnamon raisin bread with this simple recipe. This loaf is perfect for breakfast or toasting and delivers comforting flavor without complicated steps.
- Prep Time: 20 min
- Cook Time: 35 min
- Total Time: 2 hr 5 min
- Yield: 1 loaf 1x
- Category: Breakfast
- Method: Baking
- Cuisine: American
- Diet: Vegetarian
Ingredients
- 1 cup warm water (105-115°F)
- 2 1/4 teaspoons active dry yeast
- 1/4 cup granulated sugar
- 1 large egg, room temperature
- 1/4 cup unsalted butter, melted
- 1 teaspoon salt
- 3 1/2 cups all-purpose flour
- 1 cup raisins
- 1/4 cup packed light brown sugar (for swirl)
- 1 tablespoon ground cinnamon (for swirl)
- 2 tablespoons unsalted butter, melted (for brushing top)
Instructions
- In a large bowl, dissolve the yeast and 1 teaspoon of the granulated sugar in the warm water. Let stand for 5 minutes until foamy.
- Add the remaining granulated sugar, egg, melted butter, and salt to the yeast mixture. Stir to combine.
- Gradually add the flour, mixing until a shaggy dough forms. Turn the dough out onto a lightly floured surface.
- Knead the dough for 6 to 8 minutes until it becomes smooth and elastic. Add the raisins during the last minute of kneading.
- Place the dough in a lightly oiled bowl, turning to coat. Cover the bowl with plastic wrap and let it rise in a warm place for 1 to 1.5 hours, or until doubled in size.
- While the dough rises, mix the brown sugar and cinnamon together in a small bowl to create the swirl mixture.
- Gently punch down the risen dough. Roll the dough out into a large rectangle, about 10 by 16 inches.
- Brush the entire surface of the dough with 1 tablespoon of melted butter. Sprinkle the cinnamon-sugar mixture evenly over the buttered surface.
- Tightly roll the dough up lengthwise, starting from the long edge, creating a log. Pinch the seam closed.
- Place the dough log into a greased 9×5 inch loaf pan. Cover loosely and let it rise again for 30 to 45 minutes, or until the dough has crowned about 1 inch over the rim of the pan.
- Preheat your oven to 375°F (190°C). Brush the top of the loaf with the remaining melted butter.
- Bake for 30 to 35 minutes, or until the top is golden brown and the internal temperature reaches 200°F (93°C).
- Remove the bread from the pan immediately after baking and let it cool completely on a wire rack before slicing.
Notes
- For an extra soft texture, use bread flour instead of all-purpose flour.
- If your raisins are dry, soak them in hot water for 10 minutes, then drain and pat them dry before adding them to the dough.
- This bread is excellent when toasted and served with cream cheese or butter.
Nutrition
- Serving Size: 1 slice
- Calories: 220
- Sugar: 12g
- Sodium: 250mg
- Fat: 5g
- Saturated Fat: 3g
- Unsaturated Fat: 2g
- Trans Fat: 0g
- Carbohydrates: 42g
- Fiber: 2g
- Protein: 5g
- Cholesterol: 25mg