
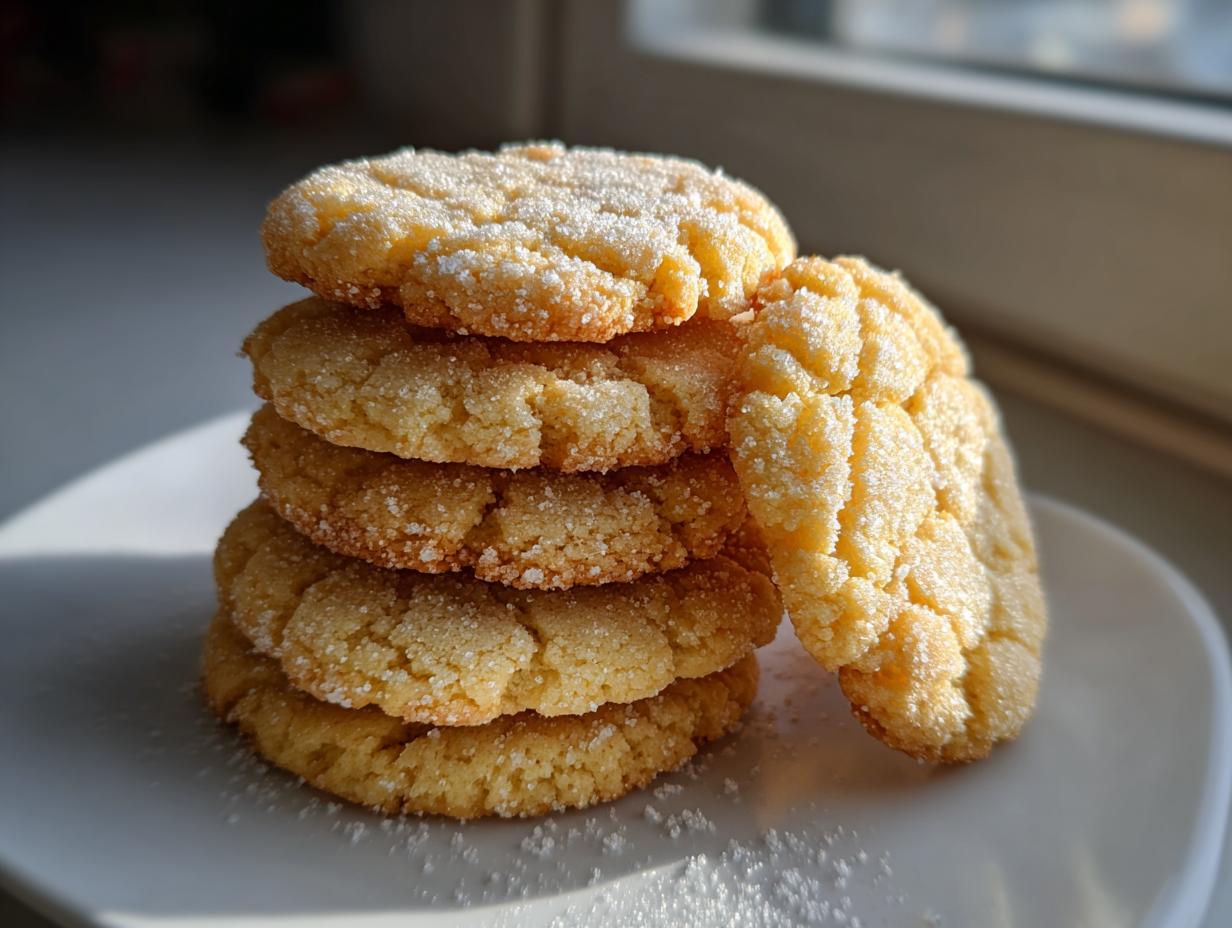
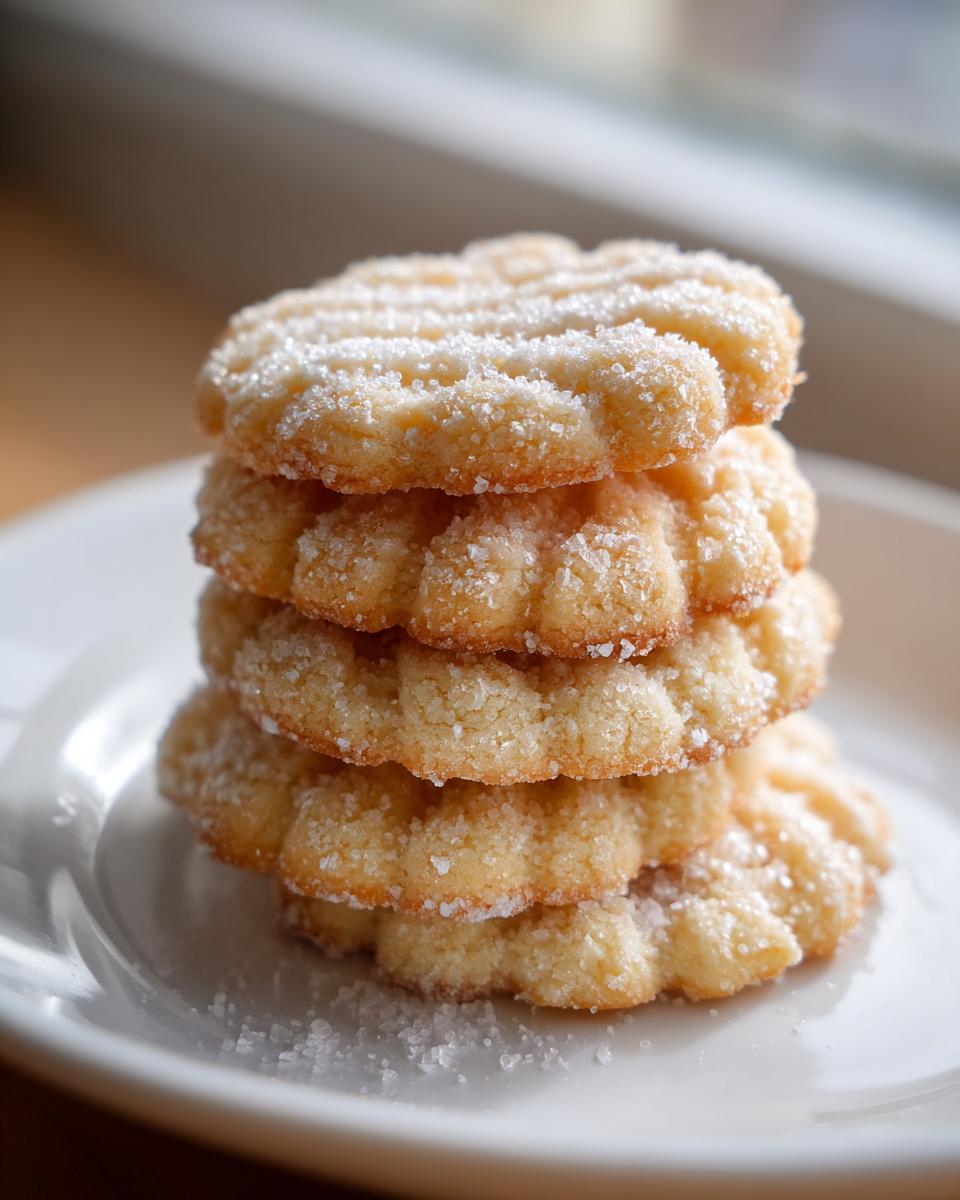
Oh, isn’t there just something magical about that first buttery bite? When I think about easy baking that still feels fancy enough for company, my mind goes straight to classic shortbread vibes. Forget those fancy grocery store tins—we’re making the real deal today! I’m sharing my absolute favorite, which I call The Ultimate Melt-In-Your-Mouth Classic Butter Cookies (Danish Style). These butter cookies deliver that unbelievably rich, buttery flavor and a tender texture that just dissolves the second it hits your tongue.
As the founder here at Cheffinity, Ava Sinclair, I know how crazy life gets. That’s why every single recipe I share has been tested endlessly to make sure it works perfectly, even on a hectic Tuesday. This recipe is simple, relies on basic baking essentials, and guarantees that melt-in-your-mouth success every single time. Trust me, once you try this level of richness, you’ll never go back!
- Why These Classic Butter Cookies Are Your New Favorite Treat
- Essential Ingredients for Perfect Butter Cookies
- Step-by-Step Guide to Making Easy Butter Cookie Recipe
- Tips for Success When Baking Butter Cookies
- Variations: From Holiday Cookie Baking to French Butter Cookies
- Serving Suggestions for Your Rich Buttery Treats
- Storage and Reheating Instructions for Homemade Butter Cookies
- Frequently Asked Questions About Butter Cookies
- Baking More Simple Dessert Recipes
Why These Classic Butter Cookies Are Your New Favorite Treat
I know you’ve got a dozen cookie recipes saved, so why should you bother making room for mine? It really comes down to texture and reliability. When you follow these steps, you stop worrying about baking and start enjoying the process. These cookies are the perfect low-stress, high-reward bake.
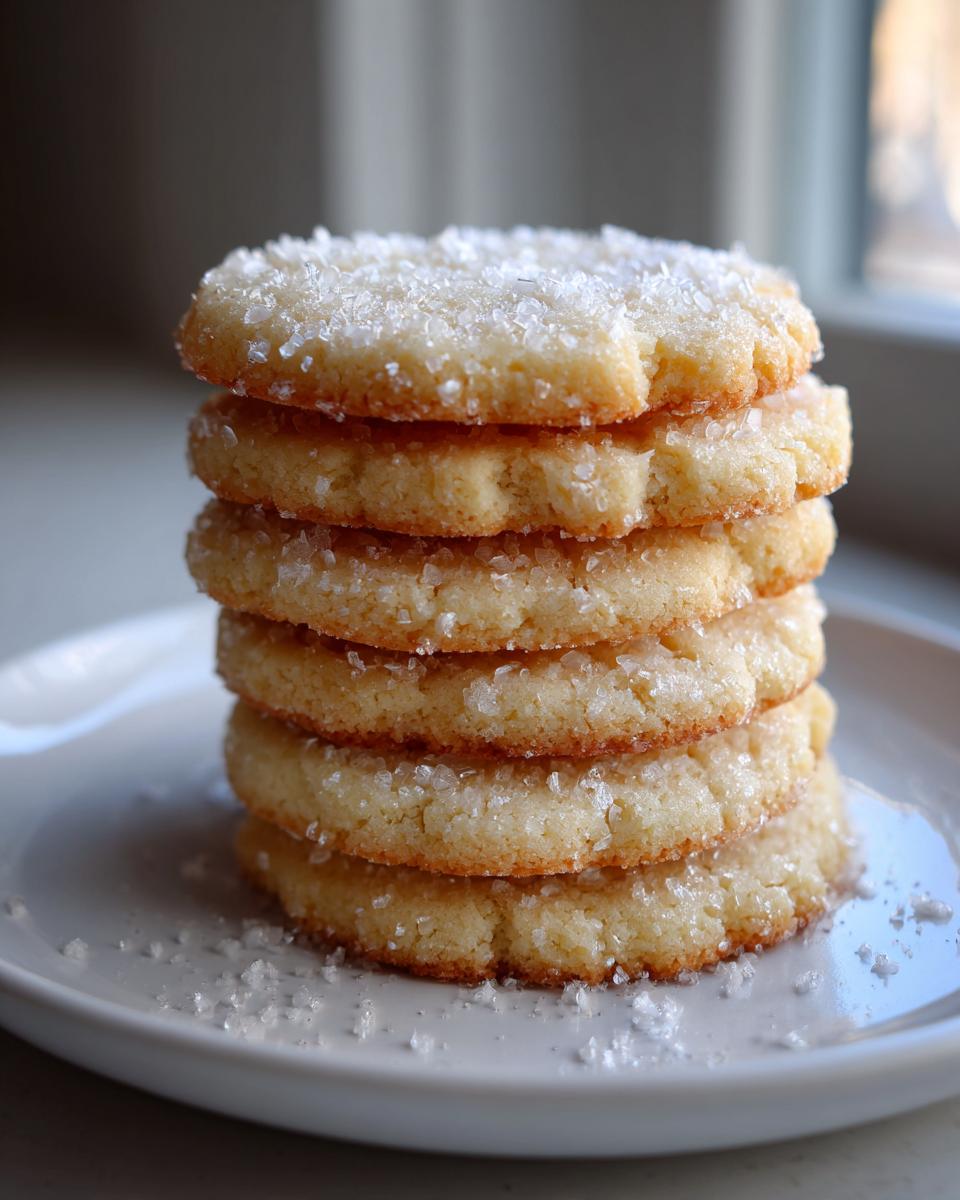
- You get that signature crisp edge without sacrificing a tender center—they truly snap, then melt!
- We use just standard pantry items. No weird specialty flours needed here, promise.
- They look elegant stamped out or pressed, making them fantastic for gifts or holiday cookie baking platters.
Achieving the Perfect Melt In Your Mouth Cookies Texture
The secret handshake for texture here is the cornstarch. Seriously, don’t skip that little bit! It’s what breaks down the gluten slightly, giving you that incredibly short, tender structure that shatters beautifully when you eat it. That, combined with ensuring your butter is perfectly softened (not melted!), sets you up for success before you even preheat the oven.
The Timeless Flavor of Homemade Butter Cookies
There’s no comparison between these and store-bought versions, is there? Since these butter cookies rely on so few ingredients—butter, sugars, flour, vanilla—the flavor of those components has to shine. We use quality butter here because it’s the dominant flavor note. The vanilla extract we call for amplifies the richness, giving you a classic, comforting profile that everyone instantly loves. It’s pure, simple indulgence that never ages.
Essential Ingredients for Perfect Butter Cookies
The beauty of these classic butter cookies, much like a good shortbread, is that they don’t ask for much! We rely strictly on basic baking essentials to deliver that incredible taste. When you look at the ingredient list, you’ll see quality really matters because there are so few flavors masking each other.
Here is what you need for about three dozen of these delicate treats:
- 1 cup (2 sticks) unsalted butter, softened
- 1/2 cup granulated sugar
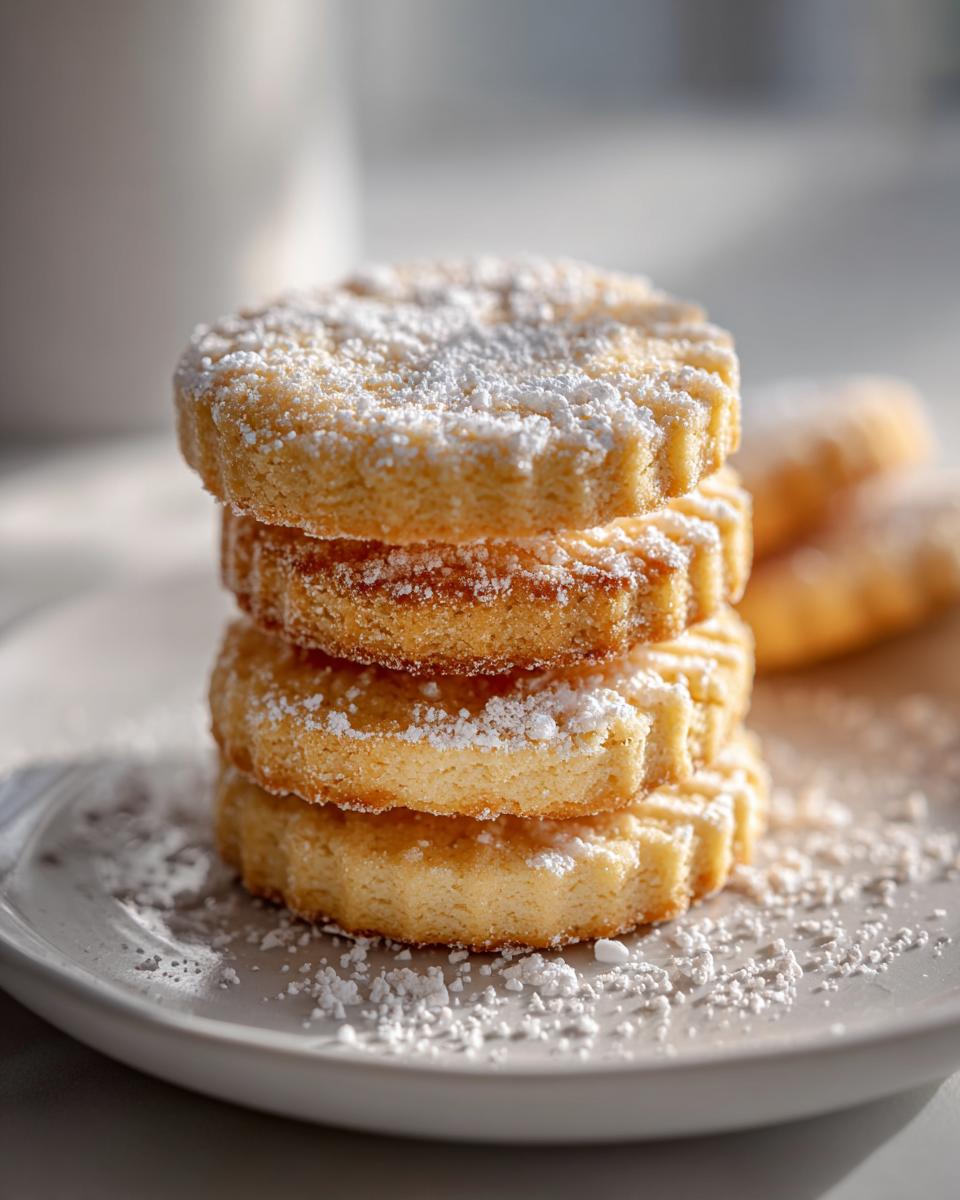
- 1/4 cup powdered sugar, plus more for dusting
- 1 teaspoon vanilla extract
- 1/4 teaspoon salt
- 2 1/2 cups all-purpose flour
- 1/4 cup cornstarch
- 1 large egg yolk
Ingredient Notes and Substitutions for Rich Buttery Treats
Listen closely, because this is where we lock in that ‘melt-in-your-mouth’ texture. Your butter absolutely has to be room temperature—soft enough to press a finger into easily, but not oily or greasy. If it’s too warm, the cookies spread into sad puddles, and we can’t have that!
Now, let’s talk about the cornstarch. That little addition is crucial for tenderness. It keeps the cookies from getting too tough. If you happen to be out, you could technically skip it, but you’ll lose some of that desired delicate quality. Also, only use the egg yolk; the white adds too much moisture and structure, which we are actively trying to avoid for this particular recipe!
Step-by-Step Guide to Making Easy Butter Cookie Recipe
Okay, here’s the fun part! If you’ve gathered your ingredients, you are about 20 minutes away from having the most incredible batch of butter cookies chilling in your fridge. I promise this is an easy butter cookie recipe; the real work is just mixing gently and waiting for that chill time. We’re going to break this down so you get that authentic Danish texture without breaking a sweat.
First, you want to get your wet ingredients—the butter and both sugars—in that big bowl. We need to whip these until they are light and airy. Think pale yellow, almost fluffy, like a cloud waiting for rain!
Creaming and Mixing Your Butter Cookies Dough
When you cream the softened butter with the sugars, you’re beating air right into the foundation of your cookie. Do this until it looks visibly lighter and fluffy—it really changes the final product! Once that’s perfect, whip in the vanilla, salt, and the single egg yolk until everything is just blended. Don’t try to rush this part; it builds the structure we want. Once you add the flour and cornstarch mixture, slow down immediately and mix only until you see no streaks remaining. Overmixing at this stage is the enemy of tender!
Chilling and Shaping Your Danish Butter Cookie Recipe
This step is non-negotiable, so don’t cheat it! Chilling makes all the difference between a pretty cookie and a puddle. Once your dough comes together, shape it into tight little logs, wrap them up super tight in plastic wrap, and let them rest in the fridge for at least an hour. Once firm, you can either slice those logs into perfect 1/4-inch rounds or load up your cookie press for those classic spritz shapes. Making these butter cookies via the press method is always a bit of fun!
Baking for Crispy Tender Cookies Edges
Preheat your oven to 350°F (175°C) and use parchment paper—it makes cleanup a breeze. These bake fast, so stay close! You’re looking for about 10 to 12 minutes. The goal for that perfect ‘melt in your mouth’ result is golden edges only; the center should still look practically pale when they come out. They firm up as they cool on the tray, which also helps keep them tender inside. You can check out some of my tips for quick weeknight recipes while you wait for the oven to heat up over here: easy breakfast ideas, perhaps you’ll be inspired for tomorrow!
Tips for Success When Baking Butter Cookies
Even though this is one of the easiest recipes around, a few little tricks from my messy kitchen can make the difference between a nice cookie and a truly spectacular one. Since we aren’t compensating for a lack of butter quality with tons of added sugar or flavoring, technique really lifts these treats!
- Flour Measurement Matters: Don’t scoop your flour straight from the bag with the measuring cup! That packs it in, and you’ll end up adding way too much, making your cookies dry and tough. Instead, spoon the flour lightly into your measuring cup, then level it off with a straight edge. It’s a small thing, but it keeps the ratio perfect.
- Check Your Oven Temp: Ovens lie! If your digital thermometer reads 325°F but your oven is actually running at 375°F, those delicate edges will burn before the center melts. I always keep a cheap oven thermometer inside my oven so I know the actual heat, especially when baking things like these because they go from perfect to crisp so quickly.
- Don’t Overwork the Press: If you are using the cookie press, don’t keep reprocessing the same dough dough over and over. Once the dough gets too warm from handling, it will get slack and start losing its shape while baking. If you notice the shapes getting wobbly, wrap the dough back up and chill it for another 15 minutes.
- The Importance of Cooling Time: Don’t feel rushed to move them off the tray! When they first come out, they are fragile, and that short time sitting on the baking sheet is what helps them set up that last bit of structure. If you try to move them too soon, they’ll droop. For more great organization tips that save time later, check out my ideas for quick weeknight dinners—a calm kitchen helps baking, too!
If you’re looking for that classic Danish feel, make sure you peek at how others shape theirs; I found some brilliant ideas over at this site when I was perfecting my press technique!
Variations: From Holiday Cookie Baking to French Butter Cookies
While this Danish-style recipe gives you those amazing butter cookies that taste straight out of a tin, feel free to treat this dough as your basecamp for total cookie creativity! Who doesn’t love jazzing things up, especially when the holidays roll around?
If you are looking for that rich, slightly different flavor that leans more toward a nutty, dense texture, you should definitely try adding about a half teaspoon of almond extract right alongside the vanilla. It gives these cookies such a warm, complex background note that pairs beautifully with the butter. It’s one of those little tweaks that people always ask about!
For those of you who love holiday cookie baking and want a festive look, you barely need to change a thing for amazing Christmas butter cookies. Once they are baked and cooled completely, I like to dip half of the cookie into melted white chocolate, press a few festive sprinkles on while it’s wet, and let them set on parchment paper. Pure magic!
If you prefer a lighter, slightly crisper cookie—maybe something that reminds you of apple pie cookies in its structure, but still needs that buttery base—you can adapt this towards a French butter cookies mindset. The trick there is often using slightly less sugar overall, maybe cutting just one tablespoon of the granulated sugar out. It makes the flavor less sweet and emphasizes the salt and butter instead. For more inspiration on taking classic flavors and spinning them, you can always check out my apple pie cookies recipe.
Another super easy switch once they’ve cooled? Dip the ends in melted dark chocolate and let set. That sharp, bittersweet note is just heavenly against all that pure butter flavor. If you want to delve into the specifics of getting that truly authentic French texture, I found these tips really helpful over at this spot!
Serving Suggestions for Your Rich Buttery Treats
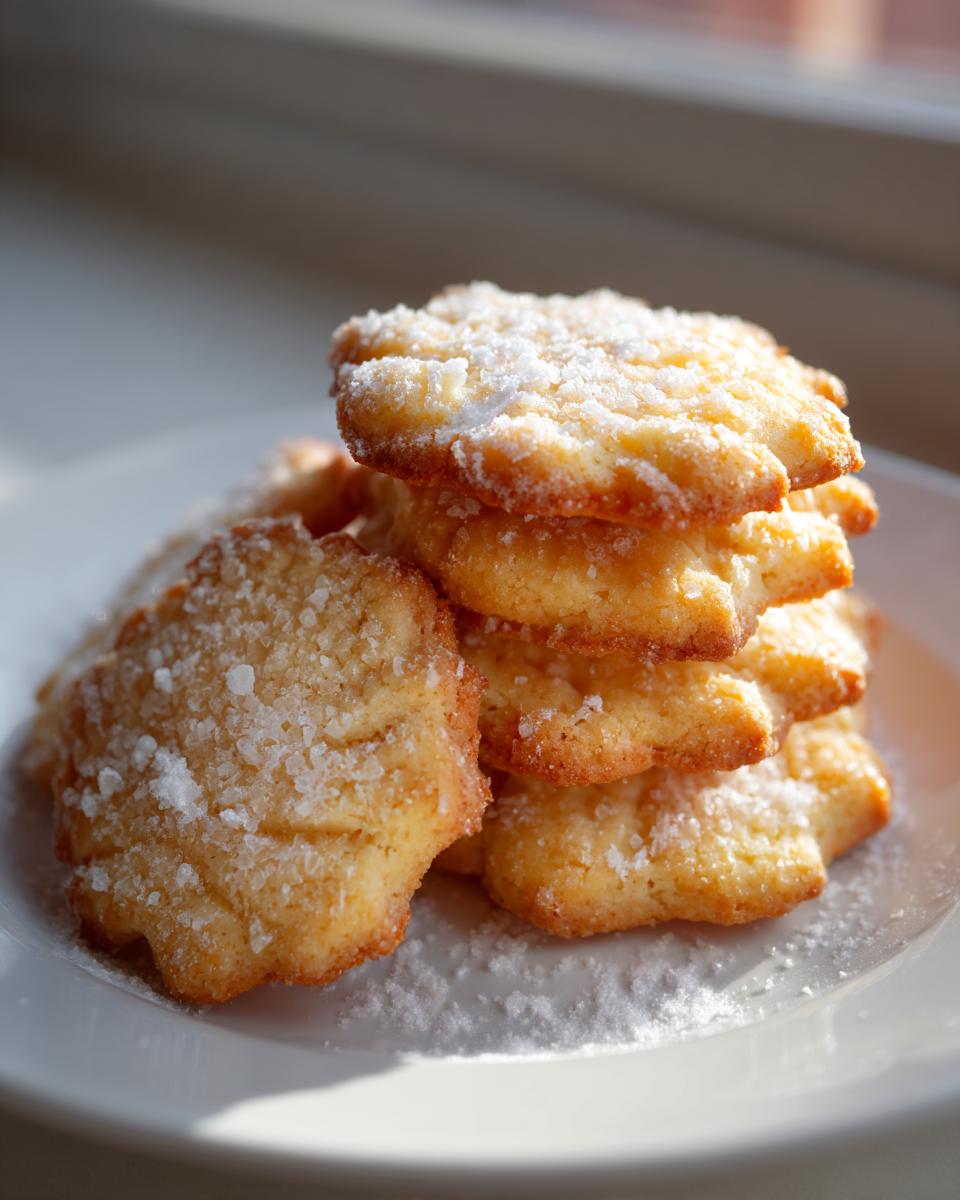
Now that you have these absolutely perfect, rich buttery treats, the question becomes: what do you serve them with? Honestly, these cookies are so good they stand up perfectly fine all on their own. But if you’re making a spread, especially for that afternoon break, these suggestions really elevate the experience.
Forget fancy imported biscuits; these are the ultimate tea time cookies. They pair so beautifully with a strong cup of black tea—I highly recommend an English Breakfast blend. The slight bitterness of the tea cuts right through the richness of the butter, balancing everything out perfectly on your palate. They’re small enough that you don’t feel guilty having two!
If you’re looking for something a little more substantial to go with them, think about pairing them with a fruit dessert that has a crisp, bright flavor. We recently made an amazing easy apple crumble recipe, and dipping a cooled butter cookie into the warm, slightly tart apples and oats was just divine. It’s that contrast between the soft, sweet cookie and the warm, fruity component that makes it feel like a truly special dessert spread rather than just a snack.
Coffee drinkers, you are also covered! These are spectacular when served alongside a shot of espresso or a rich latte. The dense, slightly crumbly texture soaks up just a little bit of the coffee crema without falling apart immediately. Honestly, I sometimes bake a batch just as an excuse to slow down for a few peaceful minutes with my morning cup before the real chaos of the day starts!
Storage and Reheating Instructions for Homemade Butter Cookies
Alright, we’ve made the perfect batch of cookies that truly melt in your mouth. The last thing we want to do is let them go stale! Since these butter cookies are so rich in butter and have that wonderful, delicate structure, proper storage is key to keeping them just as good on Day Three as they were on Day One.
The absolute best way to keep these treats fresh is on the counter, not in the fridge. Seriously! Refrigerating them can sometimes make them taste a little flat or, worse, suck out some of that signature tenderness. You want an airtight container, that’s your magic weapon.
Make sure they are completely cool—and I mean *completely* cool—before you stack them up. If you put warm cookies into a sealed container, that condensation is going to make everything soggy fast. Line the container with a sheet of parchment paper first, layer your cookies neatly, then add another sheet of paper before sealing it up tight. This prevents them from sticking to each other.
Stored correctly in an airtight container at room temperature, these homemade butter cookies should stay fantastic for up to a week. If you’ve made a huge batch and you know you won’t get through them, freezing is totally fine! You can freeze the baked cookies in a freezer-safe, heavy-duty Ziploc bag for up to three months. When you’re ready to eat them, just pull them out of the freezer and let them thaw on the counter for about 30 minutes. They taste almost freshly baked!
If you ever want to test if you’ve done everything right, just grab one after it’s been stored for a few days—if it still offers that perfect tender snap, you nailed the creaming and chilling process!
Frequently Asked Questions About Butter Cookies
I know sometimes things don’t go perfectly in the kitchen, even with the simplest recipes. Don’t worry! Most issues with these delicate classic butter cookies come down to temperature control. I’ve gathered the questions I get asked most often when people are trying to achieve their first batch of melt in your mouth cookies.
Troubleshooting Common Issues with Butter Cookies
This is probably the most important question I get: “Ava, why did my cookies melt into flat pancakes on the baking sheet?” Nine times out of ten, it comes down to two things, and neither involves the recipe itself! First, check your butter. If it was even slightly melted when you creamed it, your dough is too soft from the start. You need that firm but pliable texture.
Second, honestly check your chilling time. If you rush the dough out of the fridge after 30 minutes when it needs a full hour, the butter warms up too fast in the oven before it has a chance to set. Make sure your dough is truly firm to the touch before you slice or press it. If you’re looking for a recipe where chilling isn’t quite as vital, you might want to look at my secrets for whipped shortbread cookies—they handle the heat a bit better!
Can I skip chilling the dough?
You really, really shouldn’t if you want those defined edges! Chilling the dough firms up the fat (the butter) so that when it hits the heat, it melts slowly, keeping the shape dictated by your slice or press tip. If you skip chilling, the butter melts too quickly, the dough can’t hold its shape, and you end up with something closer to a flat, soft cracker rather than a crisp-tender treat. It’s worth the wait!
What makes these better than standard shortbread cookies?
That’s a fantastic question. Both are buttery, right? But buttery shortbread cookies rely almost completely on butter, flour, and sugar—it’s an incredibly high-fat, low-moisture bake that gives you that definite density and sandy crumble. Our recipe, which leans toward the Danish butter cookie recipe style, includes cornstarch and that single egg yolk. Those two additions incorporate just enough moisture and structure to keep the cookie from being strictly crumbly. They become softer, more tender, and truly give you that ‘melt away’ sensation instead of a purely dry shortbread bite. They are both delicious, but they have different textures!
Can I use salted butter instead of unsalted here?
You totally can, but you have to adjust the salt we call for in the recipe! Since we list 1/4 teaspoon of salt separately, if you use salted butter, just skip adding that extra salt into the wet ingredients. If you use salted butter and add the extra salt, your rich buttery treats might end up a little too salty for a perfect afternoon tea situation. For the most control over the flavor balance, I always lean toward unsalted, but salted works in a pinch!
For another perspective on making excellent basic homemade butter cookies, I always recommend cross-referencing with other reliable sources, like this article.
Baking More Simple Dessert Recipes
Whew! We did it! Now that you have a stack of the best homemade cookies cooling on your rack, I need to know what you think. Seriously, drop everything and let me know if these lived up to the ‘melt-in-your-mouth’ hype in the comments below. Did you use the cookie press? Did you go full-on dipped chocolate for your holiday batch? I live for seeing what you all create in your kitchens!
It’s so rewarding when a simple recipe, built on quality butter and good technique, turns out perfectly. If you loved how easy this was—just 25 minutes of active time for the best result—then I have more fun, simple desserts waiting for you!
If you’re looking to keep that winning streak going and want another ridiculously satisfying, easy bake, you absolutely have to try my recipe for churros cinnamon sugar dessert. They are surprisingly simple to make at home and deliver that satisfying crunch that’s just as addictive as these cookies!
Happy baking for now, friends. Come back soon, because there’s always something new coming out of this little kitchen!
PrintThe Ultimate Melt-In-Your-Mouth Classic Butter Cookies (Danish Style)
Make rich, buttery cookies that truly melt in your mouth. This easy recipe delivers the classic, tender texture of Danish butter cookies using simple baking essentials.
- Prep Time: 25 min
- Cook Time: 12 min
- Total Time: 1 hour 37 min
- Yield: 3 dozen cookies 1x
- Category: Dessert
- Method: Baking
- Cuisine: Danish
- Diet: Vegetarian
Ingredients
- 1 cup (2 sticks) unsalted butter, softened
- 1/2 cup granulated sugar
- 1/4 cup powdered sugar, plus more for dusting
- 1 teaspoon vanilla extract
- 1/4 teaspoon salt
- 2 1/2 cups all-purpose flour
- 1/4 cup cornstarch
- 1 large egg yolk
Instructions
- In a large bowl, cream together the softened butter, granulated sugar, and powdered sugar until the mixture is light and fluffy.
- Beat in the vanilla extract and salt until combined. Mix in the egg yolk.
- In a separate bowl, whisk together the all-purpose flour and cornstarch.
- Gradually add the dry ingredients to the wet ingredients, mixing on low speed until just combined into a soft dough. Do not overmix.
- Shape the dough into logs or use a cookie press fitted with your desired shape (like a star tip for classic Danish cookies).
- Wrap the dough logs tightly in plastic wrap and chill in the refrigerator for at least 1 hour, or until firm enough to slice or press.
- Preheat your oven to 350°F (175°C). Line baking sheets with parchment paper.
- Slice chilled logs into 1/4-inch thick rounds, or press the dough through the cookie press onto the prepared sheets.
- Bake for 10 to 12 minutes, or until the edges are lightly golden brown. The centers should remain pale.
- Let the cookies cool on the baking sheet for 5 minutes before transferring them to a wire rack to cool completely.
- Once cool, dust lightly with extra powdered sugar for presentation.
Notes
- For the best melt-in-your-mouth texture, make sure your butter is truly softened, not melted.
- Chilling the dough is essential for holding the shape during baking.
- For a holiday twist, add 1/2 teaspoon almond extract with the vanilla for a richer flavor profile.
- These cookies store well in an airtight container at room temperature for up to one week.
Nutrition
- Serving Size: 1 cookie
- Calories: 110
- Sugar: 5
- Sodium: 35
- Fat: 7
- Saturated Fat: 4
- Unsaturated Fat: 3
- Trans Fat: 0
- Carbohydrates: 11
- Fiber: 0
- Protein: 1
- Cholesterol: 25