
It happens every day, right? That moment when you look at the clock, sigh, and wonder how you’re going to get a satisfying, home-baked side dish on the table without spending half the evening babysitting dough. It’s the weeknight dinner dilemma Ava Sinclair talks about all the time here at Cheffinity—we believe fantastic food shouldn’t be a weekend-only luxury. Well, throw out the yeast and forget waiting for anything to rise, because I have the answer: the unbelievably simple, Quick and Easy No-Yeast Beer Bread. This isn’t just bread; it’s the fastest way to get that warm, savory comfort baked up, and trust me, this beer bread will change your weeknight game forever.
- Why This Easy Beer Bread Recipe Is Your New Weeknight Hero
- Gathering Ingredients for Your Simple 3 Ingredient Bread
- How to Prepare Quick Homemade Bread: Step-by-Step Instructions
- Tips for Success with Your Beginner Bread Recipe
- Savory Quick Bread Variations: Cheesy Beer Bread Ideas
- Serving Suggestions: What to Pair with Beer Bread
- Storage & Reheating Instructions for Leftover Beer Bread
- Frequently Asked Questions About Making Beer Bread
- Estimated Nutritional Data for This Homemade Baked Goods Recipe
- Estimated Nutritional Data for This Homemade Baked Goods Recipe
Why This Easy Beer Bread Recipe Is Your New Weeknight Hero
When I tell people I baked this loaf from scratch, they look at me like I’m crazy because they assume I slaved over it. Nope! That’s the beauty of this recipe; it hits every single point you need when life gets busy.
- It’s lightning fast—prep is literally five minutes tops.
- It requires zero fancy equipment, just a bowl and a spoon!
- It’s the ultimate Fast Dinner Side Dish when you need something warm right now.
The Magic of No Yeast Bread
You heard me—no yeast! We rely on two incredible things to get our lift here: the trusty baking powder we all keep stocked, and the natural carbonation already buzzing in the can of beer. It’s a chemical reaction, not a waiting game. This is the definition of No Knead Bread. Mix, pour, bake. That’s it.
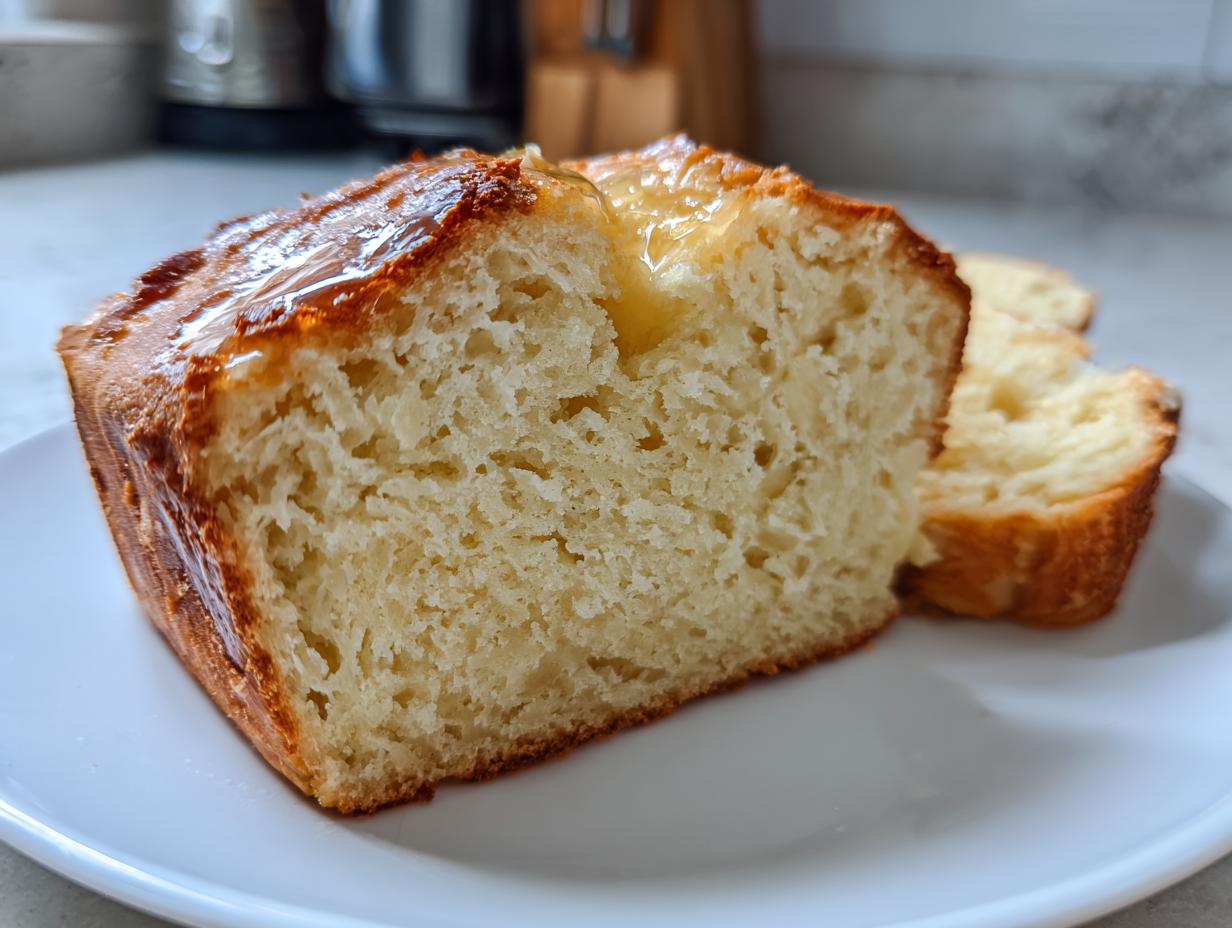
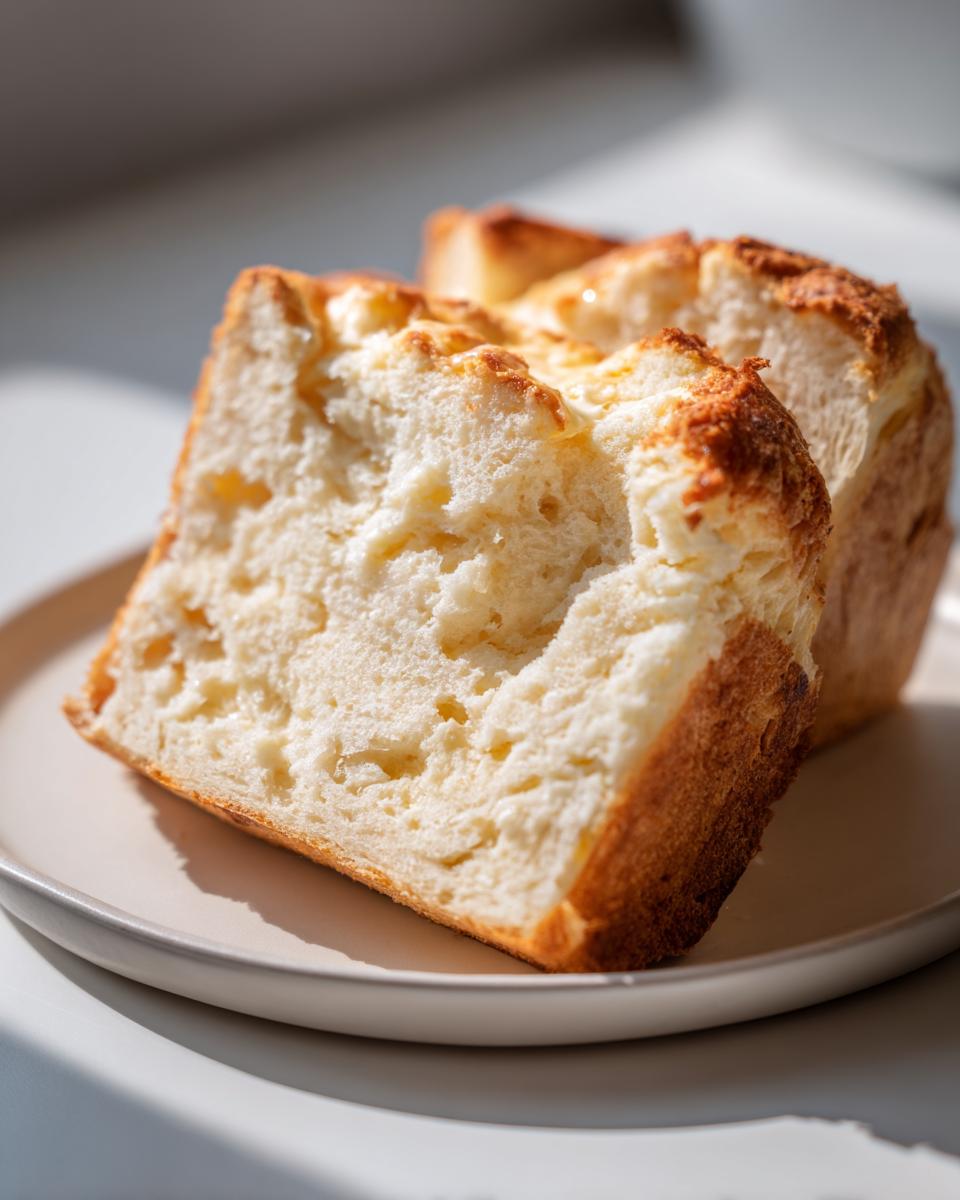
Achieving that Perfect Buttery Beer Bread Texture
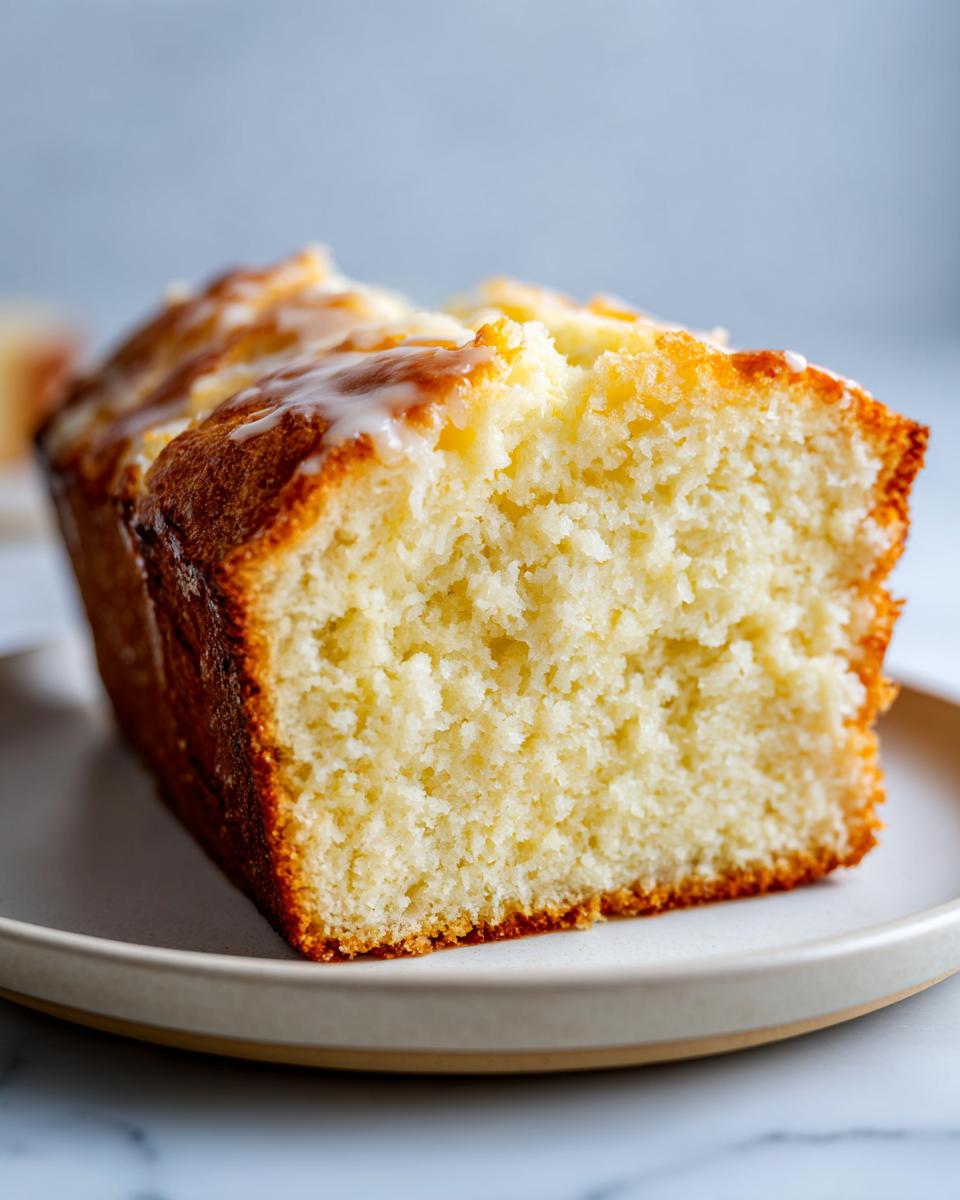
The payoff is unreal for the effort involved. We’re talking about a loaf with that deeply golden, crackly, Buttery Beer Bread crust—the kind that shatters perfectly when you slice into it. Inside? It’s soft, fluffy, and just tender enough. That perfect crust comes from brushing on melted butter both before and right after it comes out of the oven. Don’t skip that step!
Gathering Ingredients for Your Simple 3 Ingredient Bread
Okay, let’s talk about what you need for this legendary beer bread. The best part? Most of this is probably already in your pantry waiting for you! Because this recipe is dependent on the chemical reaction between the beer and the baking powder, precision here really helps secure that fluffy interior bread we are aiming for. I’ve listed the exact amounts below; stick to them, and you won’t have any issues.
- 3 cups all-purpose flour
- 1 tablespoon baking powder
- 1 tablespoon white sugar
- 1 teaspoon salt
- 1 (12 ounce) can room temperature beer (lager or pale ale recommended)
- 4 tablespoons unsalted butter, melted (for brushing)
Ingredient Clarity and Beer Choice for Beer Bread
I have to stress this point because folks always ask: the beer absolutely needs to be room temperature. If you grab a can straight from the fridge, the cold temperature slows down that crucial lift we need from the baking powder, and you’ll end up with a denser loaf. I swear by a standard lager or a light pale ale—nothing too hoppy or heavy. You want the carbonation to do its job without overwhelming the subtle savory flavor of the bread itself. Trust me on the temperature hack; it’s key for that great rise!
How to Prepare Quick Homemade Bread: Step-by-Step Instructions
Ready to go from pantry staples to a fresh loaf in under an hour? That’s what this section is all about—getting you that fantastic Quick Homemade Bread without any fuss. We’re keeping it straightforward because Ava’s whole philosophy is cutting out the stress, not adding steps! This is the place where we turn ingredients into incredible dinner side dishes.
First things first, you need to get your oven ready. Crank that heat up to 375°F (190°C). While it’s warming up, grab your standard 9×5 inch loaf pan. Make sure you grease it *and* flour it properly, or you can use one of the simple pan releases I mentioned earlier to ensure everything slides out cleanly later.
Mixing the Beer Bread Batter Without Overworking
Once your dry ingredients are whisked nicely—that flour, baking powder, sugar, and salt—it’s time for the liquid. Slowly introduce your room temperature beer. Now, this is where my mom always warned me: grab a wooden spoon and stir gently! You are only mixing until the dry spots disappear. Seriously, stop stirring when it looks *just* combined. If you see a few random lumps hanging around? That’s actually fantastic. If you overmix this batter, you develop the gluten way too much, and instead of fluffy interior bread, you get something dense and chewy. We want light and tender, so treat that batter gently!
Baking Time and Achieving Golden Perfection for Your Beer Bread
Pour that gorgeous, slightly lumpy batter into your prepared pan. Then, take about half of that melted butter and brush it right over the top. It’s going to look a little slick, but that’s what builds that signature crispy crust!
Pop it into the preheated oven. You are looking at 40 to 50 minutes. Don’t just walk away, though! You need to check it around the 40-minute mark. Stick a toothpick right into the center; if it comes out clean or maybe with just a few moist crumbs clinging on (not wet batter!), you are done. Pull that loaf out immediately! The magic trick for ultimate crispiness happens right now: Brush the remaining melted butter all over the hot top. Let it cool in the pan for exactly 10 minutes before you wrestle it out onto a wire rack to finish cooling. This resting time is essential!
Tips for Success with Your Beginner Bread Recipe
I know that when you’re trying a new Beginner Bread Recipe, you want to make absolutely sure it turns out right the first time. Trust me, I’ve learned through trial and error what guarantees success with this loaf! The biggest mistake people make is grabbing a cold beer straight from the fridge. As I mentioned, the COLD stops the baking powder dead in its tracks. Make sure that can sits out on the counter for at least an hour first. Seriously, room temperature beer is non-negotiable for that perfect rise!
Next up is your pan prep. Since this bread has a decent amount of sugar and butter, it can stick if you slather it with just butter. I use a generous layer of butter and then a light dusting of flour, making absolutely sure I get into all the corners of that loaf pan. You can also check out how experts prep pans here: it offers a great guide. Finally, trust your eyes over the clock initially. Ovens vary so much! If your top is darkening beautifully before 40 minutes, check it right then. We’re aiming for golden brown splendor!
Savory Quick Bread Variations: Cheesy Beer Bread Ideas
While this basic beer bread is heaven on earth, sometimes you need a little more punch, especially if you’re planning on serving it alongside something spicy. If you’re wondering how to take this up a notch, let me tell you about my favorite savory swap. This completely changes the profile and turns it into something perfect for game day snacking or pairing with my famous dip!
The beauty of this quick bread is how easily it adapts. For savory results, you toss out the tablespoon of white sugar. That’s it! You don’t need it for structure when you’re going full-on savory. Instead, you’re going to load up the dry ingredients with flavor. I’m talking about adding a full cup of sharp, good quality shredded cheddar cheese. Seriously, shred it yourself; the pre-shredded stuff just doesn’t melt as beautifully.
To balance that richness and hit those savory notes, mix in 1 teaspoon of garlic powder. Mix that right in with the flour mixture before you add the beer. It becomes this wonderfully aromatic batter that smells like heaven baking. This substitution turns your simple loaf into a fantastic Cheesy Beer Bread Ideas upgrade, and honestly, most people don’t even realize it started as the basic three-ingredient version! It’s hearty, it’s cheesy, and it’s still on the table in under an hour. I still brush it with butter when it comes out of the oven—that extra fat really helps set that glorious crust.
Serving Suggestions: What to Pair with Beer Bread
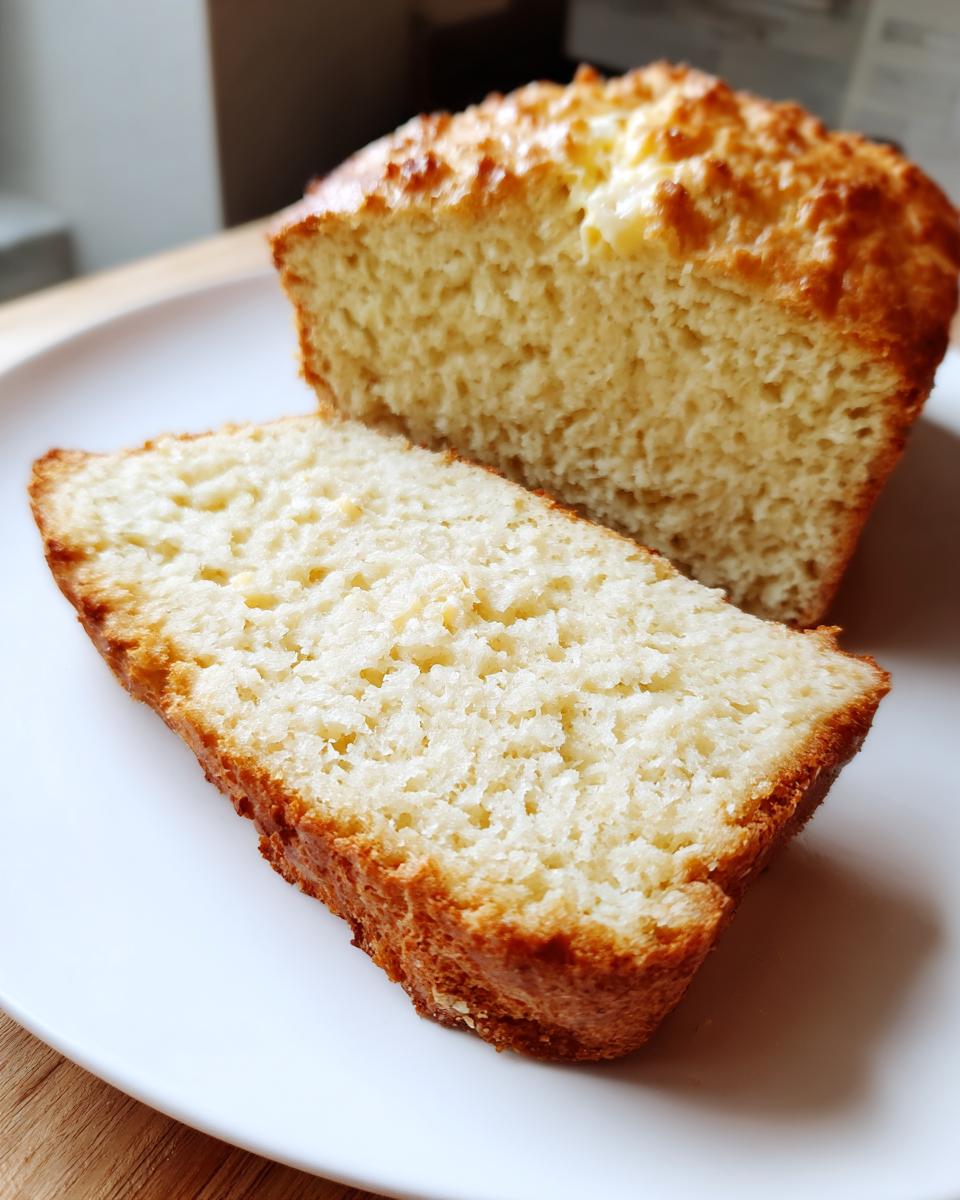
So, you’ve pulled this incredible, steaming loaf of beer bread out of the oven. Now what? This bread is so versatile; it’s not just a side dish; it’s a main event supporter! Because it has that sturdy, slightly dense texture from using baking powder instead of yeast, it holds up beautifully to wet, hearty meals. This is where it shines as the perfect Bread for Soup.
Forget soggy napkins or bread that dissolves halfway through your bowl of chili. This loaf is robust enough to hold its own. It’s the ultimate dunker! Seriously, make a big batch of hearty beef stew or my favorite easy chili recipe, and you have a complete, comforting meal on the table in an hour. That crispy crust gets soft just enough when dipped, but the interior stays satisfyingly structured.
If you aren’t serving it with soup, think about the big game! This is the quintessential Game Day Bread. It slices up perfectly into thick squares, making it easy for a crowd to grab without a fuss. If you made the Cheesy Garlic version we talked about earlier, that batch disappears almost instantly alongside some creamy dips. It’s savory, rich, and requires absolutely no fussing with dips or sauces on the side—it stands proud all on its own!
Storage & Reheating Instructions for Leftover Beer Bread
You might be thinking, “Will I even have leftovers?” because this loaf tends to vanish! But just in case you manage to save a piece or two, I want to make sure you know the best way to store it so it tastes almost as good the next day. This is a pretty sturdy Homemade Baked Goods recipe, so it keeps well, but we want to protect that beautiful crust we worked so hard for.
For storage, treat it like any other quick bread. Once it has cooled down completely—and I mean completely, don’t wrap it warm, or you’ll steam the crust right off—wrap it tightly in plastic wrap. Then, tuck that plastic-wrapped loaf into an airtight container or a zip-top bag. Stored this way on the counter, it’ll stay fresh for two or three days. It’s a great component for a Make Ahead Bread strategy if you’re planning for a big dinner later in the week.
Now, for reheating—this is key to keeping the texture right! If you toss a slice in the microwave, it gets soft and chewy, which is fine if you are just grabbing a quick bite, but you lose that crispy outer layer. If you want to bring that crunch back, always use the oven or an air fryer. Wrap the slice lightly in foil—just a little tent—and warm it at about 300°F for about 8 to 10 minutes. That gentle heat warms the inside through while preserving that amazing outer texture. If you’re in a huge rush and don’t care about the crust, a quick 15-second zap in the microwave does the job for softness, but for that perfect bite, stick to the oven!
Frequently Asked Questions About Making Beer Bread
Look, I get it. Even with my best tips, sometimes questions pop up when you’re reading a recipe, especially when we are playing fast and loose with baking rules like we do when making beer bread! That’s why I pulled together a few things I hear most often. Addressing these concerns helps everyone feel confident baking this Easy Beer Bread Recipe!
Can I use diet or non-alcoholic beer in this Easy Beer Bread Recipe?
This is a tricky one! You definitely want to avoid anything labeled “diet” or “light” that uses artificial sweeteners instead of real sugar. Why? Because the small amount of sugar in regular beer works with the beer’s body to help create structure and help that crust brown nicely. Diet beer just won’t give you that necessary lift or flavor. However, non-alcoholic beer works perfectly fine, provided it’s a standard brewing style (like a non-alcoholic lager) and still has good carbonation!
What happens if I accidentally overmix the batter?
Oh, I’ve witnessed this happen! It’s frustrating when you’re rushed. When you mix flour and water (or in this case, beer) too vigorously, you start building up gluten strands. With yeast bread, you want that! But with this quick bread, overdeveloping the gluten results in a loaf that feels heavy, tough, and almost chewy. Instead of that lovely fluffy interior bread we are aiming for, you end up with something closer to a dense biscuit. Remember, just stir until you don’t see streaks of dry flour anymore—lumps are your friends here!
Can I use self-rising flour instead of all-purpose flour and baking powder?
Yes, you absolutely can! This is a great shortcut if you are trying to stick only to the most basic version of a Simple 3 Ingredient Bread (flour, beer, and maybe sugar). Self-rising flour already contains salt and baking powder. Since the original recipe calls for 1 tablespoon of baking powder and 1 teaspoon of salt, check your self-rising flour container for its ratios. Usually, self-rising flour contains about 1.5 teaspoons of salt per cup, so if you swap it completely, you might want to reduce the added salt in the recipe slightly, or perhaps just skip adding any extra salt altogether. Keep the sugar if you want that slightly sweet baseline, or leave it out if you’re going savory!
Need more guidance on getting your baking systems right? I always reference Ava’s philosophy on efficiency over complexity over on the About Page!
Estimated Nutritional Data for This Homemade Baked Goods Recipe
We measure success here in minutes saved, but I know some of you like to see the estimated numbers too. Since ingredients can change based on the specific beer you use, these numbers are just a ballpark guess for this batch of Homemade Baked Goods, based on 8 slices.
- Serving Size: 1 slice
- Calories: 220
- Sugar: 3g
- Sodium: 350mg
- Fat: 4g
- Saturated Fat: 2g
- Unsaturated Fat: 2g
- Trans Fat: 0g
- Carbohydrates: 42g
- Fiber: 1g
- Protein: 5g
- Cholesterol: 5mg
Keep in mind that if you use a heavier stout or load it up with cheese variations, those numbers will shift! But for that basic, easy loaf, this gives you a good reference point. If you’re looking for more ideas on how to incorporate these simple homemade treats into your meals, check out my favorite baking ideas here!
PrintQuick and Easy 3-Ingredient Beer Bread (No Yeast)
Make this incredibly simple beer bread with only three pantry staples. You get a loaf with a crisp, buttery crust and a soft interior without any kneading or rising time.
- Prep Time: 5 min
- Cook Time: 50 min
- Total Time: 55 min
- Yield: 8 servings 1x
- Category: Side Dish
- Method: Baking
- Cuisine: American
- Diet: Vegetarian
Ingredients
- 3 cups all-purpose flour
- 1 tablespoon baking powder
- 1 tablespoon white sugar
- 1 teaspoon salt
- 1 (12 ounce) can room temperature beer (lager or pale ale recommended)
- 4 tablespoons unsalted butter, melted (for brushing)
Instructions
- Preheat your oven to 375°F (190°C). Grease and flour a standard 9×5 inch loaf pan.
- In a large bowl, whisk together the flour, baking powder, sugar, and salt until fully combined.
- Slowly pour the room temperature beer into the dry ingredients. Stir gently with a spoon until just combined. Do not overmix; a few lumps are acceptable.
- Pour the batter into the prepared loaf pan.
- Brush the top of the batter evenly with half of the melted butter.
- Bake for 40 to 50 minutes, or until the top is golden brown and a toothpick inserted into the center comes out clean.
- Remove the bread from the oven. Immediately brush the top with the remaining melted butter.
- Let the bread cool in the pan for 10 minutes before carefully removing it to a wire rack to cool completely before slicing.
Notes
- Use room temperature beer for the best chemical reaction with the baking powder, which creates the necessary lift.
- For a savory variation, omit the sugar and add 1 cup of shredded sharp cheddar cheese and 1 teaspoon of garlic powder to the dry ingredients.
- This bread is excellent served warm alongside chili or stew as a fast dinner side dish.
Nutrition
- Serving Size: 1 slice
- Calories: 220
- Sugar: 3
- Sodium: 350
- Fat: 4
- Saturated Fat: 2
- Unsaturated Fat: 2
- Trans Fat: 0
- Carbohydrates: 42
- Fiber: 1
- Protein: 5
- Cholesterol: 5