
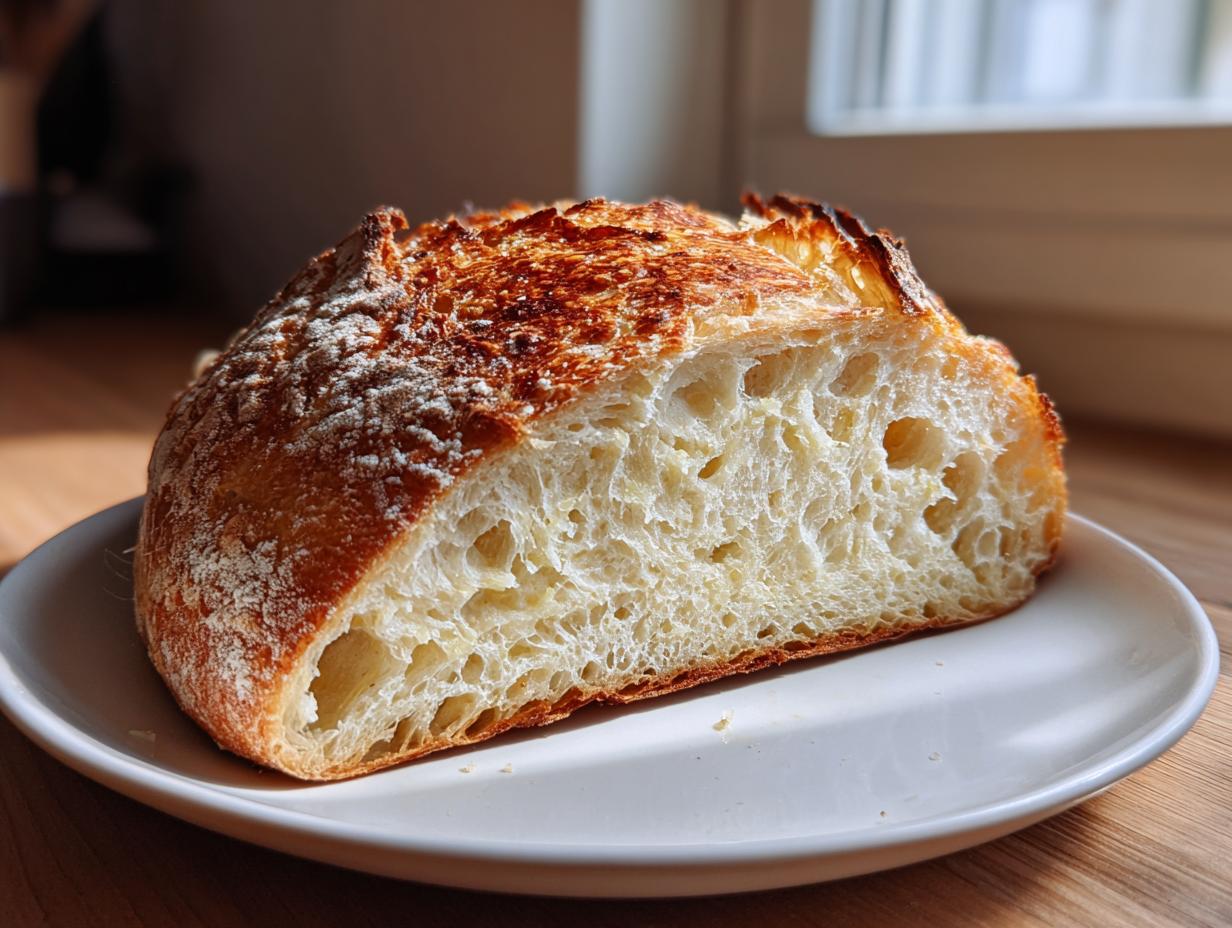
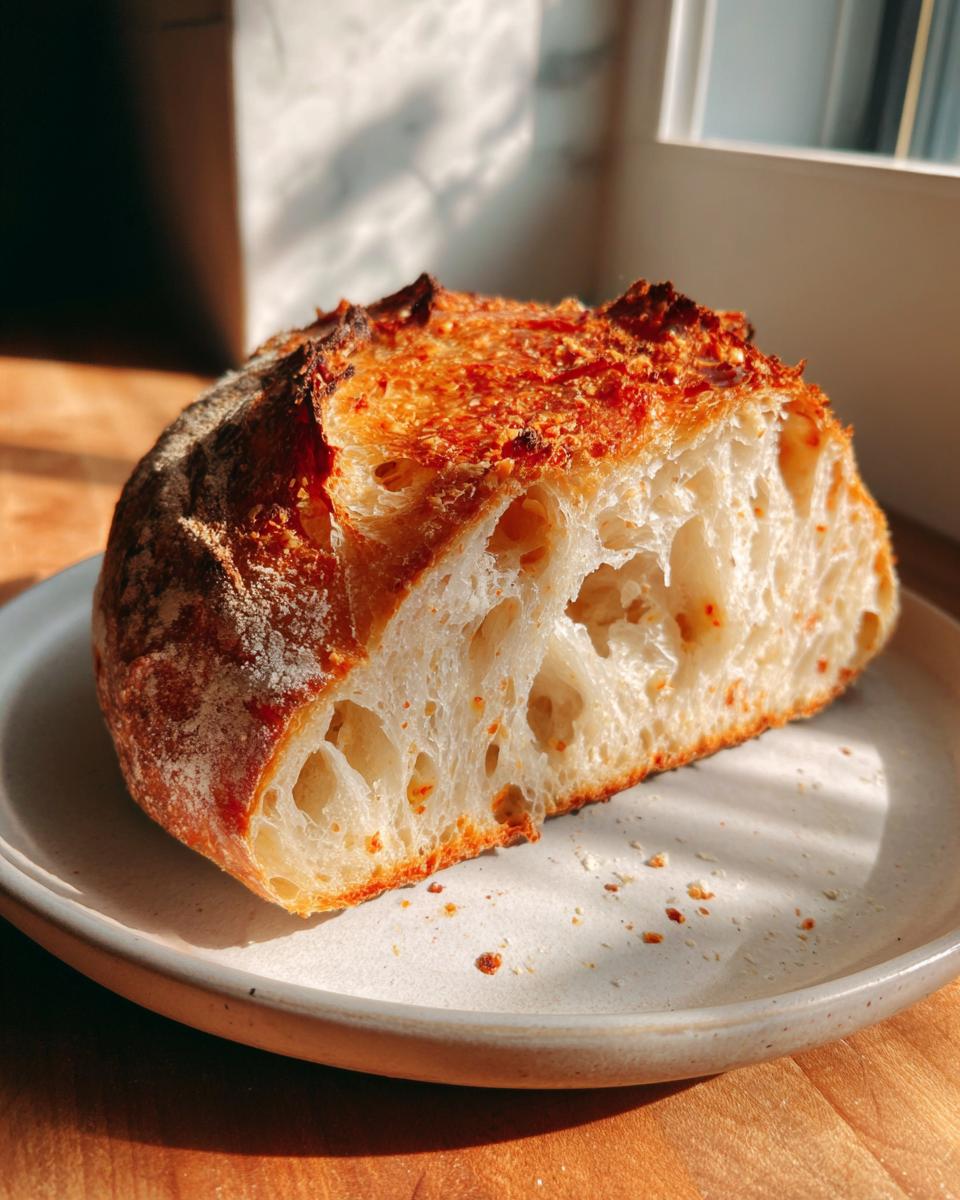
If you thought achieving bakery-style artisan bread meant spending hours kneading dough or mastering complicated techniques, I’m here to tell you that’s just not true! As we always say here at Cheffinity, great food shouldn’t be a luxury reserved only for the weekend. That’s why I’ve streamlined this incredible no-knead artisan bread recipe using a Dutch oven. Trust me, this loaf comes out with that perfect shattering crust and an airy interior that will make your local bakery nervous. It’s pure magic using simple ingredients, and it frees you up to focus on the rest of the weeknight dinner, maybe even time for some quick weeknight dinners!
- Why This Easy Artisan Bread Recipe Works for Beginners
- Simple Ingredients for Your Homemade Artisan Bread
- Step-by-Step Instructions for No Knead Artisan Bread
- Tips for Perfecting Your Rustic Artisan Loaf
- Ingredient Notes and Simple Substitutions for Artisan Bread
- Serving Suggestions for Your Freshly Baked Artisan Bread
- Storing and Reheating Your No Knead Crusty Loaf
- Frequently Asked Questions About Making Artisan Bread
- Estimated Nutritional Data for This Artisan Bread Recipe
- Estimated Nutritional Data for This Artisan Bread Recipe
Why This Easy Artisan Bread Recipe Works for Beginners
I get it; the idea of working with yeast can feel intimidating, but this recipe honestly makes beginner bread baking foolproof. The secret truly is the ‘no-knead’ part. We’re letting time do all the heavy lifting! By mixing just the flour, salt, yeast, and water and letting it sit for nearly a full day, the gluten develops all by itself. Zero fuss, zero stress!
Then comes the Dutch oven, which is our secret weapon for that professional texture. It traps the steam escaping from the dough while baking, creating the most unbelievably crisp, crackly exterior you want in real artisan bread. Meanwhile, that trapped moisture keeps the inside soft and chewy. It’s the perfect environment for a rustic artisan loaf every single time.
Simple Ingredients for Your Homemade Artisan Bread
When I tell people this spectacular artisan bread recipe only needs four core ingredients, they usually don’t believe me! That’s the beauty of this method; it proves you don’t need a pantry full of specialty flours to turn out bakery-style bread at home. We are sticking to the basics here, which is exactly what I aim for in my busiest weeks. It’s amazing how far good flour, salt, yeast, and water will take you!
Here’s the list. Keep these on hand, and you are ready to go for your next crusty homemade bread adventure:
- 3 cups all-purpose flour
- 1 1/2 teaspoons salt
- 1/4 teaspoon instant yeast
- 1 1/2 cups cool water
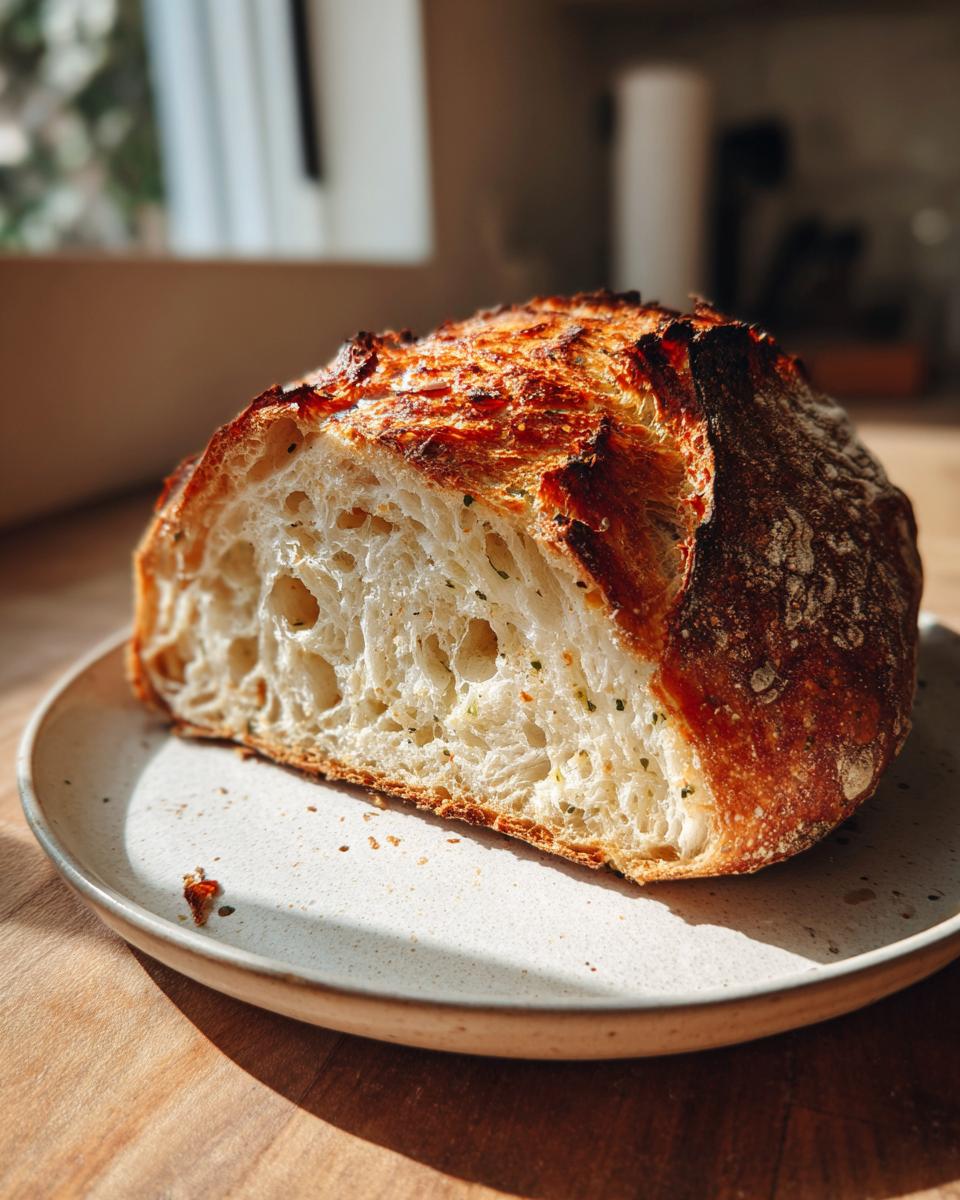
For the Flavor Variations: Parmesan, Garlic, and Rosemary
Now, this is where things get really fun and customizable! If you want to turn this simple loaf into a showstopper, throw in one or all of these extras during the initial mix. This is how you guarantee a wonderful Parmesan artisan bread or a fragrant garlic herb bread that tastes just like the fancy ovens bake!
- 1/2 cup grated Parmesan cheese (optional)
- 1 teaspoon garlic powder (optional)
- 1 tablespoon fresh rosemary, chopped (optional)
Step-by-Step Instructions for No Knead Artisan Bread
Okay, are you ready to see how simple this no knead bread magic actually is? This process relies on patience rather than muscle, which I absolutely love for busy days. We combine everything and let time create the structure needed for a truly rustic artisan loaf. But remember, the next steps involve some serious heat, so please be careful when handling that hot pot! If you’re looking for other quick bread ideas, check out my recipe for easy garlic naan bread—it’s a flatter, quicker cousin to this one.
Mixing and the Long Fermentation Rest for Artisan Bread
First, get your dry ingredients whisked up in a big bowl—especially important if you added Parmesan or rosemary. Then, just dump in the cool water and mix it with a wooden spoon until it looks like a total mess. Seriously, it should be sticky and shaggy; this is exactly what you want! I always use cool water because it slows down the initial yeast activity, giving me a better window—like 12 to 18 hours—to let the flavor really deepen.
Preheating and Baking Your Crusty Loaf in the Dutch Oven
When that long rest is up, don’t knead the dough! Just gently fold it a couple of times to give it some structure, pop it onto parchment paper, and let it sit for 30 minutes while you tackle the most important part: preheating. You must get your Dutch oven bread vessel screaming hot. Place that pot, lid and all, into your 450°F oven for at least 20 minutes. When you carefully drop your dough (still on the parchment!) into that blazing hot pot and cover it, the steam trapped inside creates that incredible signature crust for your crusty bread recipe. Bake covered for 30 minutes, then take the lid off for another 15 to 20 until it’s deep golden brown.
Tips for Perfecting Your Rustic Artisan Loaf
Listen, achieving that bakery style bread at home is all about these little tricks that build confidence. The biggest game-changer for me, which makes an unbelievably crisp crust, is the steam. When you put your dough into that preheated Dutch oven, take an extra step: place a metal pan on the bottom rack during preheating too. When you load the bread, carefully pour about a cup of hot water into that bottom pan, shut the oven door quickly, and watch the magic happen!
That burst of steam helps the crust stay flexible long enough to get that amazing oven spring before it sets rock hard. Also, don’t just rely on the toothpick test for doneness! When you pull the lid off for the final bake, give the bottom of the loaf a gentle thump. If it sounds satisfyingly hollow, congratulations—you’ve mastered this artisan bread recipe!
Ingredient Notes and Simple Substitutions for Artisan Bread
Since this is meant to be an easy artisan bread recipe, I want you to feel zero pressure about ingredients. If you don’t have instant yeast, you can absolutely use active dry yeast, but you’ll need to proof it first in a little warm water with a pinch of sugar before adding it to your flour mix. It just adds one tiny extra step!
If you leave out the Parmesan, no worries at all! You’ll still end up with a fantastic, crusty loaf, just simpler. The cheese just adds that salty, nutty complexity. And please, if you don’t have rosemary, just skip it! This yeast bread recipe truly shines even with just the base four elements.
Serving Suggestions for Your Freshly Baked Artisan Bread
This fantastic artisan loaf is basically begging to be dunked into something flavorful! If you made the plain version, tear off a hunk and use it to sop up the last bits of sauce from a hearty stew. If you added Parmesan, it’s already seasoned perfectly to go alongside my cheesy garlic parmesan mashed potatoes.
Honestly, even a thick smear of good quality butter and sea salt makes this bread shine. It’s perfect for dipping into olive oil and balsamic vinegar on a slow weeknight!
Storing and Reheating Your No Knead Crusty Loaf
You’ve baked this perfect crusty homemade bread, now we gotta keep it that way! Honestly, because this is a true artisan bread that relies on steam baking, it lasts best for about two days at room temperature. Keep it on the counter, cut-side down on a cutting board, or wrapped loosely in a clean tea towel. Don’t seal it completely in plastic right away; that traps moisture and kills the crust!
If you want to crisp that fantastic crust back up after a day or two, just pop the entire loaf back into a 350°F oven for about 5 to 7 minutes. Trust me, that blast of dry heat wakes the crust right up, and it’ll taste like it just came out of the Dutch oven again!
Frequently Asked Questions About Making Artisan Bread
I always get so many questions about this ridiculously easy artisan bread recipe, and honestly, it’s because people are convinced it’s too simple to work! Let’s clear up a few things so you feel totally confident tackling this no knead bread.
Can I skip the 12 to 18-hour rest period?
That’s the million-dollar question, isn’t it? For this specific recipe, I really, really advise against it. That long rest isn’t just for making things easy; it’s essential for developing the deep, complex flavor and allowing the gluten structure to form without any mechanical kneading. If you rush it, you’ll end up with a dense, flat loaf rather than a beautiful, crusty loaf. If you’re truly short on time, maybe check out Ava’s post on quick yeast bread recipes, but for this artisan style, patience is golden!
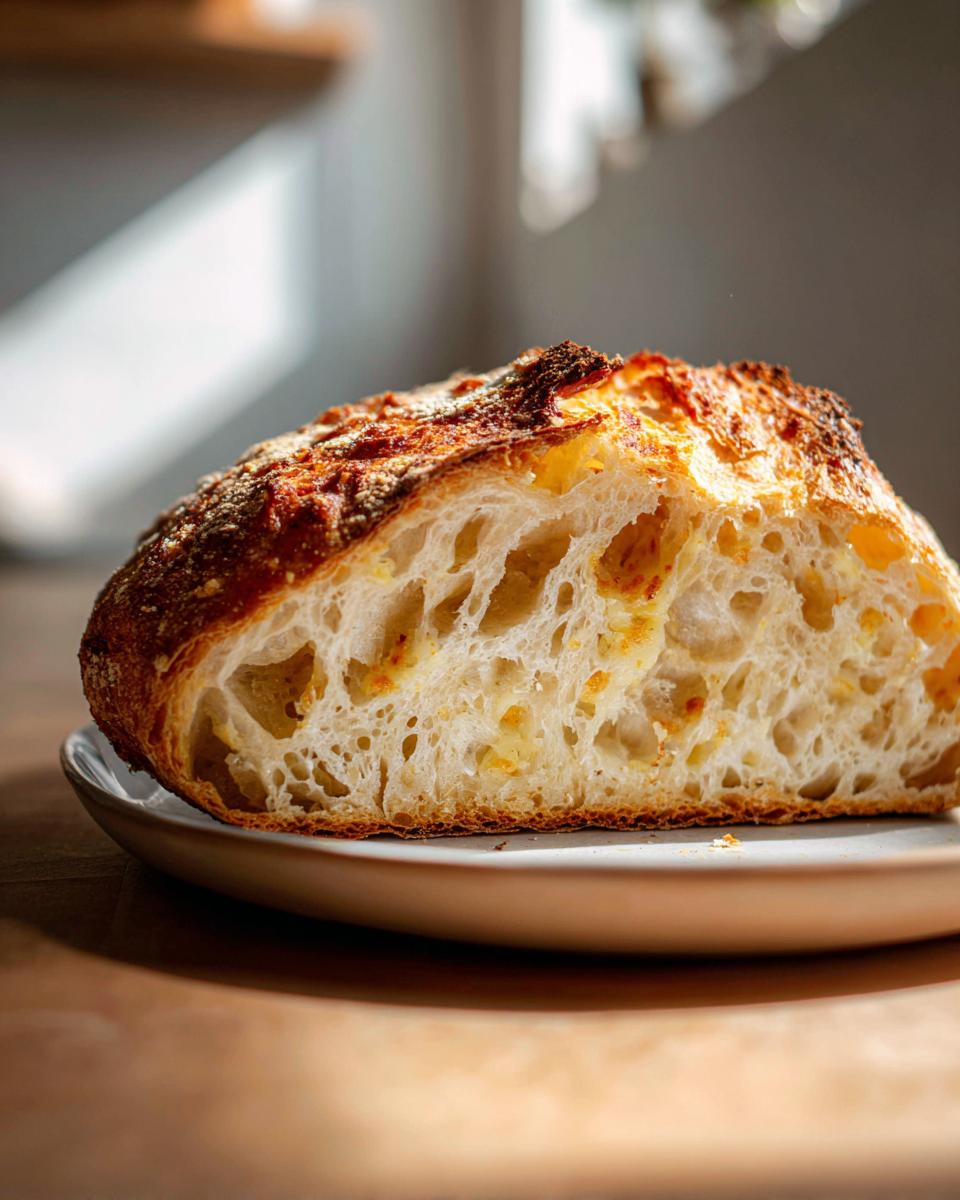
Why is my dough so wet and sticky when I mix it?
First off, GOOD! If your dough looks like a concrete ball, you’ve added too much flour. For this no-knead method, the dough needs to be very wet, almost like a thick batter, when you first mix it. When you scrape it out later, it will feel much more manageable, but right at the start, it should be shaggy and slightly uncooperative. That stickiness is how you ensure you get that light, open crumb in your final homemade artisan bread.
What if I don’t own a Dutch oven? Can I still make crusty bread?
The Dutch oven is how we trap steam for that amazing crust, so it’s definitely the best tool for the job. If you absolutely don’t have one, you can try baking this on a preheated pizza stone or an overturned baking sheet. You have to create steam manually. Put a pan on the bottom rack while preheating, and right before you place the dough in, pour in a cup of hot water. You’ll still get great results, but the Dutch oven gives the most consistent payoff for a bakery style bread at home. Find out more about our philosophy on simplifying the kitchen over on our About Page!
Estimated Nutritional Data for This Artisan Bread Recipe
Just a quick note—because every handful of Parmesan or sprinkle of rosemary changes things slightly, these numbers are estimates based on the base ingredients only. Please keep that in mind when tracking!
- Serving Size: 1 slice
- Calories: 220
- Protein: 8g
- Fat: 1g
- Carbohydrates: 46g
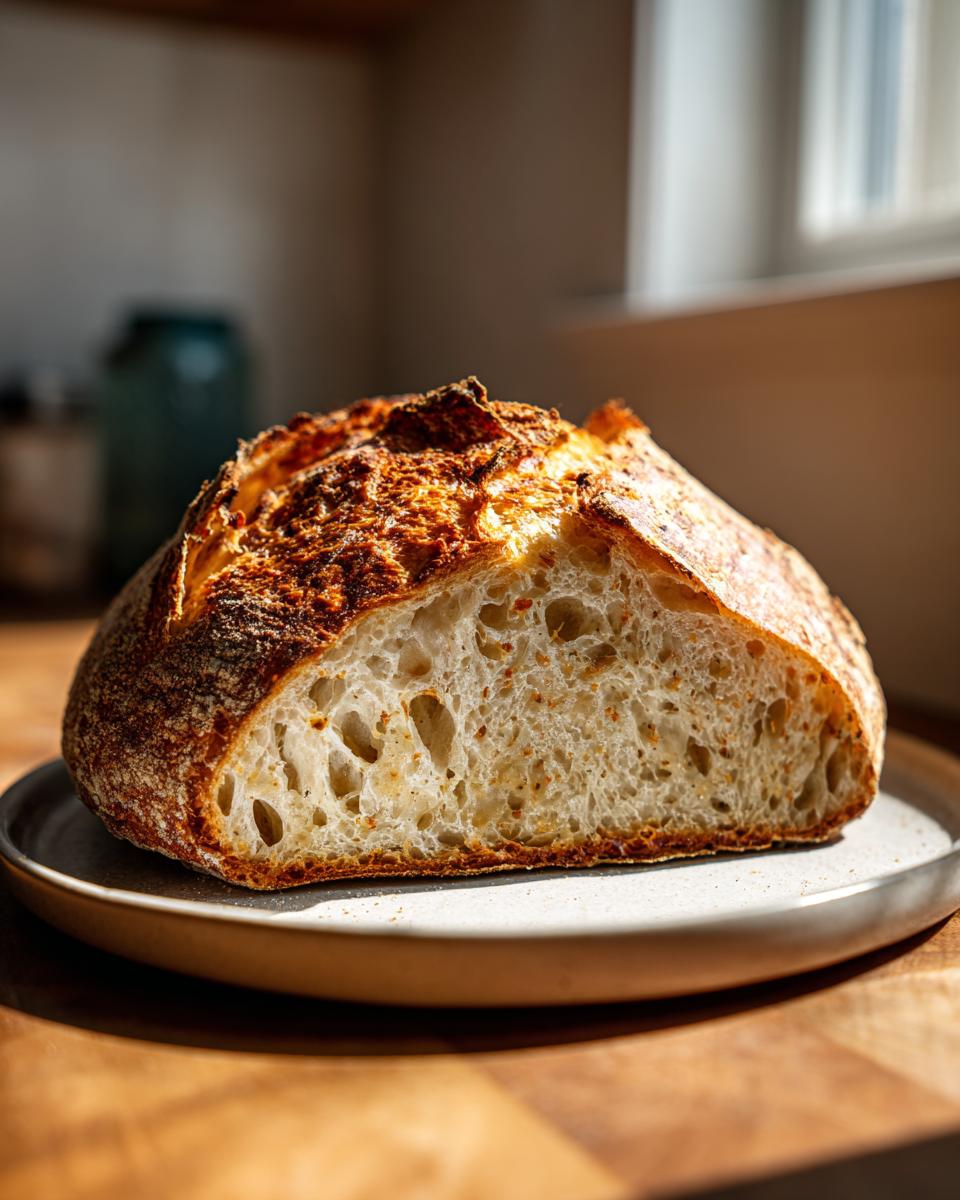
Easy No-Knead Artisan Bread with Parmesan and Garlic
You can bake bakery-style artisan bread at home without kneading. This simple recipe uses a Dutch oven to create a loaf with a crusty exterior and a soft interior, featuring optional Parmesan and garlic flavor.
- Prep Time: 10 min
- Cook Time: 50 min
- Total Time: 13 hours 0 min
- Yield: 1 loaf 1x
- Category: Baking
- Method: No Knead / Dutch Oven
- Cuisine: American
- Diet: Vegetarian
Ingredients
- 3 cups all-purpose flour
- 1 1/2 teaspoons salt
- 1/4 teaspoon instant yeast
- 1 1/2 cups cool water
- 1/2 cup grated Parmesan cheese (optional)
- 1 teaspoon garlic powder (optional)
- 1 tablespoon fresh rosemary, chopped (optional)
Instructions
- In a large bowl, whisk together the flour, salt, and yeast. If using, mix in the Parmesan cheese, garlic powder, and rosemary until combined.
- Add the cool water to the dry ingredients. Mix with a wooden spoon until a shaggy dough forms. Do not overmix; the dough will be sticky.
- Cover the bowl tightly with plastic wrap. Let the dough rest at room temperature for 12 to 18 hours. This long fermentation develops the flavor.
- After the long rest, lightly flour a work surface. Gently scrape the dough out of the bowl. Fold the dough over itself two or three times to form a rough ball. Do not knead.
- Place the dough ball seam-side down on a piece of parchment paper. Cover loosely with plastic wrap or a clean kitchen towel. Let it rest for 30 minutes.
- About 20 minutes before the second rest ends, place a 5- to 6-quart Dutch oven with its lid inside your oven. Preheat the oven to 450°F (232°C).
- Carefully remove the hot Dutch oven from the oven. Lift the dough using the parchment paper and gently lower it into the hot pot. Cover with the lid.
- Bake covered for 30 minutes.
- Remove the lid. Continue baking for another 15 to 20 minutes, or until the crust is deep golden brown.
- Carefully remove the bread from the Dutch oven and let it cool completely on a wire rack before slicing.
Notes
- Using cool water helps control the fermentation rate during the long rest period.
- For a crispier crust, you can place a metal pan on the bottom rack during preheating and pour 1 cup of hot water into it immediately after placing the dough in the Dutch oven.
- This recipe is excellent for beginners learning about yeast bread recipes.
Nutrition
- Serving Size: 1 slice
- Calories: 220
- Sugar: 1
- Sodium: 350
- Fat: 1
- Saturated Fat: 0
- Unsaturated Fat: 1
- Trans Fat: 0
- Carbohydrates: 46
- Fiber: 2
- Protein: 8
- Cholesterol: 0